The iPhone captures stunning photos and captivating videos, but if you want to elevate your footage, you might think you need expensive equipment. However, that’s not always the case.
You can enhance your video production without breaking the bank by using DIY (Do It Yourself) techniques, optimizing camera settings, or purchasing budget-friendly equipment. Here are some tips to help you capture high-quality footage on a budget.
1
Know What’s in Your Camera Settings
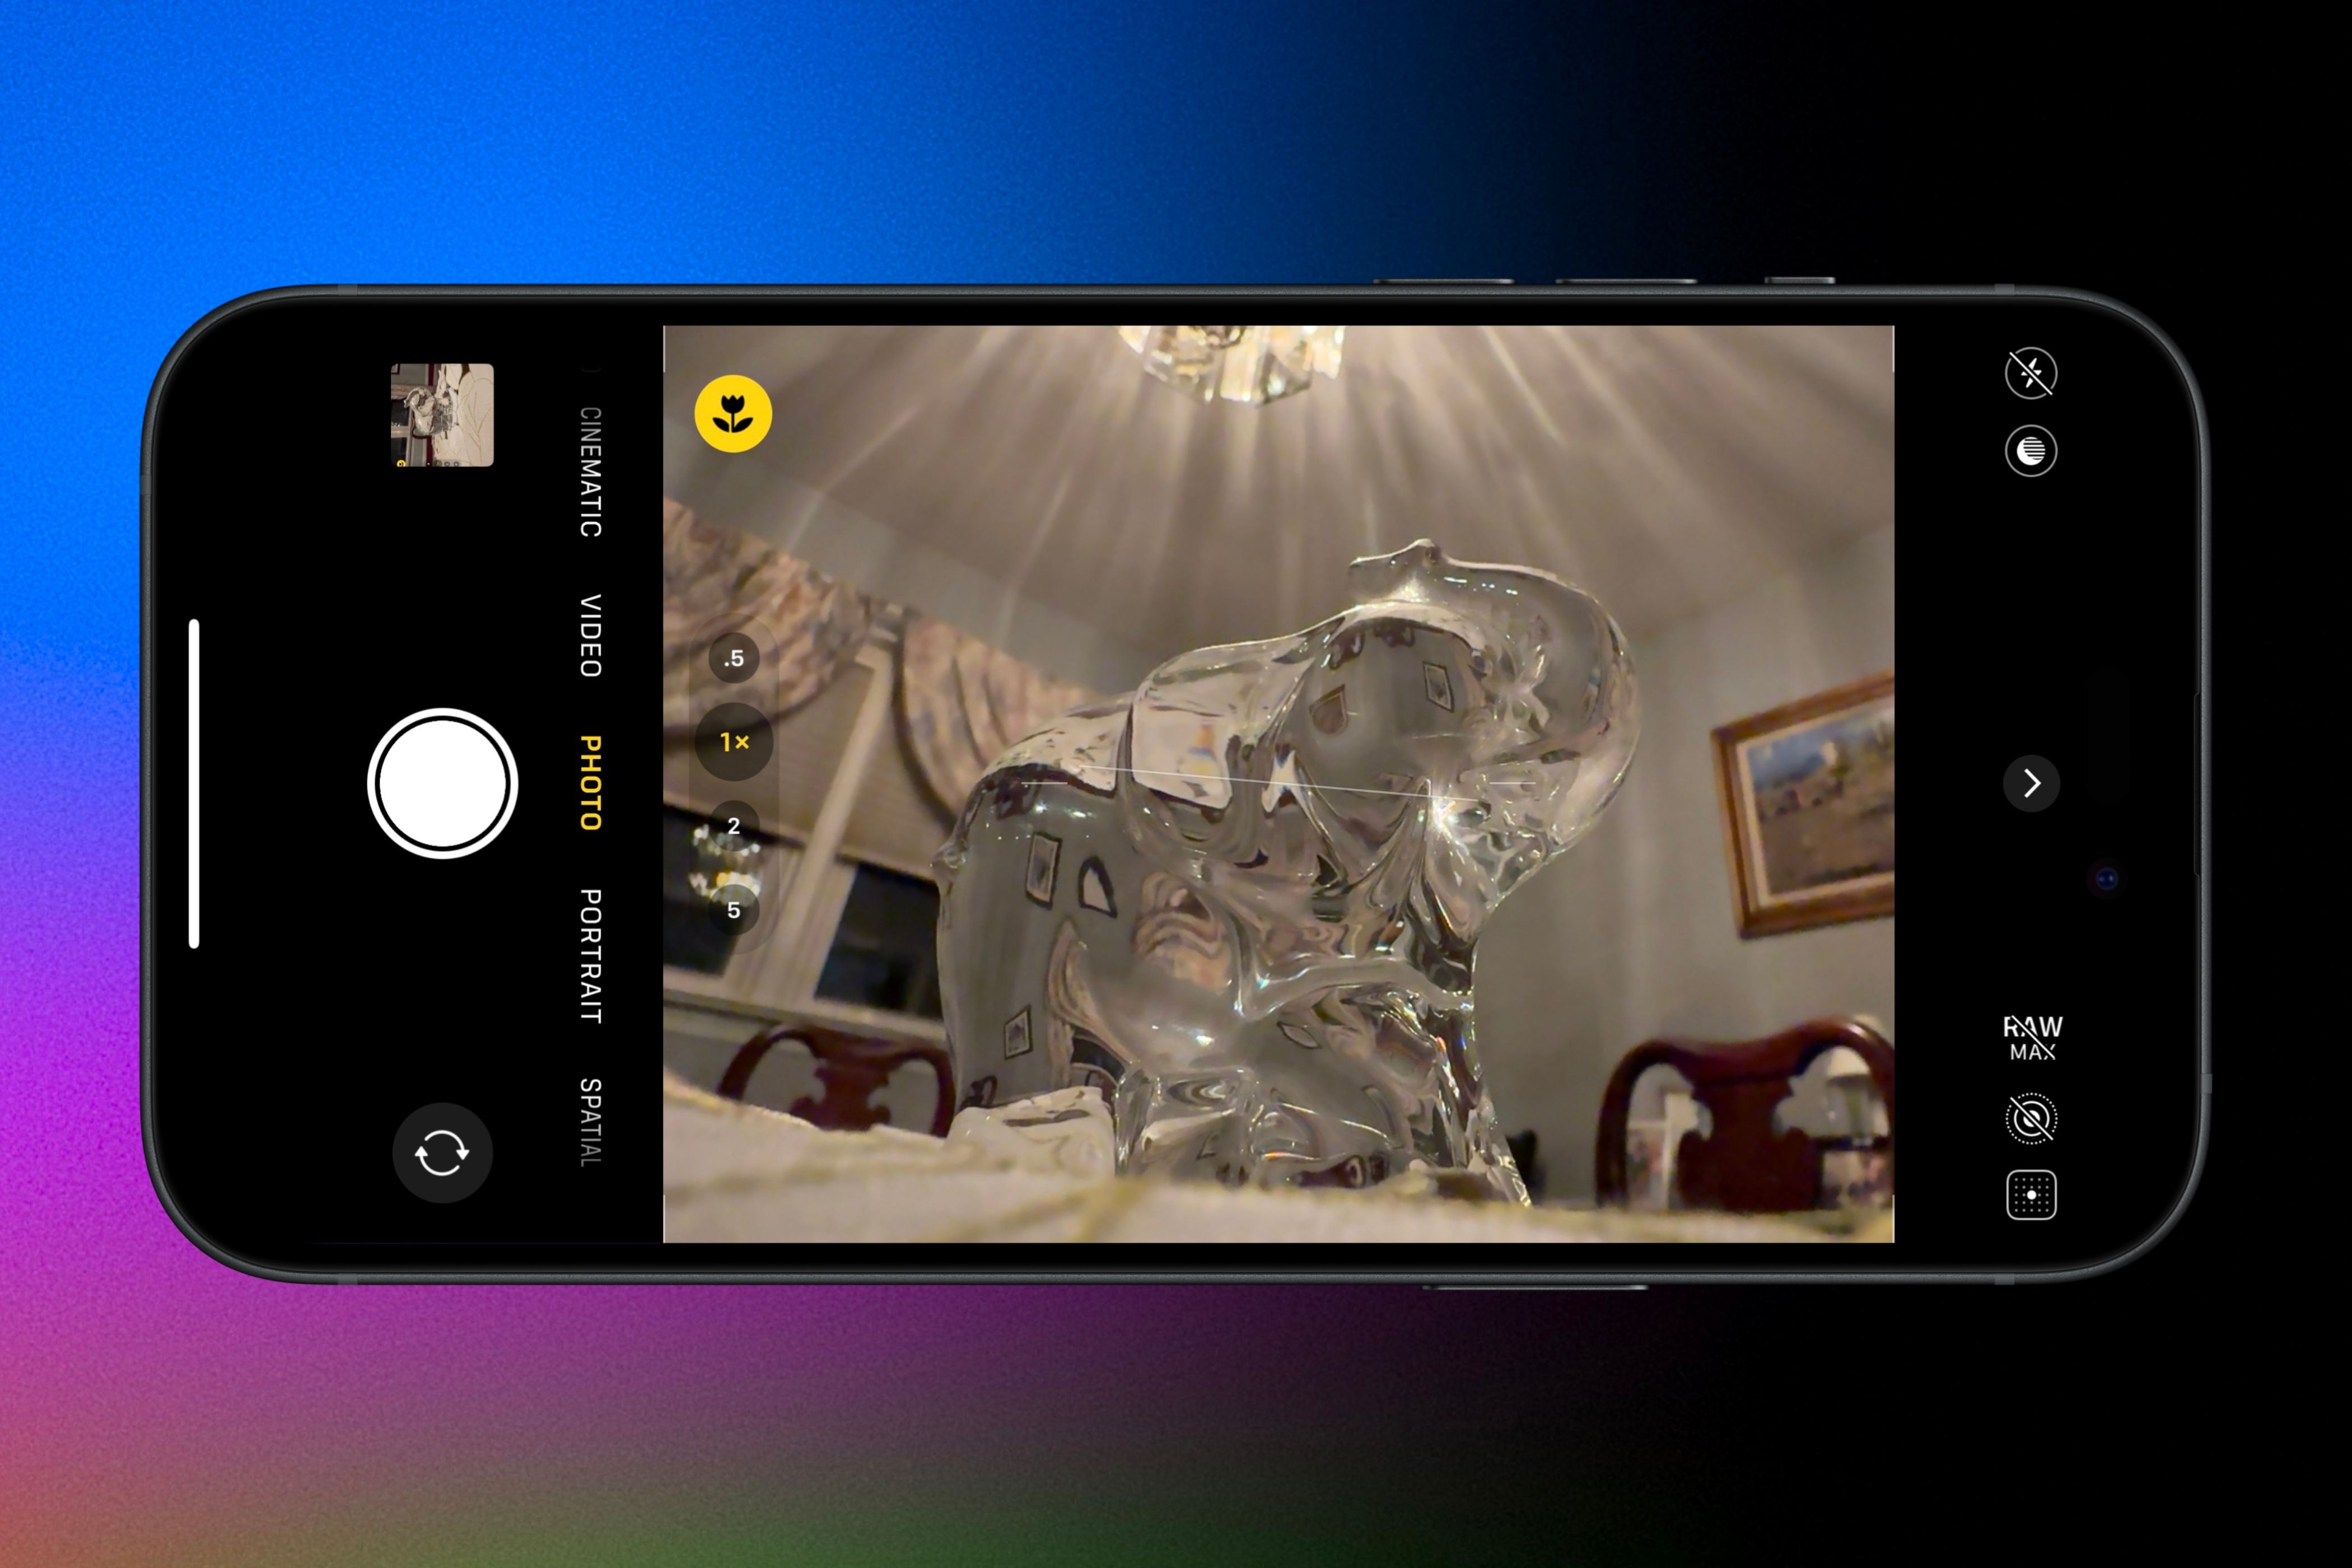
One of the best ways to enhance iPhone footage is by adjusting its camera settings. Modern iPhones support 4K recording and allow frame rate adjustments, providing greater control over video quality.
Shooting in 4K results in clearer images, enhanced details, and more flexibility in post-production. However, 4K files take up more storage. If you shoot frequently, consider an iPhone with more built-in storage or use an external hard drive to offload videos.
Frame rate adjustments also impact video quality. 24fps (frames per second) is ideal for a cinematic look, while 60fps works best for action shots and slow-motion effects.
Additionally, locking exposure and focus with the AE/AF Lock feature helps maintain consistency. You should adjust them manually rather than automatically, since it can cause unwanted brightness or focus shifts during recording, leading to distracting flickers in playback. By manually controlling these settings, you ensure smooth, professional-looking footage.
If you want to enhance the dynamic range of your videos, turn on HDR Video. This feature expands the range of highlights and shadows, resulting in richer colors and more balanced lighting. It’s beneficial for capturing scenes with strong contrasts, such as a bright sky or a dark foreground.
Related
How to Shoot Long Exposure Photos on Your iPhone
Create more artistic photos by blurring motion with longer exposure times.
2
Use the Lighting That You Got
Lighting is crucial to content creation; controlling it ensures your footage isn’t too bright or too dark. Instead of investing in expensive light boxes, you can achieve balanced lighting by utilizing natural light, adjusting indoor lighting, and using simple reflectors to manage shadows and highlights.
Natural light is one of the best and most cost-effective light sources. Shooting during the golden hour—shortly after sunrise or before sunset—provides soft, warm lighting that enhances the footage. Overcast days also create diffused, even lighting, reducing harsh shadows.
Furthermore, you don’t have to buy professional equipment if you need a bounce board or reflector. A white poster board or a car sunshade can effectively bounce light and fill in shadows, improving visibility and adding depth to your shots.
Budget-friendly LED lights are also an excellent option for controlled lighting. Choose portable models to ensure flexibility when filming in different locations where natural light may be insufficient.
When selecting a light source, also avoid harsh overhead lighting, as it can create unflattering shadows and unnatural highlights. Instead, opt for softer, diffused lighting to achieve a more natural and professional look.
By leveraging affordable alternatives, you can achieve high-quality lighting without expensive equipment, enhancing your video production on a budget.
3
Use Composition and Cinematic Framing to Your Advantage
Shooting video isn’t just about pointing the camera and pressing the record button; there is much more to it, like techniques to make the footage more engaging and dynamic. By understanding composition and cinematic framing techniques, you can elevate video quality simply and effectively.
One technique is the rule of thirds, and you can use this by enabling the grid feature on your camera and aligning the subject with the gridlines and their intersections. This creates balanced, visually appealing shots with natural focal points.

Related
Is the Rule of Thirds Really a Photography Rule?
The “rule of thirds” is a concept that you’ll find in a lot of Intro to Photography books and guides.
If you prefer not to use the grid, use leading lines and depth to create a professional look. Physical elements such as roads or fences can direct the viewer’s attention toward the subject in your video.
Additionally, place objects in the foreground, middle ground, or background to add depth. This makes shots more immersive and engaging.
Being aware of the shooting environment can also improve footage. Try experimenting with different angles to convey emotion and depth, such as lower angles can make a subject appear dominant, while higher angles can create a sense of vulnerability. For conversation scenes, consider over-the-shoulder shots to foster a sense of involvement and engagement.
During all your shoots, ensure the background is free of distractions so it doesn’t take away from the subject. If eliminating clutter isn’t possible, blur the background using Cinematic Mode on iPhone 13 or later to maintain focus on the subject.
4
Your Body Is a Stabilizer
While the iPhone has built-in video stabilization, footage can still appear shaky when filming on foot or in a moving vehicle. Fortunately, there are budget-friendly ways to fix this.
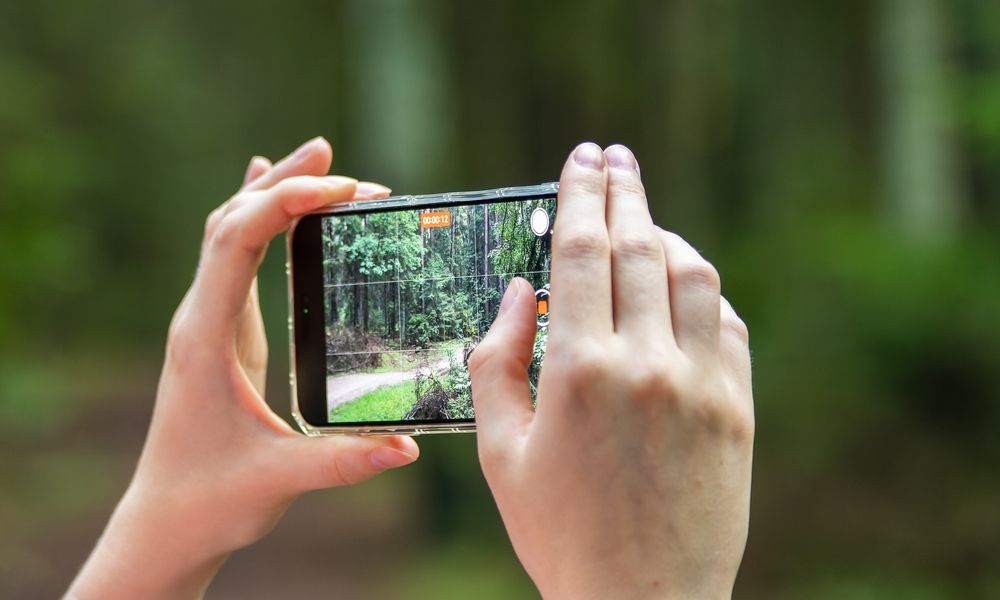
The simplest method is to stabilize the video manually by holding the iPhone with both hands and using your body as a stabilizer. This reduces shakiness and minimizes hand movement, making it one of the most effective and cost-efficient techniques for handheld filming.
If you want smoother tracking shots, consider rolling on a skateboard or using a rolling chair to follow the action.
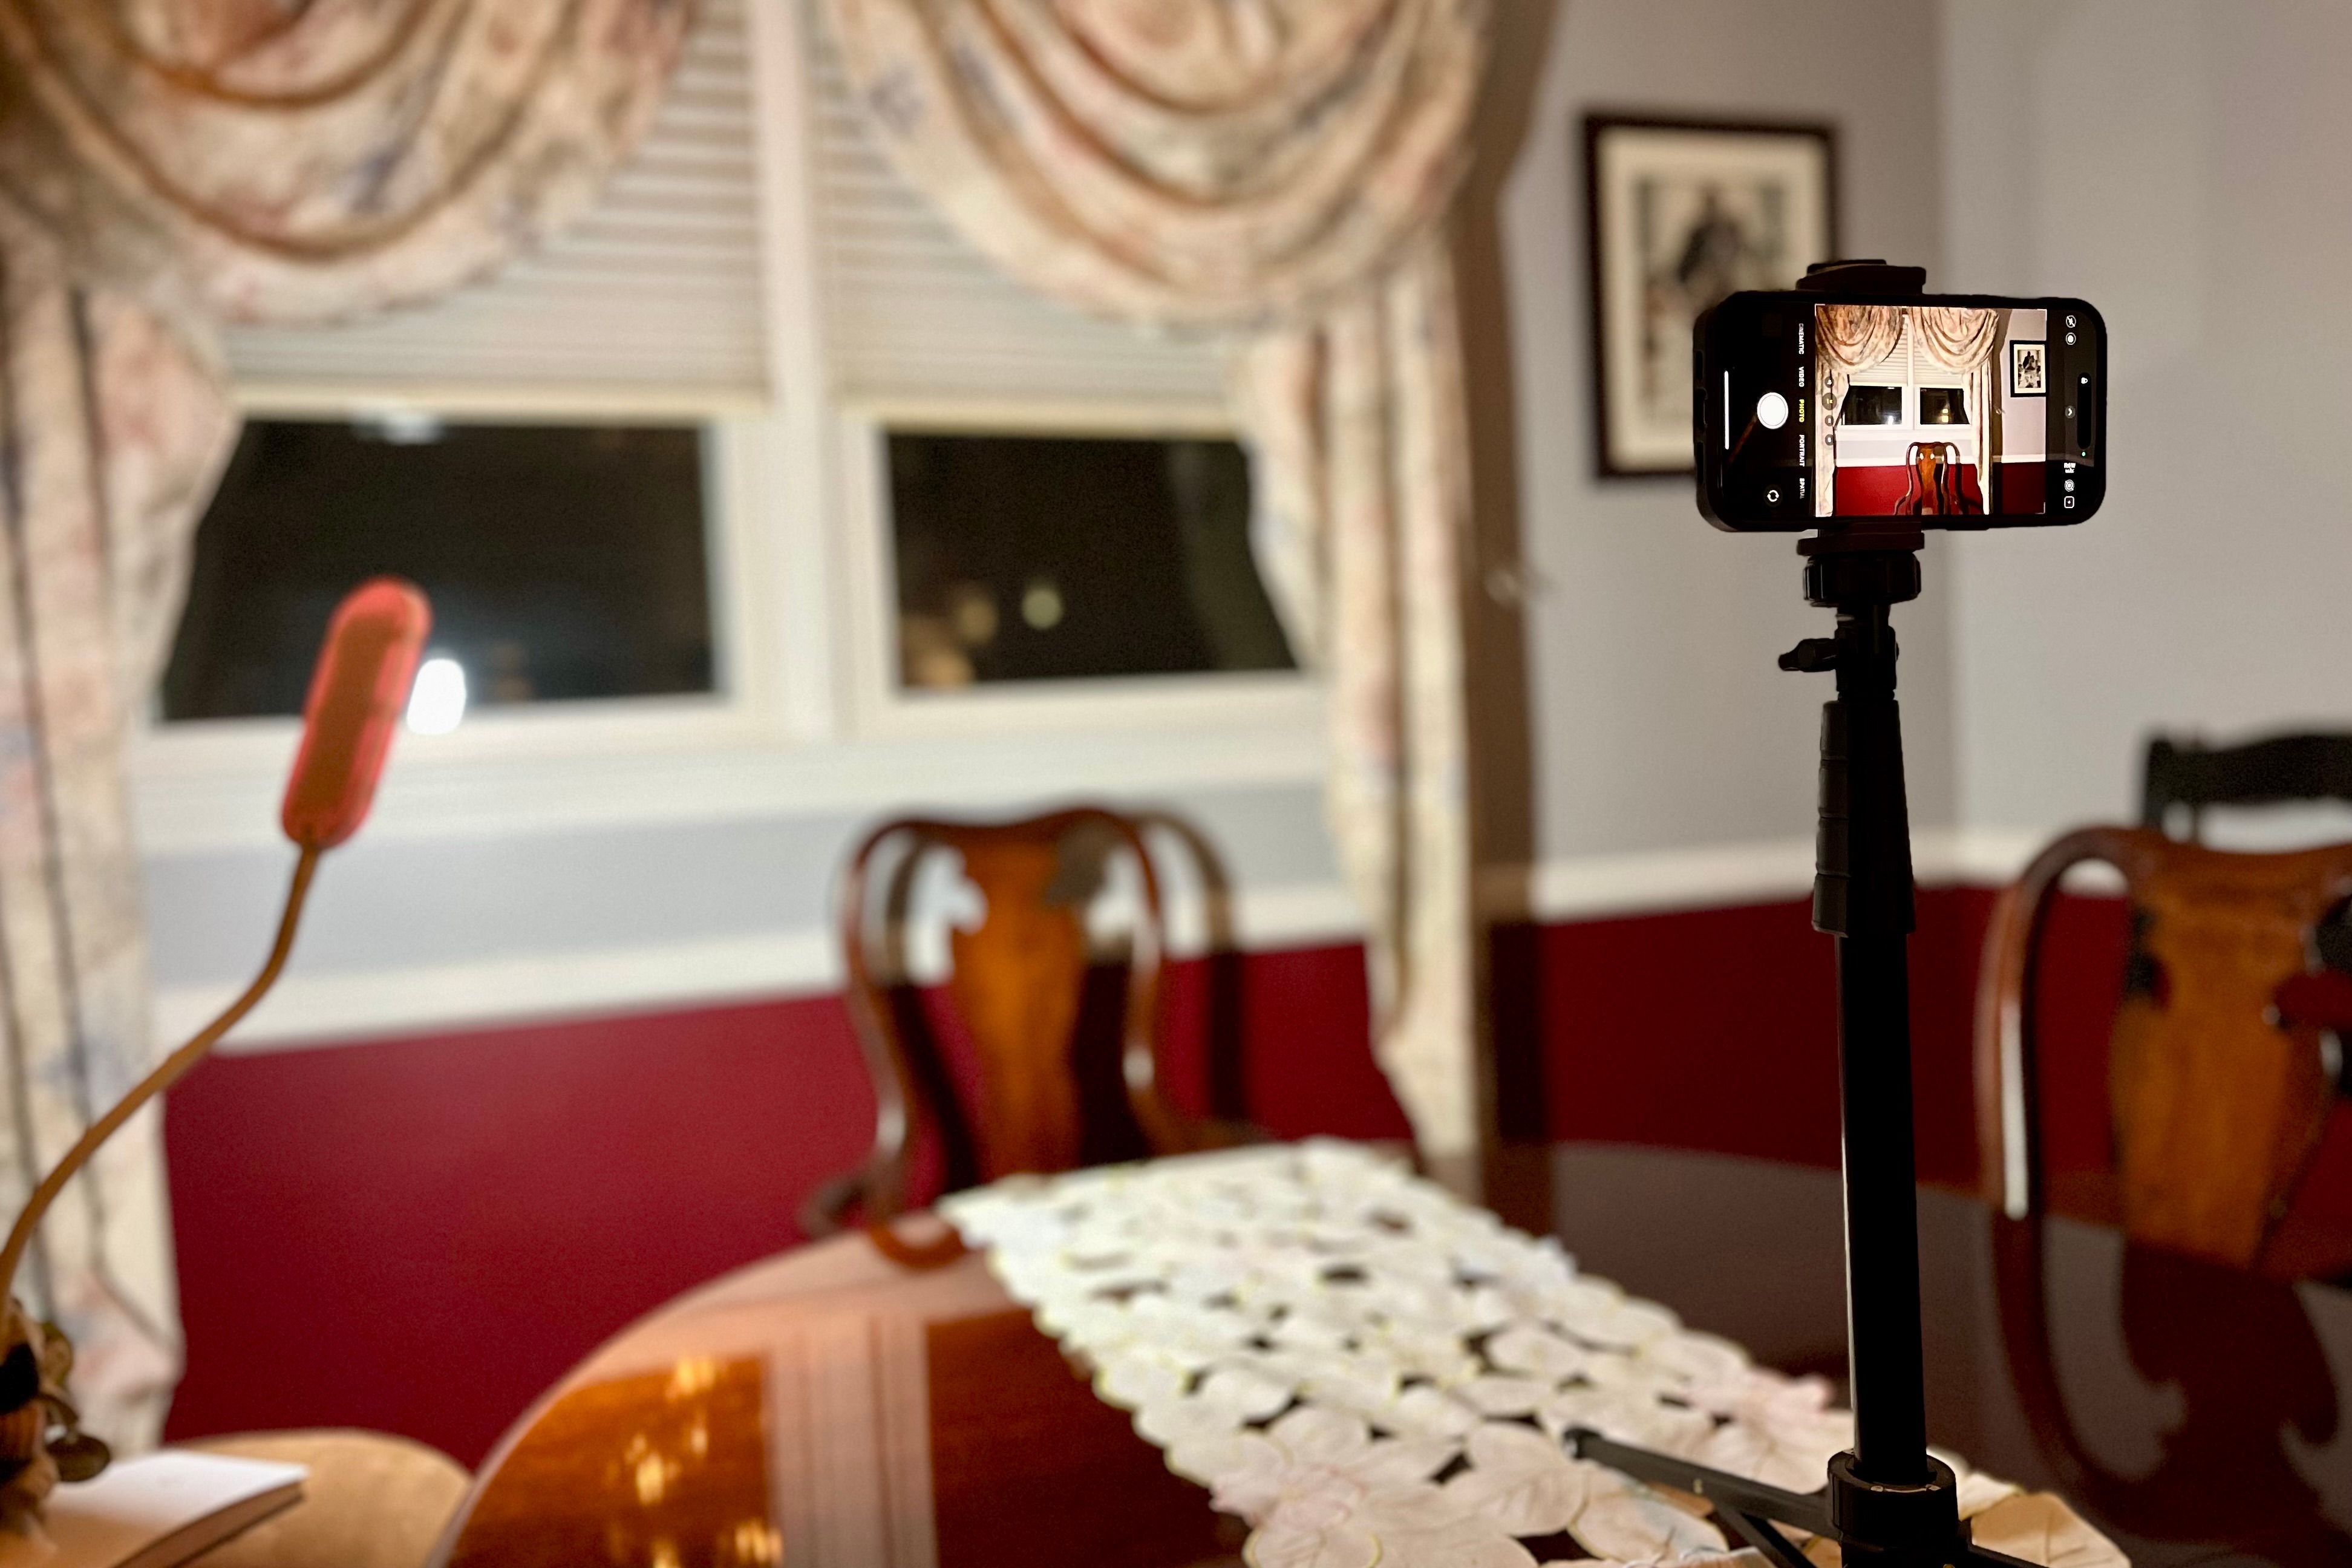
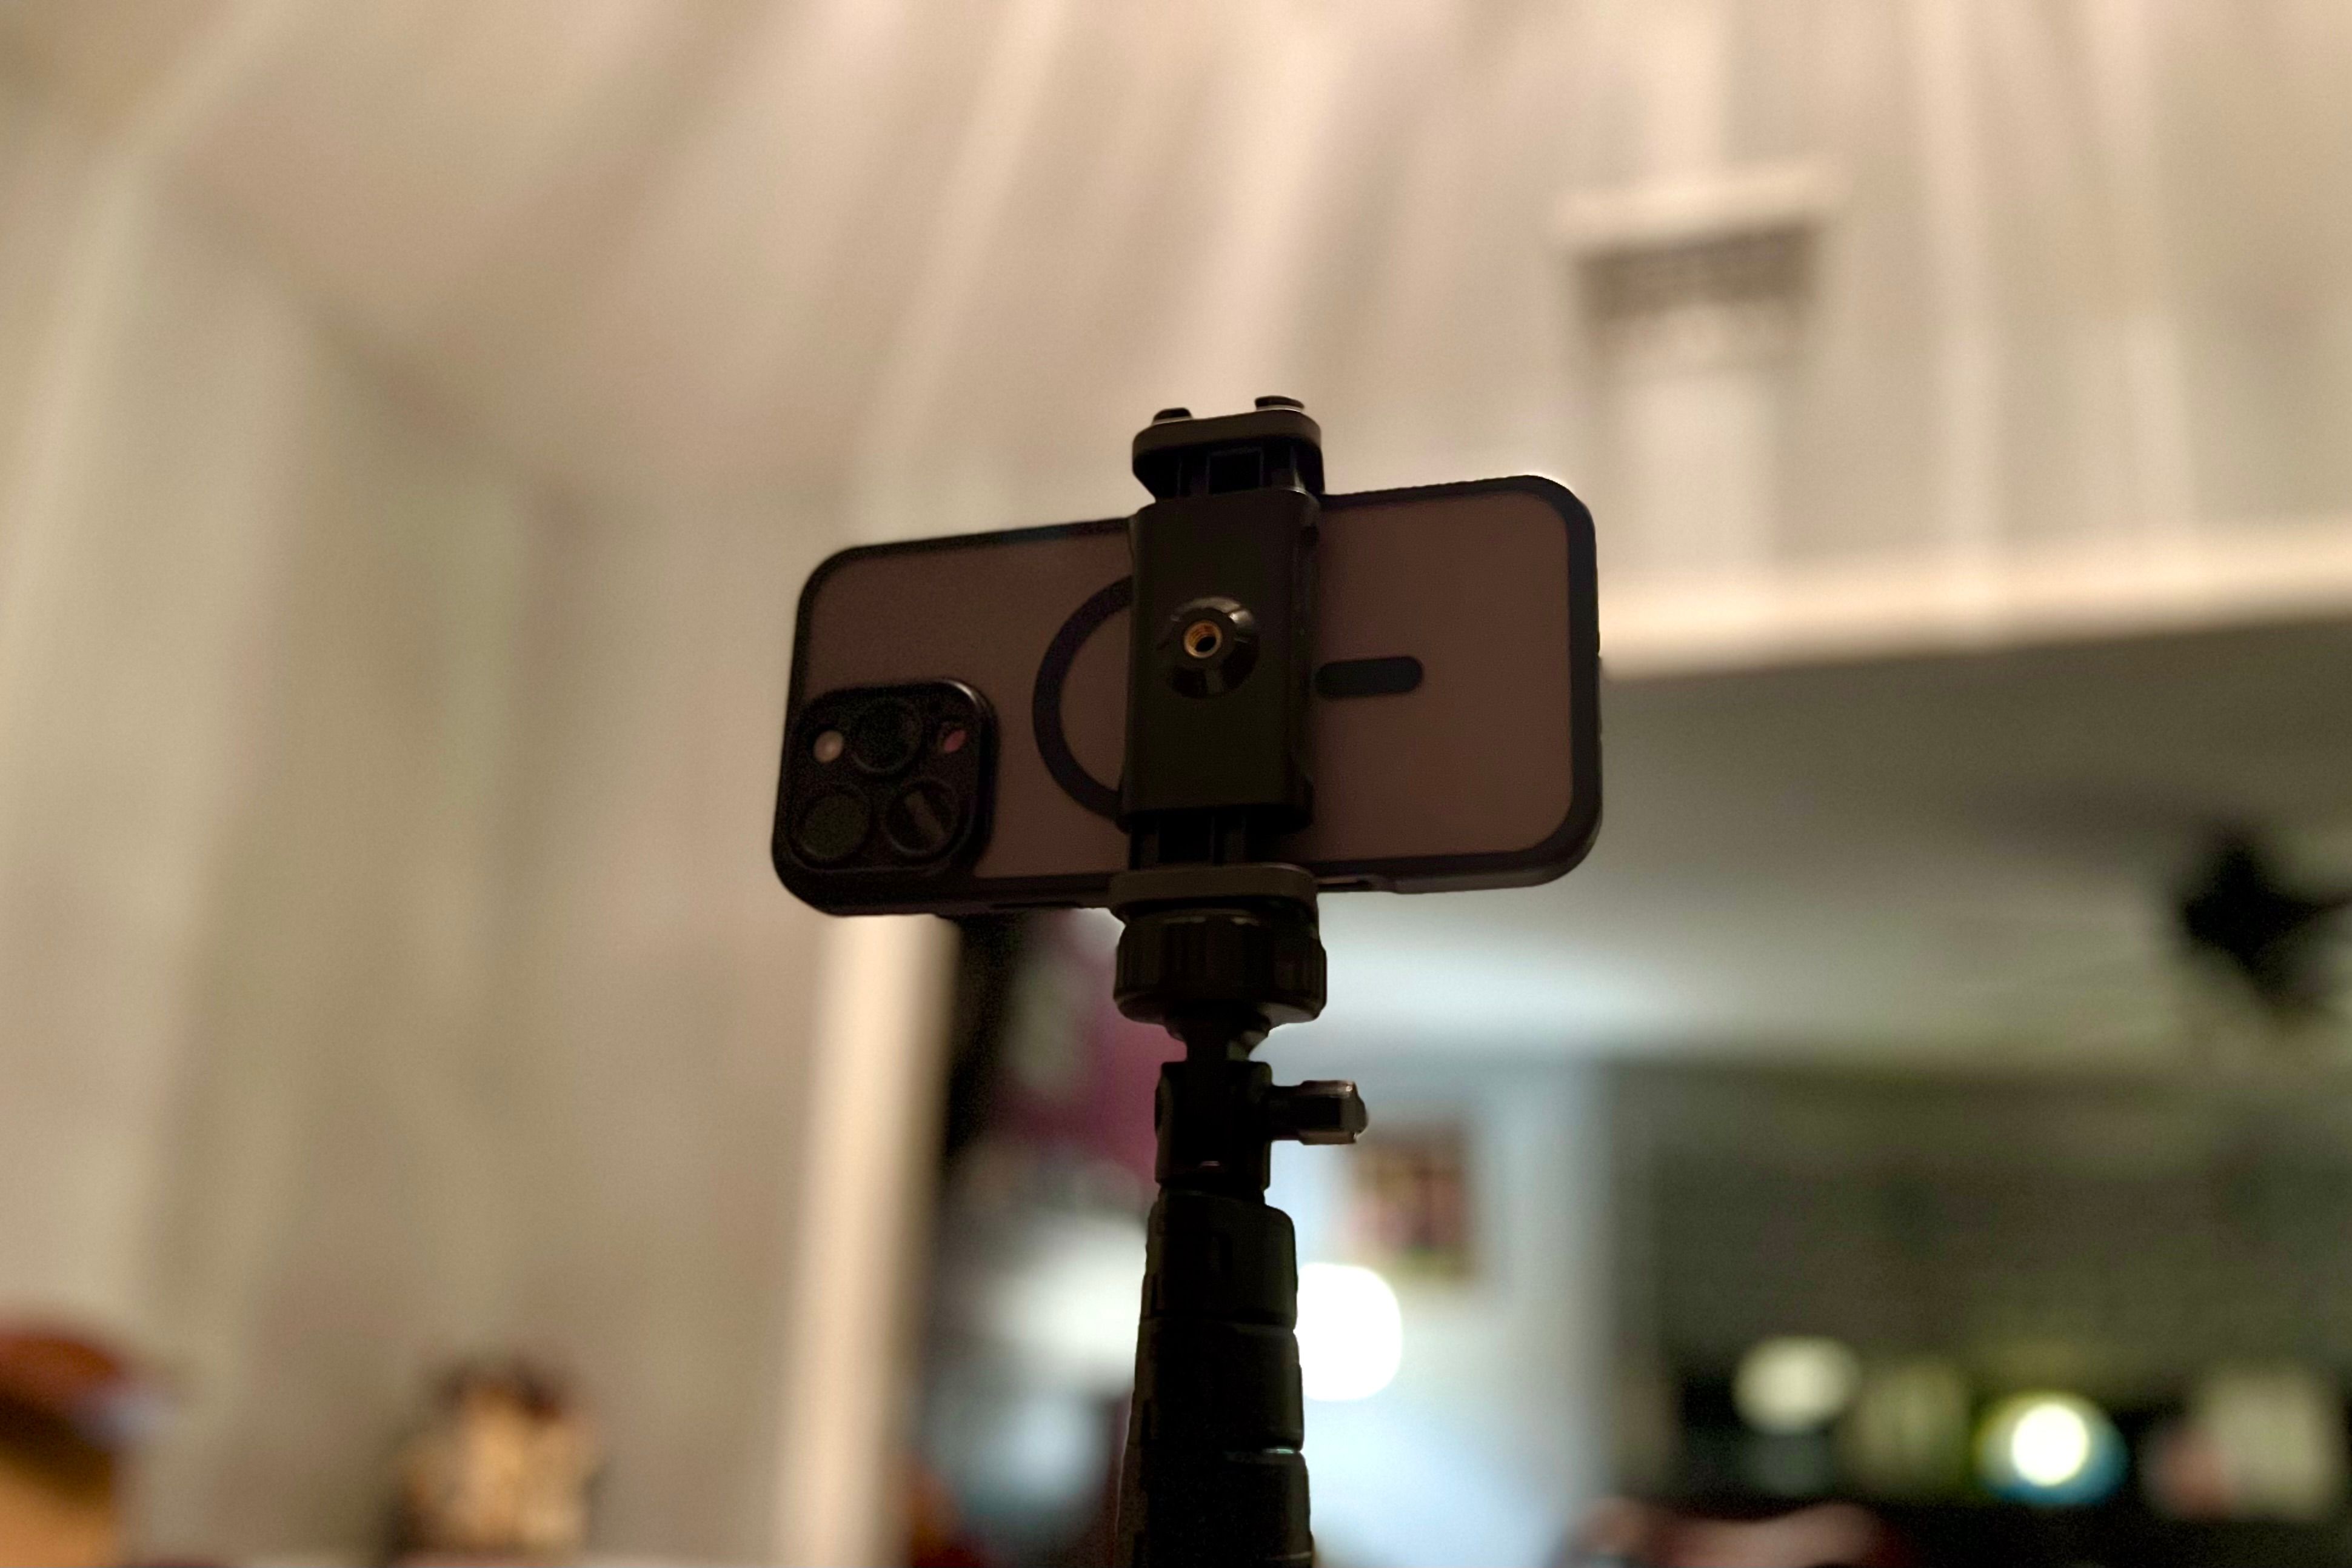
For additional stability, budget-friendly equipment options like tripods and gimbals are available. A tripod eliminates hand movement for static shots, while a gimbal ensures smooth, professional camera movements even while in motion.
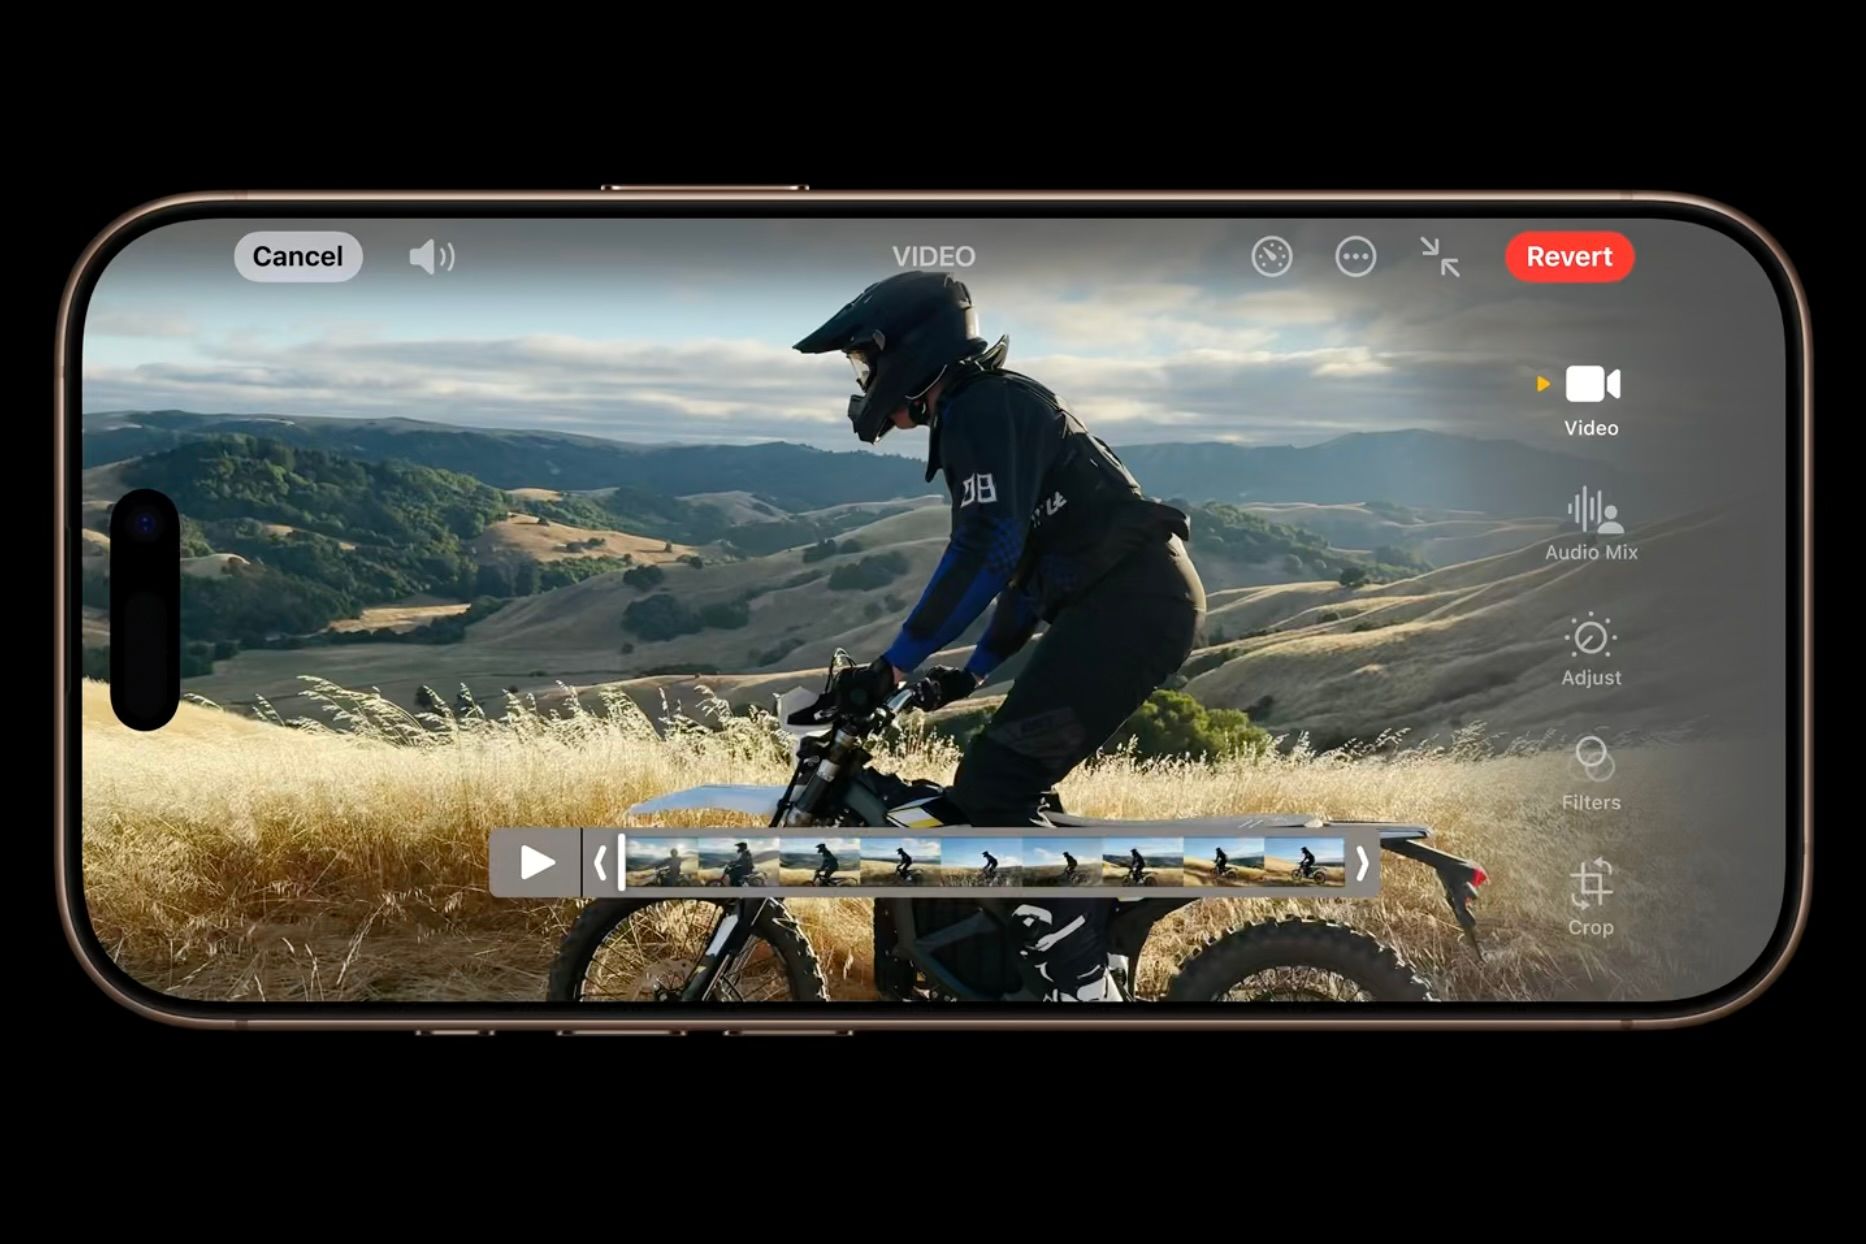
If your footage doesn’t look right immediately after shooting, don’t panic—this is where editing steps in. But movie magic isn’t a one-tap fix that corrects every mistake; instead, it involves thoughtful adjustments using tools like the Photos app’s built-in video editor or free software like iMovie.
Like editing a photo, the Photos app lets you tweak your videos. You can adjust brightness, contrast, saturation, exposure, and shadows to make your footage look more polished.
If the subject of the video is too far away, you can always crop the video, but remember that cropping may reduce the overall quality.
For more advanced edits, iMovie offers a user-friendly interface with additional features, including cutting scenes, adjusting audio, adding transitions, and inserting text. It’s free, accessible, and effective for editors at any skill level.
One of iMovie’s standout features is video stabilization. While it works by cropping the video slightly, it can significantly reduce shakiness and lets you control how much stabilization to apply.
These budget-friendly techniques are simple to implement and can significantly improve your footage. If you’re new to video production, experimenting with these methods can help you develop essential skills without significant investment. For experienced filmmakers, these DIY techniques may deliver surprisingly professional results—proving that creativity often outweighs expensive gear.





Leave a Comment
Your email address will not be published. Required fields are marked *