Art made by robots doesn’t have to be soulless—sometimes it’s just plain fun. If you haven’t dabbled in AI art yet, or you have but don’t know what to do with it, there are some surprisingly practical and fun ideas to get you started.
9
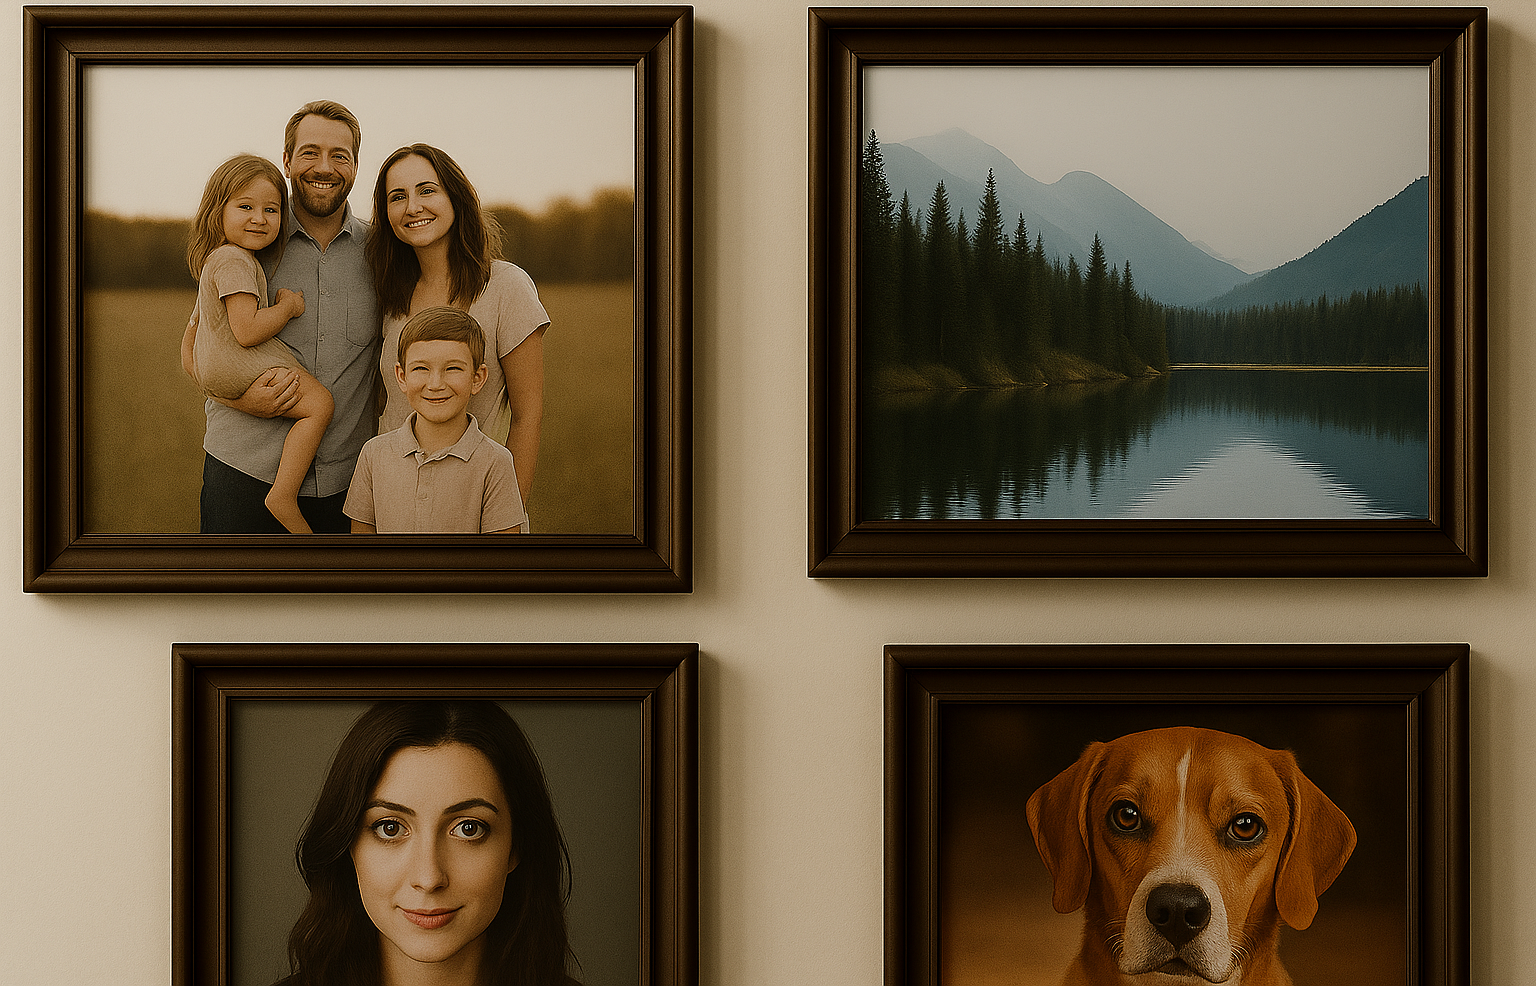
Print and Frame for Wall Art
If you’ve ever found yourself staring at a blank patch of wall thinking, “Something should really go there,” AI art might be just the thing to fill that void. It’s easy, and honestly kind of fun. Start by thinking about the kind of mood or story you want your wall art to tell. A little imagination and one of the best AI image generators are all you need.
Once you generate something you love, run it through an AI upscaler (we’ve recommended plenty of free options out there) to make sure it still looks sharp when blown up to poster size. From there, it’s just a matter of printing. You can use sites like Shutterfly, Art.com, PosterJack, or swing by your local print shop if you like supporting nearby businesses.
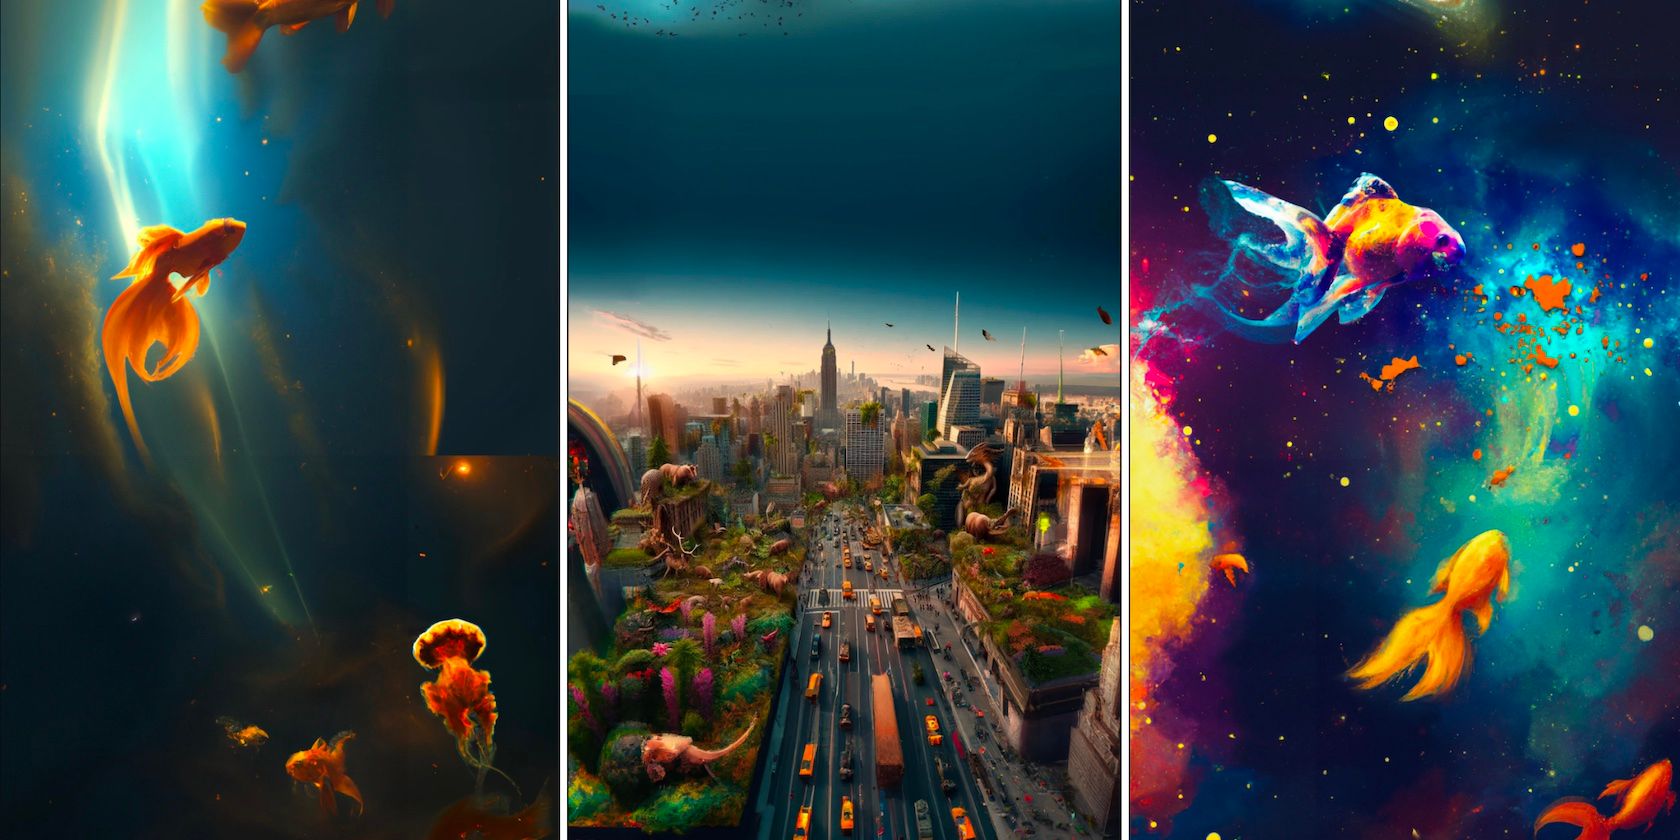
You could theme your space by creating a set of three related images (like a triptych) or switch it up every season by printing new art and rotating it.
8
Use as Wallpapers for Your Devices
When you’re making AI art to use as wallpapers—whether it’s for your phone, tablet, laptop, or whatever glowing screen you stare at all day—it’s a good idea to start by figuring out the right size for your screen.
For phones, 1080×1920 (or higher for modern models) works great. For desktops, aim for at least 1920×1080, though ultrawide and 4K displays will need even bigger dimensions, such as 2560 x 1080 or 3440 x 1440. While most AI generators may not hit those specs perfectly out of the gate, an AI upscaler can easily boost resolution to achieve those.
Once you’ve saved your image, just set it as your background as you normally would. If you’re on Android, you can even use apps like KLWP or Nova Launcher to design animated home screens using your AI art as a base.
Download: KLWP | Nova Launcher for Android (Free; in-app purchases available)
7
Turn Your Daily Journal Into an Illustrated Diary
The trick here is to use your journal entries as prompts. If you wrote about an afternoon walk in the rain, or a stressful work call, or a quiet moment at a coffee shop, feed that description into your AI image generator. You don’t have to get too technical—the language you’ve already used to describe your experience is enough to spark a meaningful visual.
That’s exactly what I did, and here’s the result my prompt produced:
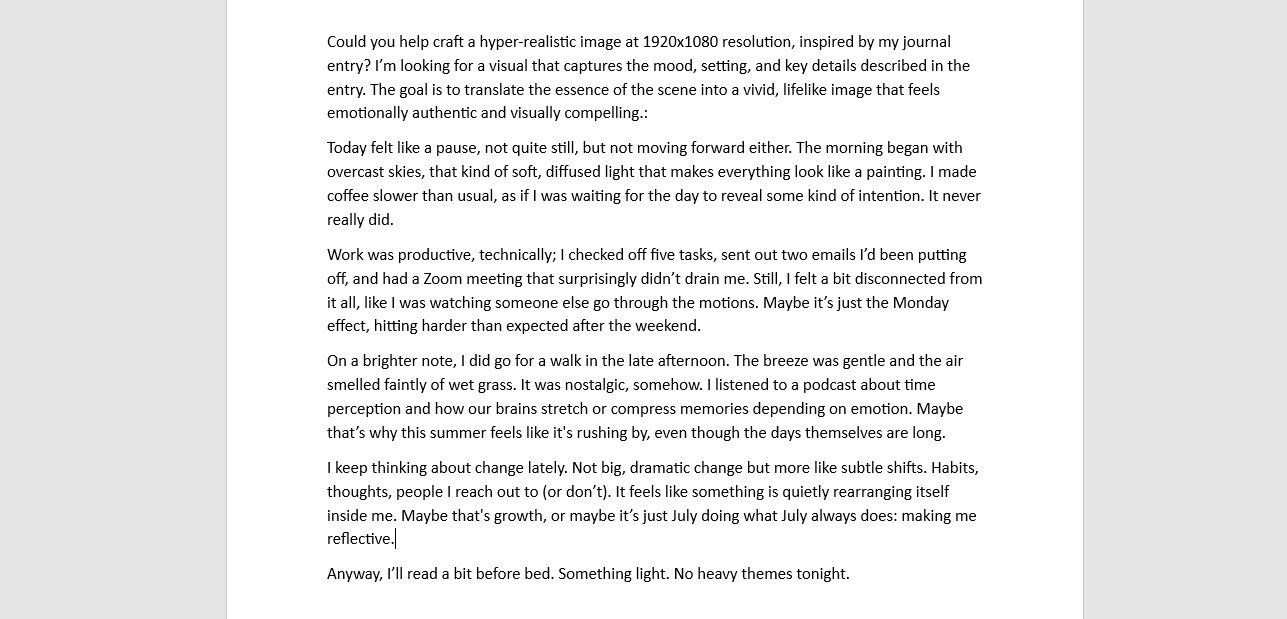

Once you’ve generated the image, you can insert it into your preferred digital journaling app (my favorites are Notion, Day One, or GoodNotes) or print it out and paste it into your physical notebook.
Social media is kind of the ultimate stage for showing off your favorite AI-generated creations. It’s visual, fast-moving, and full of people ready to double-tap something cool. But before you hit that upload button, take a beat and think about the story behind the image. Instead of dropping it without a word, add a little context. What sparked the idea? What story is it telling? A dash of backstory or emotion goes a long way, as people naturally connect more when there’s something deeper to latch onto.
Related
Bored With Studio Ghibli? Try GPT-4o With These 7 AI Art Prompts Instead
Move over Totoro—this AI can dream wilder.
Also, don’t forget to include a watermark or credit. If your post ends up blowing up (hey, it could!), a subtle tag in the corner or even crediting the AI tool in your caption helps make sure your work doesn’t get passed around without a trace. You want it to stay yours, even when it travels far and wide.
Lastly, consistency goes a long way. If you keep posting high-quality AI art that fits a certain vibe, aesthetic, or theme, your feed starts to take on a personality of its own. Before you know it, people might start following you just to see what you’ll come up with next.
5
Print as Die-Cut Stickers
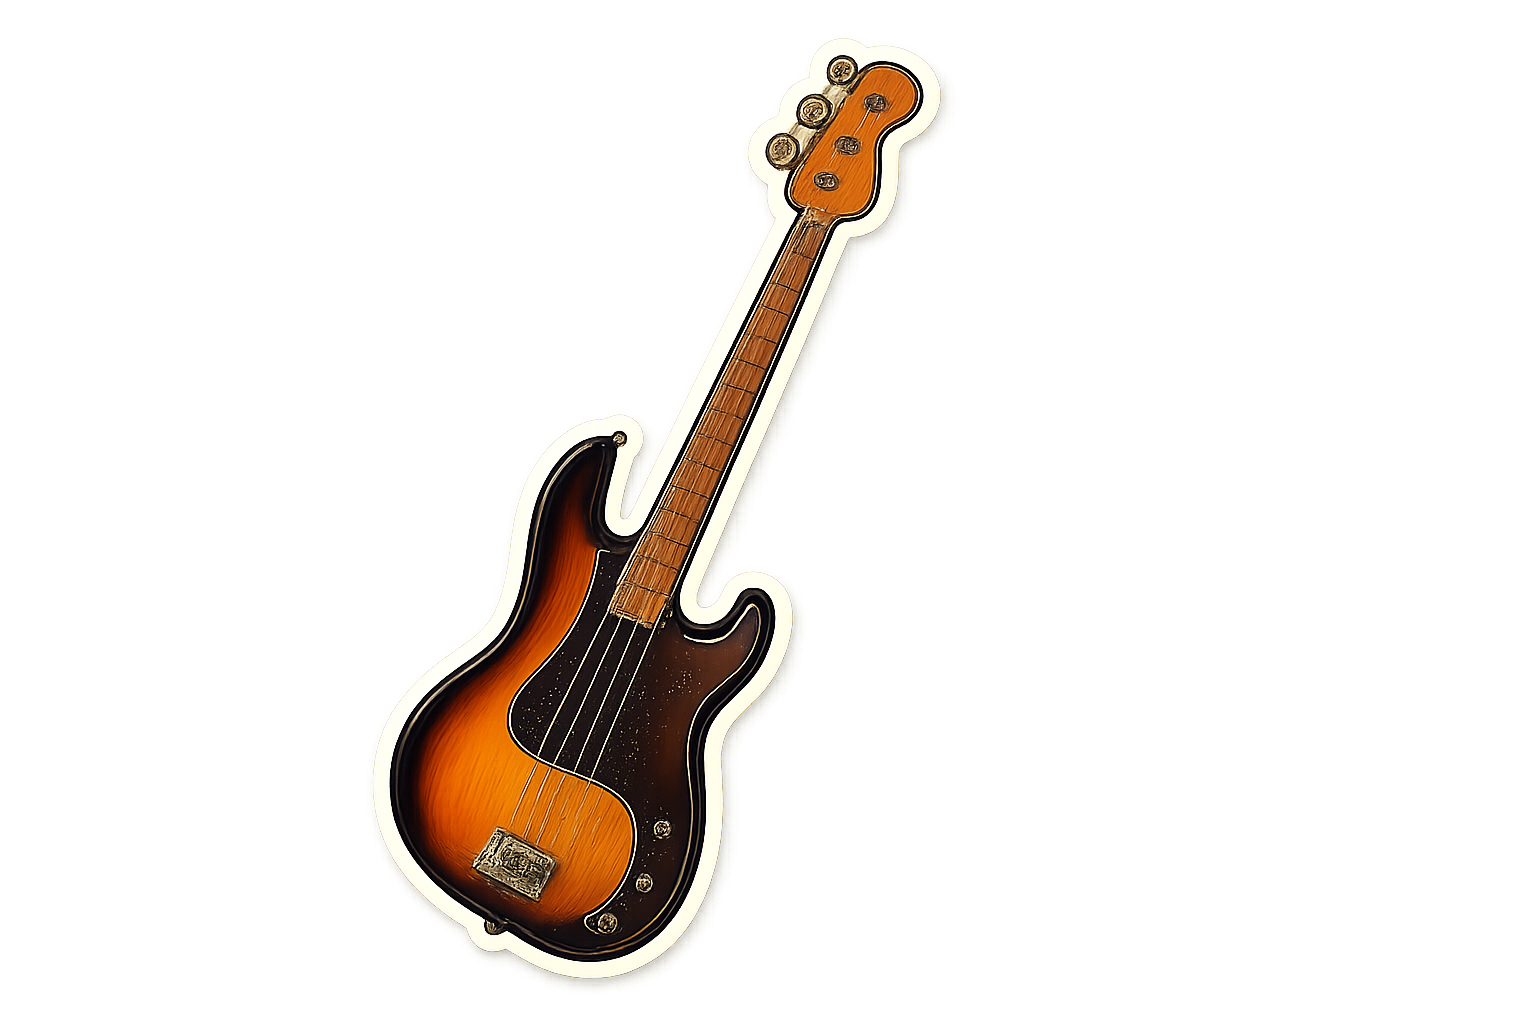
Once you’ve got a collection of AI-generated images you’re proud of, turning them into die-cut stickers is a fun, tangible way to bring your digital creations into the real world. Start by cleaning up the image if needed—use any basic photo editing tool to remove unwanted backgrounds, enhance contrast, or add a white or transparent outline to give the sticker a crisp edge. Stickers tend to look best when they have a defined shape, so consider trimming the image into a clear silhouette if the design allows.
Next, export the file in a print-ready format. PNG with a transparent background is ideal for stickers, especially if you’re using an online service like Sticker Mule, Sticker App, Jukebox, or Printify. If you’re printing at home with sticker paper, make sure your printer is set to high quality, and use glossy or matte vinyl sheets depending on the look you’re going for. A Cricut or Silhouette cutting machine can take your setup to the next level by handling the cutting for you, but even scissors and an X-Acto knife can get the job done for smaller batches.
Once printed and cut, the possibilities are wide open. You can use them to decorate your laptop, phone case, water bottle, or journal. You can toss a few into envelopes when sending gifts or letters. If you’re running a small business or Etsy shop, they make for eye-catching packaging accents or freebies that add a personal, artistic touch.
4
Generate Ideas for a Tattoo
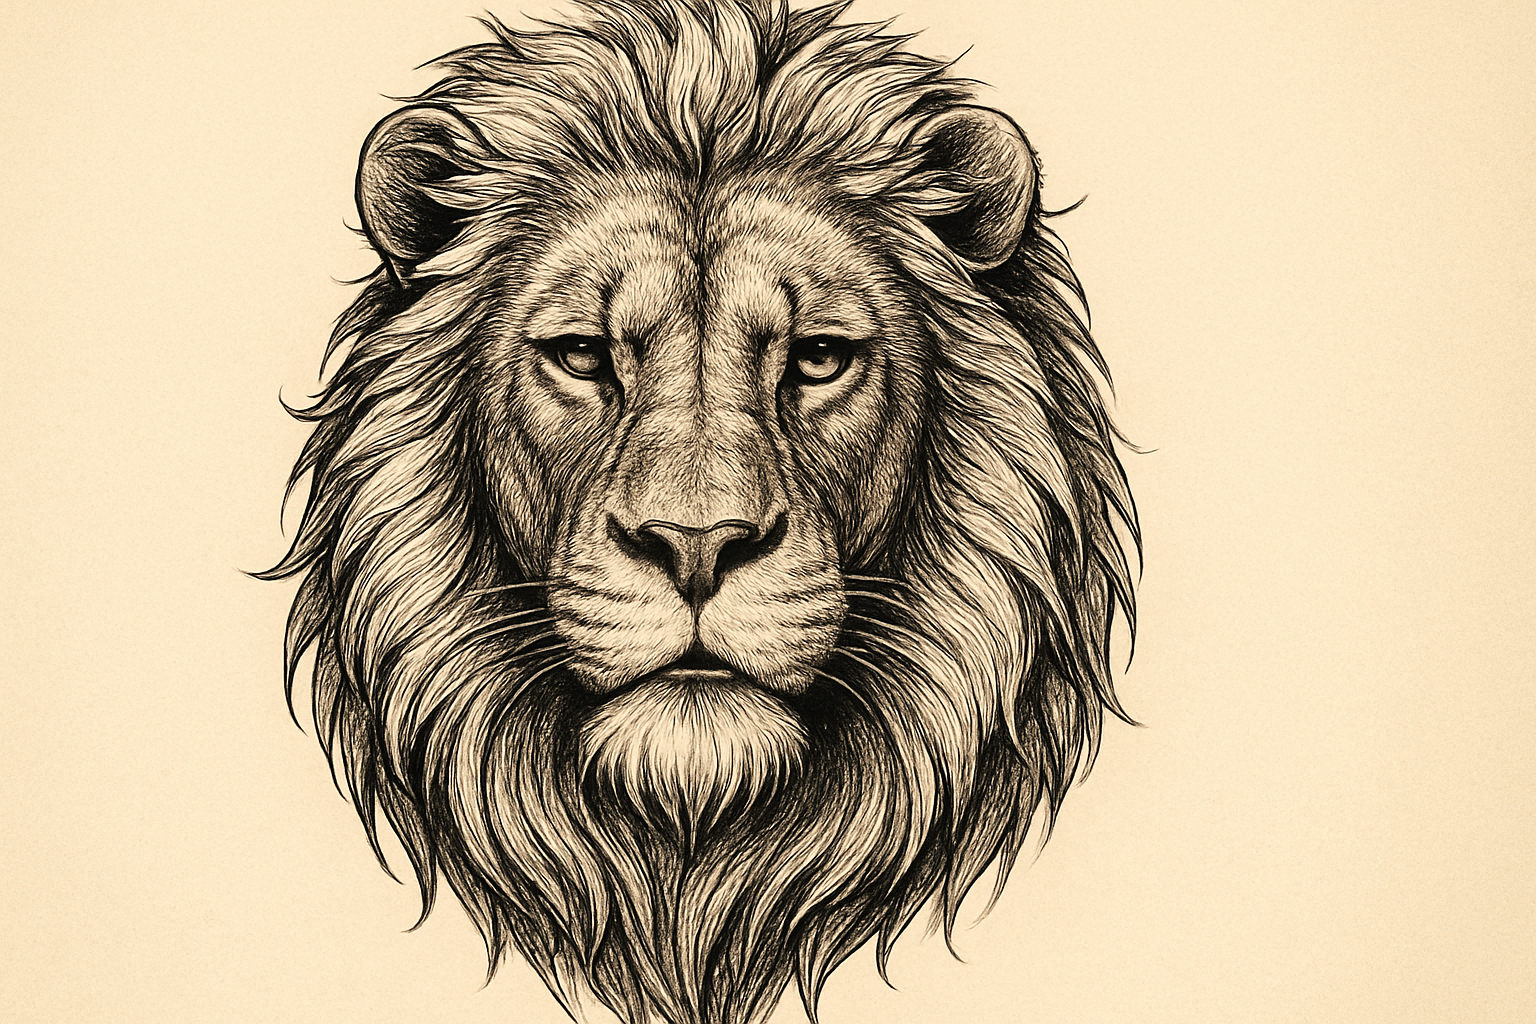
If you’ve already got an AI-generated image that feels tattoo-worthy, you’re off to a great start—but there are a few key steps to take before you march into a tattoo studio. As I’ve been emphasizing, you first want to make sure the image is high-resolution. Tattoo artists need a clear, crisp reference to work from, especially for designs that include fine lines or intricate shading.
Once your design is polished, think about how it will translate to skin. AI art can sometimes get overly complex or packed with tiny details, which may not hold up well over time, especially on smaller tattoos. Print the design at its actual size to see how it looks at scale. If the details blur together or get muddy when shrunk down, simplify the image or break it into parts. You might find that using just a section of your AI artwork (like the silhouette, symbol, or central figure) makes for a more tattoo-friendly result.
It’s also wise to bring your image to a professional tattoo artist who can adapt it into a format better suited for inking. Most artists will appreciate that you’ve come in with a visual concept, but they may tweak line weight, simplify shading, or adjust proportions to make sure it’ll age well. Be open to their input, because it’s the difference between a cool idea and a great tattoo.
3
Use as DIY Book Covers
If you plan to use an AI image for a book cover digitally—for an eBook, Wattpad, or Kindle Direct Publishing—you should aim for a vertical format, typically around 1600×2560 pixels. Otherwise, you can crop later using Canva or GIMP.
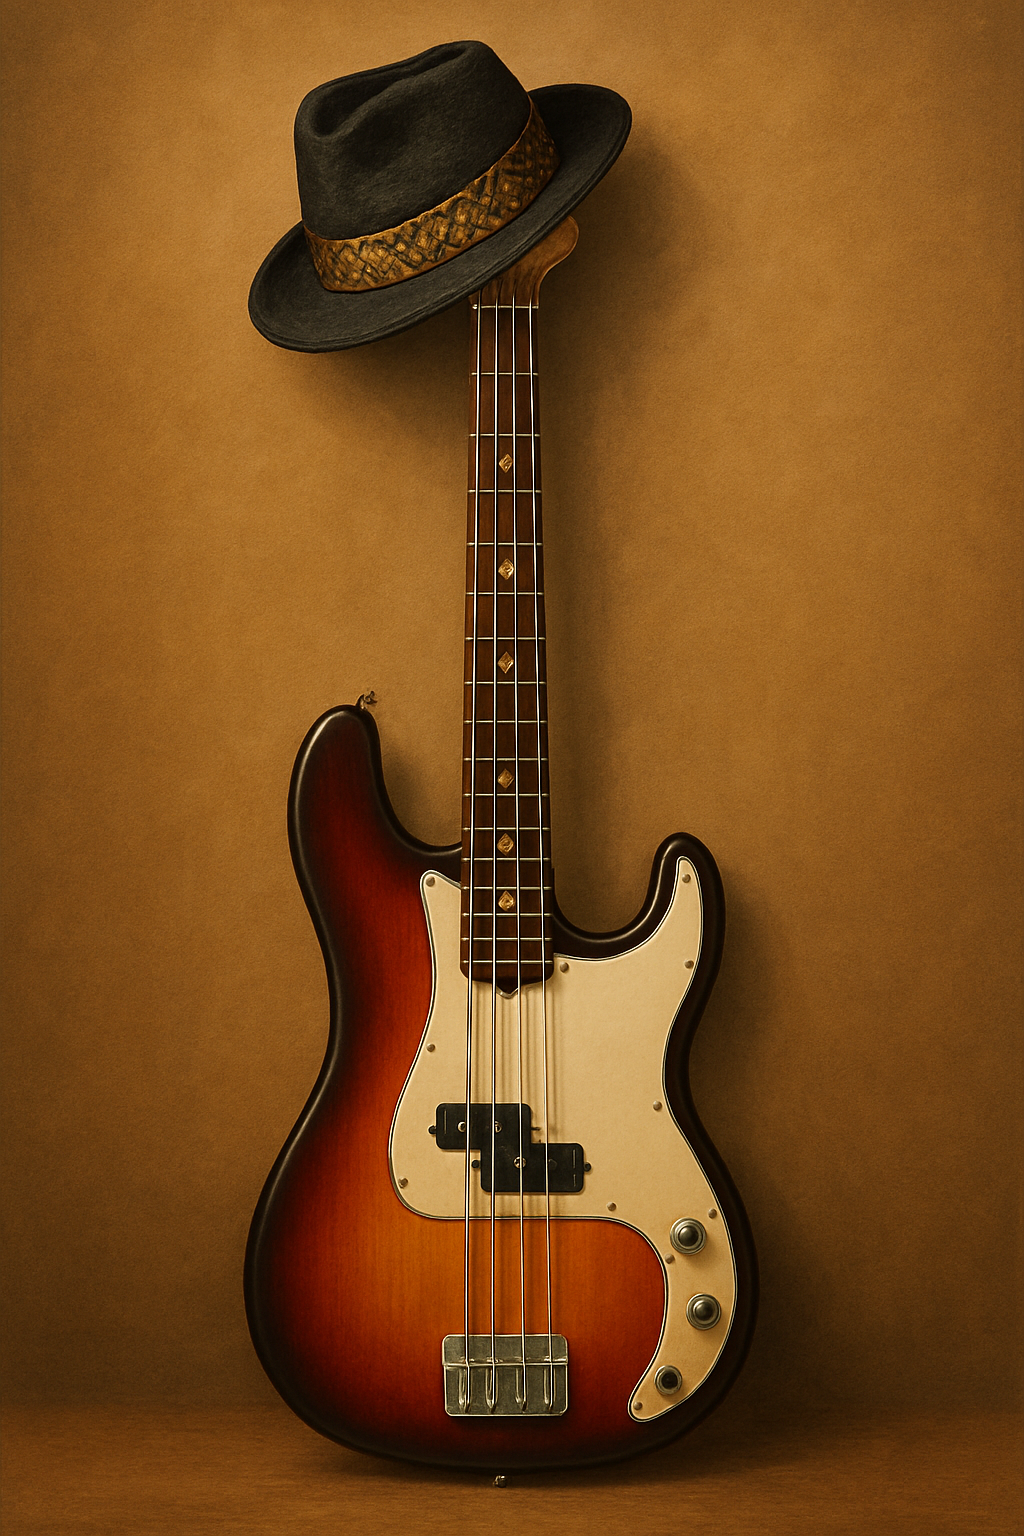
For printed covers, you’ll need to factor in the spine and back cover too, especially if you’re using services like Amazon KDP, Lulu, or IngramSpark. In those cases, start with the front cover concept, then expand the artwork to a full wraparound template once you know the final page count. For example, the image below is a mock cover I created for a fictional book titled How to Play the Bass Guitar Like Oluwademilade.
Add your title and author name using design tools like Canva, Affinity Publisher, or Adobe Express. Choose fonts that complement the mood of the artwork—nothing too busy or hard to read. If you’re going ultra-DIY, you can even print the cover onto glossy sticker paper and wrap it around a notebook or paperback as a personalized gift.

Related
How to Design and Make a Book Cover
If you don’t have the budget to have your book cover designed, you can do it yourself. All you need is a free design tool and some planning.
2
Craft Memorable Gifts
AI art makes it incredibly easy to create one-of-a-kind gifts that actually feel personal. Once you’ve got the design around the recipient’s personality or interests, head to platforms like Redbubble, Zazzle, or Printful. These services let you upload your image and instantly preview it on a wide range of products—from ceramic mugs and throw pillows to puzzles, tote bags, hoodies, mouse pads, or framed prints—before buying.
If you’re more of the hands-on, crafty type, you can use AI images as part of a handmade gift. Print them as cover art for a photo album, journal, or memory book. Or cut out elements from your design and incorporate them into a collage, greeting card, or decorative tag.
1
Design Your Own Game Cards
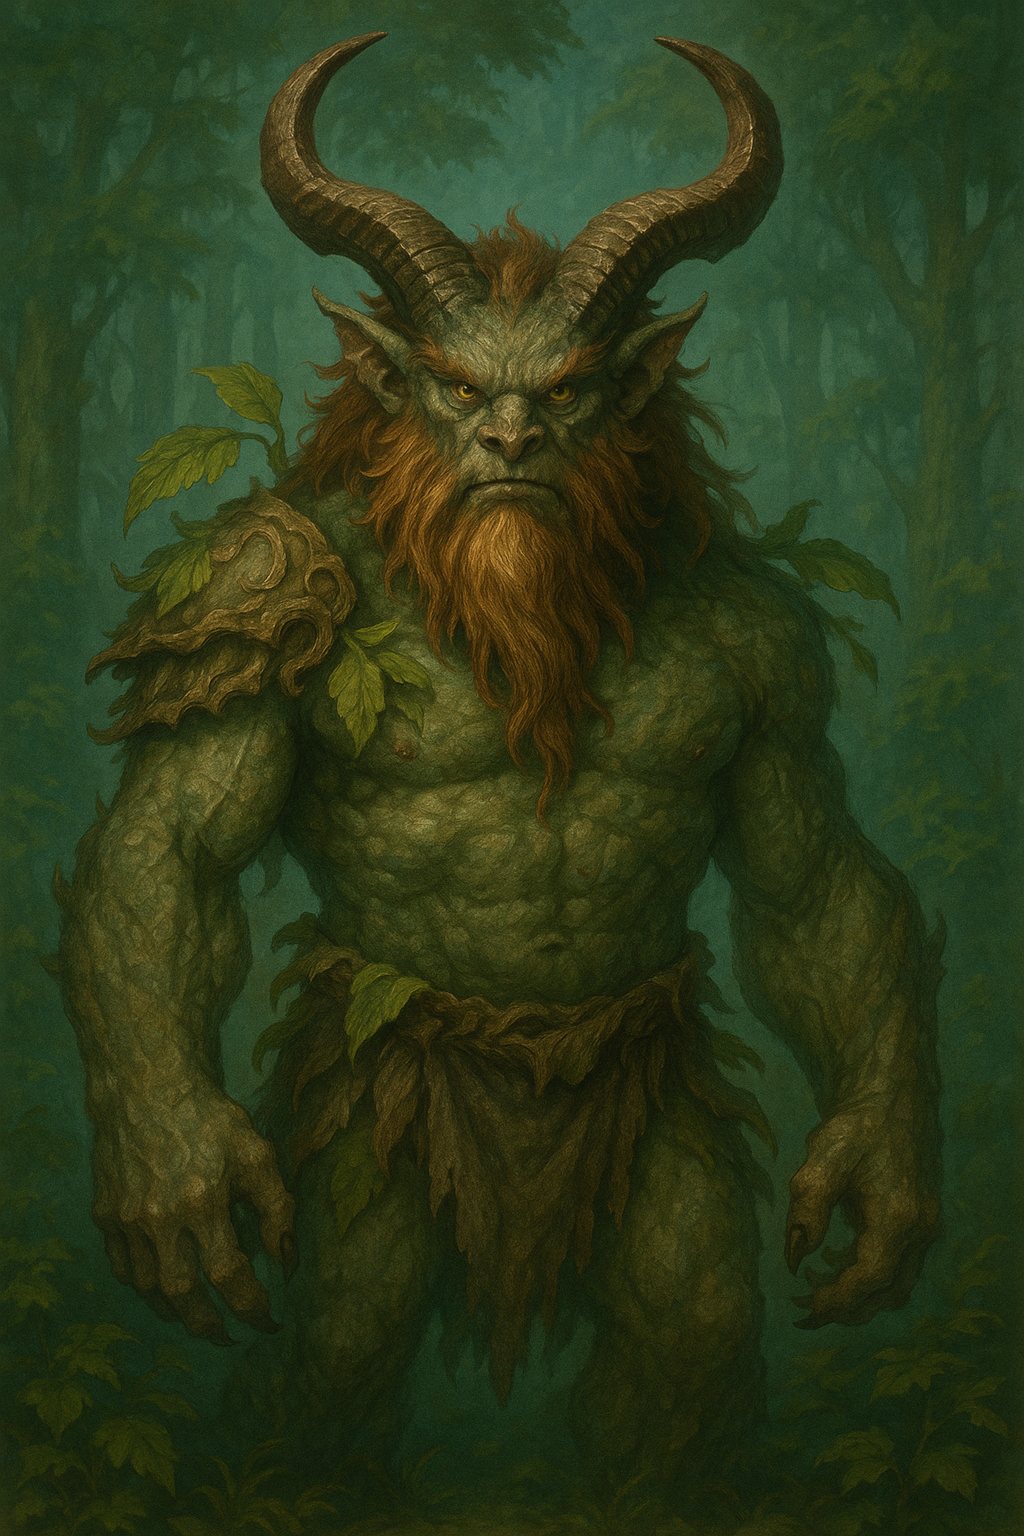
If you’ve ever dreamed of making your own card game—or just want to spice up game night—AI art can help you design custom cards, characters, or entire game worlds without needing a professional artist. Whether you’re building a Pokémon-style deck, a fantasy-themed board game, or just printing silly trading cards of your friends as mythical creatures, generative art tools open up a whole universe of creative freedom.
Start by deciding on your card dimensions (standard playing cards are typically 2.5″ x 3.5″), then resize or crop your artwork accordingly using tools like Canva, Figma, or Photoshop. Be sure to leave a safe margin around the edges to avoid important elements getting trimmed during printing.
Next, think about how the image fits within your card design. You can use the AI art as the entire background or isolate certain parts—like characters, symbols, or scenes—to feature more prominently. Add text elements like card names, stats, descriptions, or point values using legible fonts that don’t overpower the art. If you’re making multiple cards, keep your formatting consistent by duplicating a base template.
Related
How to Use ChatGPT and DALL-E to Create Characters for Dungeons & Dragons
Looking to increase your character repertoire for D&D? ChatGPT and DALL-E could be just what you’re looking for.
You can print them on heavy cardstock at home and cut them yourself, or use a service like MakePlayingCards or The Game Crafter for a more polished finish. Lamination or card sleeves can add durability if they’ll see regular handling.




Leave a Comment
Your email address will not be published. Required fields are marked *