

Windows natively packs a ton of useful features that are either hidden or disabled by default, even though they’re more than good enough to be enabled at first launch.
9
Show File Extensions
Windows hides file extensions by default, which makes it harder to differentiate file types—especially for similar media types such as JPEG, PNG, and SVG for images, or MP3, M4A, and WAV for audio. Without visible file extensions, it’s also easier for malware to disguise itself as an ordinary file by using familiar Windows icons to mislead users.
By making the file extensions visible, you can easily tell at a glance whether a file is a JPG, PNG, RAW, or something more suspicious, like an executable masquerading as a document. This also allows you to edit file extensions to fix incorrect type labels or to determine how a file is opened.
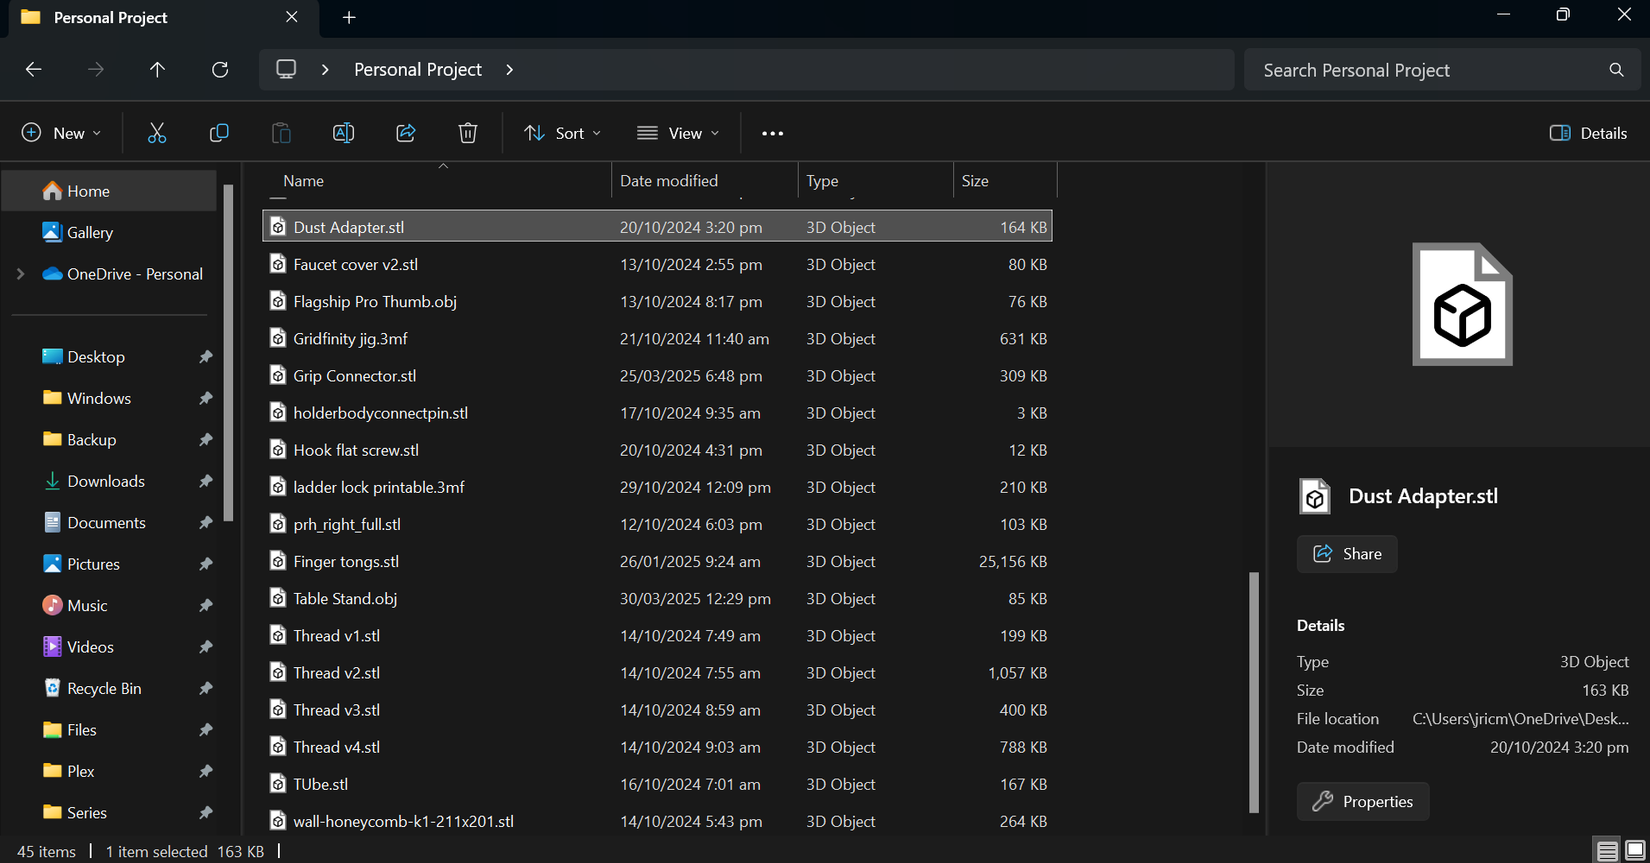
Here’s a folder where I keep my 3D design files. Without file extensions, I wouldn’t be able to distinguish whether a file is an STL, 3MF, or OBJ.
There are different ways to show file extensions on Windows, but the easiest would be to open File Explorer, go to the View tab, hit Options, and uncheck Hide extensions for known file types. You can also tweak this setting via the Registry or Group Policy if you manage multiple PCs. Showing file extensions should be on by default, as it’s a simple change that makes everyone more secure.
8
Show Hidden Files
Alongside file extensions, Show hidden files is another setting I always enable right away. Windows hides a lot of important folders by default. This includes configuration files, app data, and caches that most people never see. While this does help prevent accidental changes, it can be a real obstacle if you ever need to troubleshoot a problem or migrate your settings to a new device.
For example, I often need to copy over configuration files for certain apps when setting up a new PC or syncing settings between devices. Without revealing hidden files, it would be difficult or impossible for non-power users to locate and copy these important configuration files.

Just like file extensions, showing hidden files is easy. Simply open File Explorer, go to the View tab, and check Hidden items. You can also toggle this in Settings under System > Storage > Advanced storage settings, or use the Control Panel or Windows Terminal for more granular control. Having this on by default would save users countless clicks and confusion when managing their systems.
7
Storage Sense
Storage Sense is one of those features that quietly does its job in the background. It automatically deletes temporary files, empties the Recycle Bin, and manages OneDrive storage, freeing up space without you having to think about it. I’ve found this feature particularly useful on my laptop since it saves me a bit of space as well as helps keep my device optimized.
For the majority of us, there’s really no downside to turning Storage Sense on by default. As you can see, I’ve saved over 4GB of storage space just in the past month.

You can turn on Storage Sense in Settings > System > Storage, and set it to run on a schedule. I personally just set it to work whenever I’m low on free disk space. For admin users, you can automate the use of Storage Sense across multiple machines using Group Policy or the Registry.
6
Clipboard History

There are several Windows features that can improve your productivity. Clipboard History is one that I use all the time. With a quick Windows Key + V shortcut, you can access your recently copied items (text and screenshots), pin your favorites, or clear the whole list when you want a fresh start. This is one of the features that I often use, especially when doing deep research on certain topics for work and personal projects.
To turn it on, go to Settings > System > Clipboard and flip the Clipboard history switch. This is a huge productivity booster, and there’s no reason it shouldn’t be on by default. Once you get used to it, you’ll never want to go back.
5
Focus Assist

Notifications are a productivity killer, and Windows’ Focus Assist helps you block them when you need to concentrate. Usually, Focus Assist only turns on automatically when you’re duplicating your display, playing a game, or using a full-screen app. But most people need distraction-free time for work, too.
Enabling Focus Assist by default, or at least making it easier to schedule, would help everyone get more done. You can customize which notifications break through (like alarms or priority contacts) and set your own rules in Settings > System > Focus Assist. I personally like having Focus Assist on my notification panel. This allows me to conveniently turn on focus assist and set a duration whenever I want to concentrate on a task.
4
Auto Night Light

Night Light is a built-in Windows feature that reduces the amount of blue light emitted by your screen by adjusting the display colors to warmer tones. This feature automatically activates after sunset or during the hours you specify. By reducing blue light on your screen, night light can help reduce eye strain and discomfort, especially at night when you’ve already spent hours looking at a screen.
To activate this feature, go to Settings > System > Display > Night light. You can then select the strength and times when the feature turns on and off.
3
Virtual Desktops

Virtual desktops is one Windows productivity feature that changed the way I work. This productivity tool lets you organize your open windows into separate workspaces, allowing you to stay focused and have a clear division between different tasks. What’s great about these virtual desktops is that they are persistent and can be accessed even after rebooting or shutting down your Windows computer.
To create a virtual desktop, press the Windows Key + Tab and click the plus icon at the bottom of the screen. You can make as many desktops as you need. Personally, I keep separate desktops for different tasks and interests, such as writing, development, entertainment, and meetings. You can even customize each one by naming them and setting up unique wallpapers, to make it easier to recognize which space you’re currently using.
2
Find My Device

With so many people working remotely and carrying laptops everywhere, having a tracking feature just in case of theft or misplacement is important. Windows provides the Find My Device feature, which allows you to track down your laptop or lock it remotely. However, this feature is often turned off by default.
To turn it on, go to Settings > Update & Security > Find My Device, and enable Save my device’s location periodically. For this to work, you also need location services enabled so you can track your device whenever it’s connected to the internet.
1
Dynamic Lock on Laptop

Another privacy and security feature you can implement on your computer would be the Dynamic Lock feature. This automatically locks your PC when you walk away, using your phone’s Bluetooth signal as a trigger.
I find this especially useful on my laptop when I’m working in co-working spaces. It gives me peace of mind, since I don’t have to worry about someone accessing my laptop if I step away for a coffee or bathroom break.
To set up a dynamic lock on your computer, go to Settings > Accounts > Sign-in options and select Dynamic lock. Then, pair your phone with your computer through Bluetooth. Make sure Bluetooth is turned on for both your phone and your computer before you leave your device.
Most of these options take just a few seconds to a minute to enable, but the utility they provide will make your Windows experience much better. After enabling these features, you’ll find that Windows operates more intuitively, efficiently, and better customized to your workflow. Give these features a try, and you’ll wonder how you ever used Windows without these features before.


Leave a Comment
Your email address will not be published. Required fields are marked *