I hate it when my streaming night gets ruined due to constant buffering. Instead of paying for faster internet, I found ways to prioritize my Wi-Fi streaming device—and now my streams play smoothly every time.
6
Set a Static IP Address With Priority Access
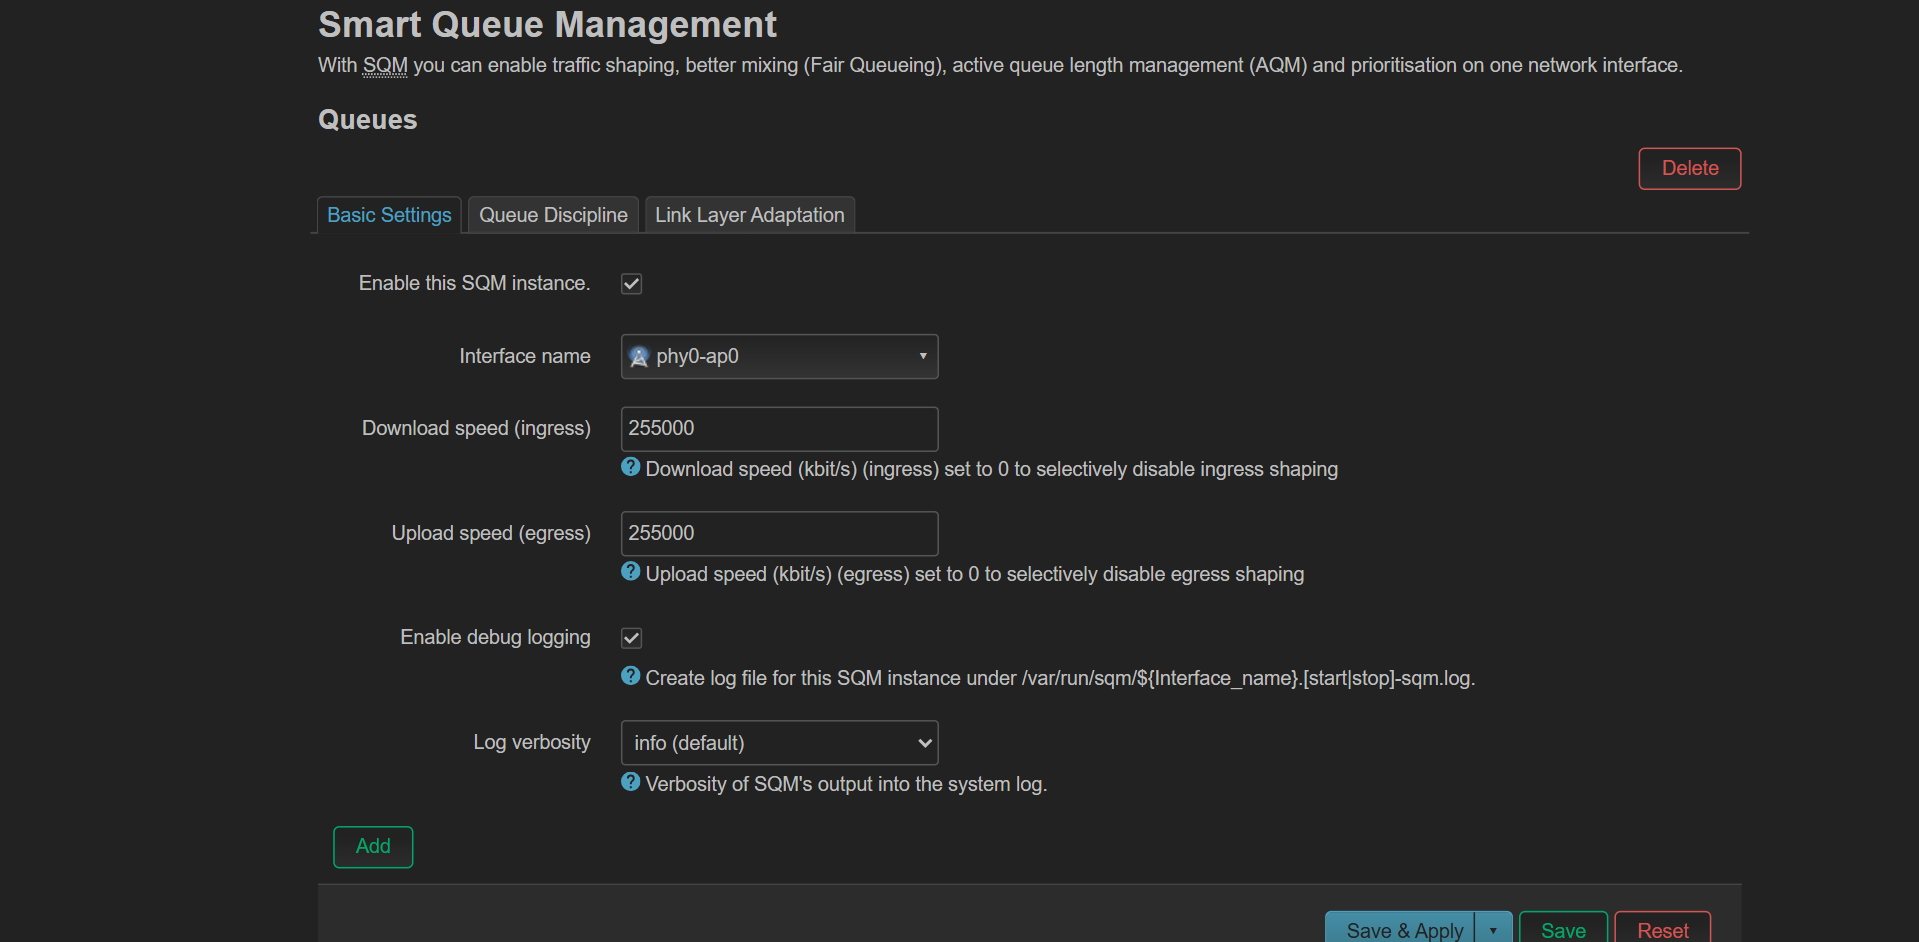
I’ve found the biggest improvements by prioritizing my streaming device’s access on my network. The first thing I did was to set up and enable SQM (Smart Queue Management) for my wireless access point. This is a type of QoS (Quality of Service) that actively manages queues, shapes traffic, and tackles bufferbloat, which is the main culprit behind lag and stuttering during heavy usage.
You can get these advanced traffic shaping capabilities by installing OpenWRT or pfSense on your router. Many stock routers will also have QoS functionalities, but may be limited depending on your device.
After turning on auto traffic shaping, I assigned static IP addresses to the devices on my network that use the most bandwidth. This way, my advanced rules and prioritization always target the right devices, no matter how often they reconnect or reboot. I set my streaming device to have top priority on my Wi-Fi router, while I put speed limits on my other devices based on how much bandwidth I think they need. This keeps my streams smoother and ensures my most important devices don’t get slowed down by less important ones.
5
Proper Wireless Access Point Placement and Setup
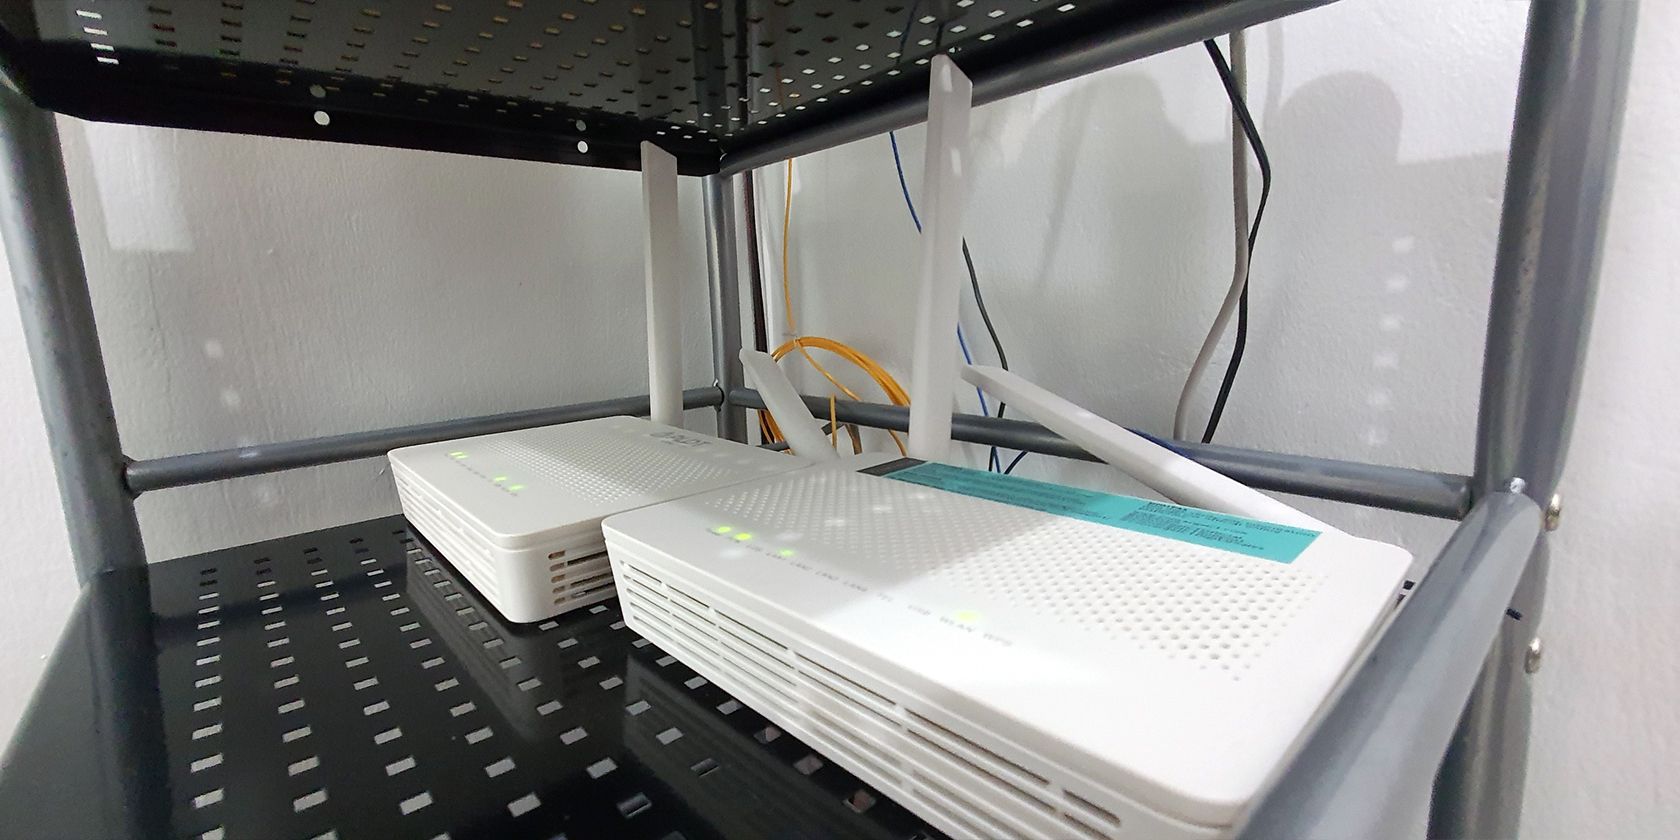
Wi-Fi access point placement matters more than most people realize. I used to keep mine tucked away inside a closet, thinking it was better to keep all networking devices in the same space. But Wi-Fi signals hate obstacles—walls, appliances, and electronics all get in the way. I moved my Wi-Fi access point to an open spot in my living room, placed it on a shelf, and kept it away from other electronic devices. Immediately, the improvements in signal strength became obvious. Having a stronger signal makes it easier for my streams to stay at 4K instead of automatically adjusting to 1440p or 1080p.
If you have a larger home or thick walls, a mesh Wi-Fi system can help solve your connectivity issues. Mesh systems are great because they let you blanket your whole home in fast, reliable Wi-Fi without dead zones.
4
Switching the Wi-Fi Band to 5GHz
The next thing I did was to choose the frequency band my streaming device was using. Most modern routers are dual-band and use the 2.4GHz and 5GHz spectrums. I made sure my streaming device was connected to the 5GHz band, which is much faster than 2.4GHz.
The only catch is that 5GHz doesn’t travel as far or penetrate walls as well as 2.4GHz. If your streaming device is far from the router or behind multiple walls, you may need to move your router or use a mesh system.
Since my Wi-Fi access point now sits close to my streaming device, I get the full benefit of a 5GHz connection without having to worry about poor signal quality.
Also, if your router is capable of setting Wi-Fi channel width, adjusting this can help too. I set the 5GHz band to 80MHz for maximum throughput, which is usually the sweet spot for most suburban homes with low-congestion. For city homes crowded with signals, lowering the Wi-Fi channel width to 40MHz or even 20MHz might be the better option.
3
Optimizing Stream Quality Settings
Even with a perfectly tuned network, the streaming device itself can sometimes be the weakest link. I use an old laptop to run a private Plex server loaded with 4K HDR movies, but not every screen in my house is built to show off that level of detail. Pushing a 4K HDR stream to a device that only supports 1080p resolution in 8-bit color isn’t just overkill, it’s a common cause for stutters, color banding, and wasted bandwidth.
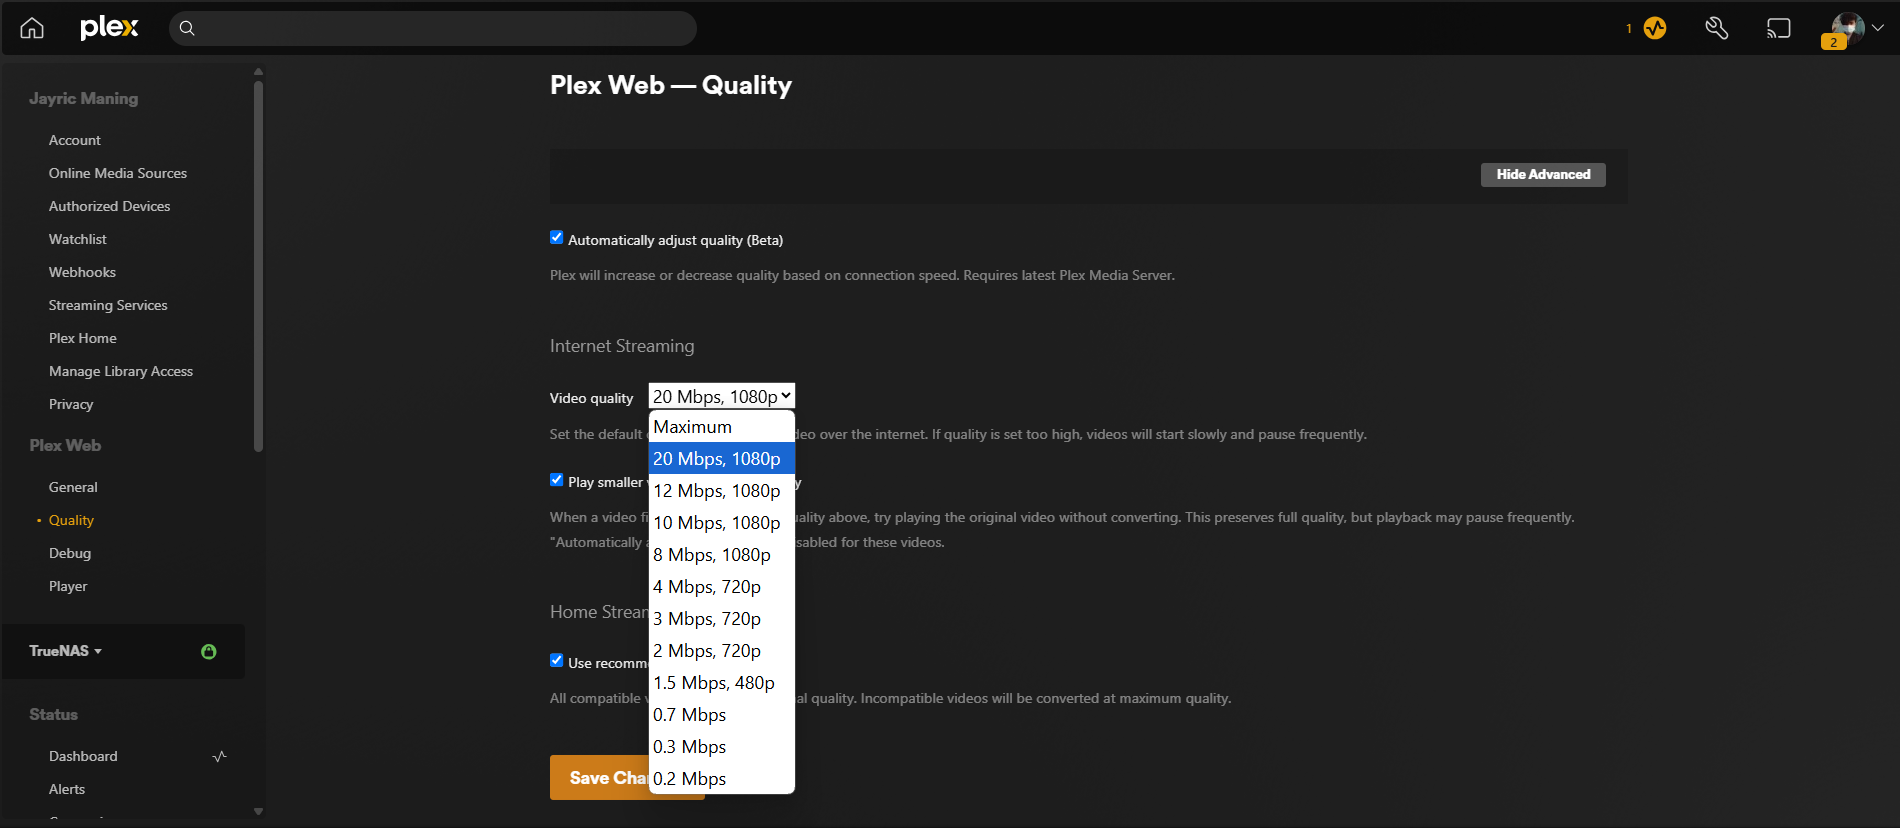
In my setup, my smart TV supports 4K, but only at 8-bit color depth. That means it can’t fully display the richer gradients and wider color range that true HDR content offers. If I try to force a 4K HDR stream, my TV and streaming device have to work overtime, often resulting in dropped frames or forced downscaling that looks worse than a properly matched stream. Instead, I adjust my Plex server’s settings to transcode or direct-play content at the native resolution and color depth my TV can actually handle.
I also do this on all my streaming client devices. For example, if I’m watching on my bedroom TV that tops out at 1080p, I set Plex to transcode 4K movies down to 1080p. This saves a ton of bandwidth and ensures the stream doesn’t buffer, especially if someone else in the house is using the network. On devices with limited processing power, I’ll also reduce the bitrate or disable certain advanced features like HDR or high frame rates.
Another thing to keep in mind is codecs. Some older devices struggle with newer formats like HEVC (H.265), which are common for 4K content. If I notice stuttering or failed streams, I’ll have Plex transcode to a more compatible format like H.264, even if it means a slightly larger file size.
Optimizing stream quality isn’t just about maxing out every setting. It’s about matching your content to your hardware and network so you get the best possible experience.
2
Reducing Wi-Fi Congestion
With each family member owning multiple gadgets and homes equipped with a variety of IoT devices, Wi-Fi congestion is now becoming a problem even in regular households. Having so many devices using Wi-Fi not only splits your bandwidth, but it can also weaken the signal going to your streaming device.
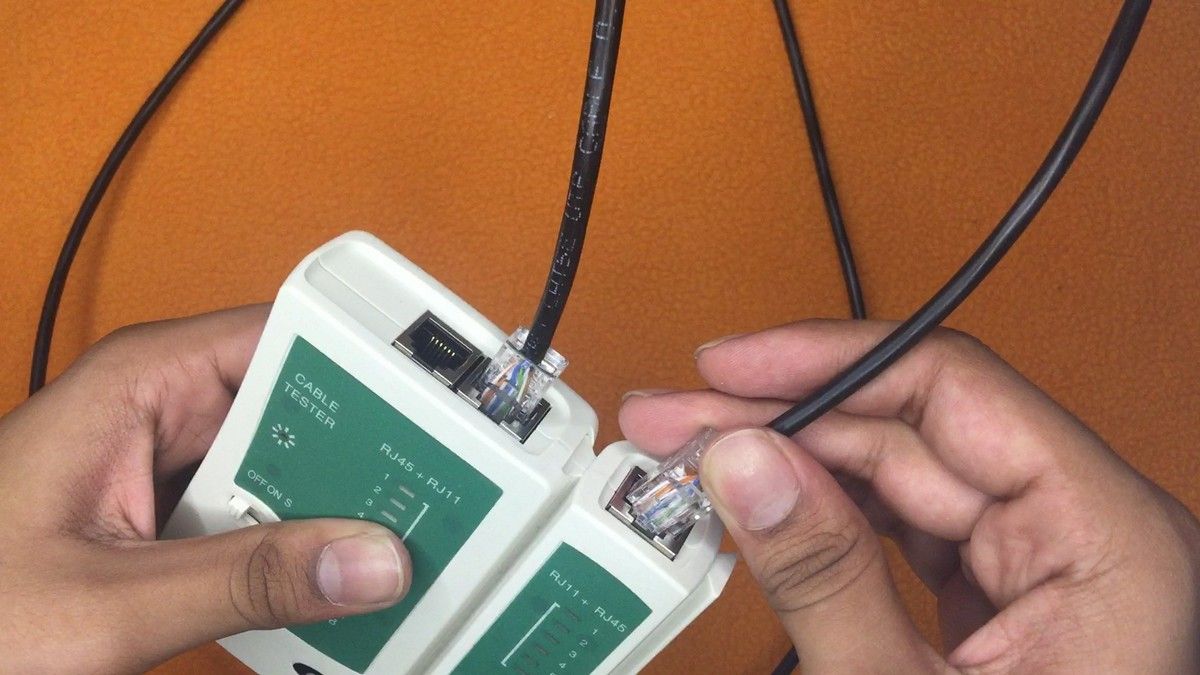
To fix this, I started by turning off any wireless devices we weren’t actually using. Most routers show a list of connected devices in the admin panel. I check this list regularly and disconnect anything that doesn’t need to be online. I also learned how to make my own Ethernet cables, so I could wire up parts of the house and take some gadgets off Wi-Fi completely. For the rest, I set all my smart home devices and printers to use only the 2.4 GHz band. That way, my streaming devices have the faster, less crowded 5GHz band all to themselves.
I also set up a guest Wi-Fi network for visitors. This keeps their devices from competing with my streaming server and adds a layer of security. If someone in my house needs to download a massive game or update, I ask them to do it outside of prime streaming hours. Scheduling heavy downloads keeps the network clear when I want to stream high-bandwidth content.
1
Closing Unused Apps and Services
Streaming devices and smart TVs often keep apps running in the background, quietly using up your bandwidth. Before I start watching anything, I close any apps I’m not using. On my smart TV, I just open the app manager and force close everything except my streaming app.
If you’re streaming on a PC, it’s a good idea to turn off automatic updates. There’s nothing more annoying than a surprise download slowing down your stream. Also, check your update schedule—many are set to run at night or early in the morning, which could interfere if you like to stream during those times. This last step is easy to miss, but it really helps, especially since some of these apps use a lot of system resources and bandwidth.
After making these changes, my streaming experience improved enormously. Buffering became rare, video quality stayed consistently high on automatic presets, and my streaming devices didn’t have to compete with other devices for bandwidth. I also didn’t pay my ISP anything extra or buy any new gadgets!




:max_bytes(150000):strip_icc()/twoku-twtich-roku-app-2053432b763a40d788ef726974d9ed2a.png?w=1174&resize=1174,862&ssl=1)
Leave a Comment
Your email address will not be published. Required fields are marked *