Windows has a built-in tool that creates a completely isolated environment. Using it, you can safely test suspicious files, install questionable software, or browse risky websites without risking damage to your main computer.
Meet Windows Sandbox
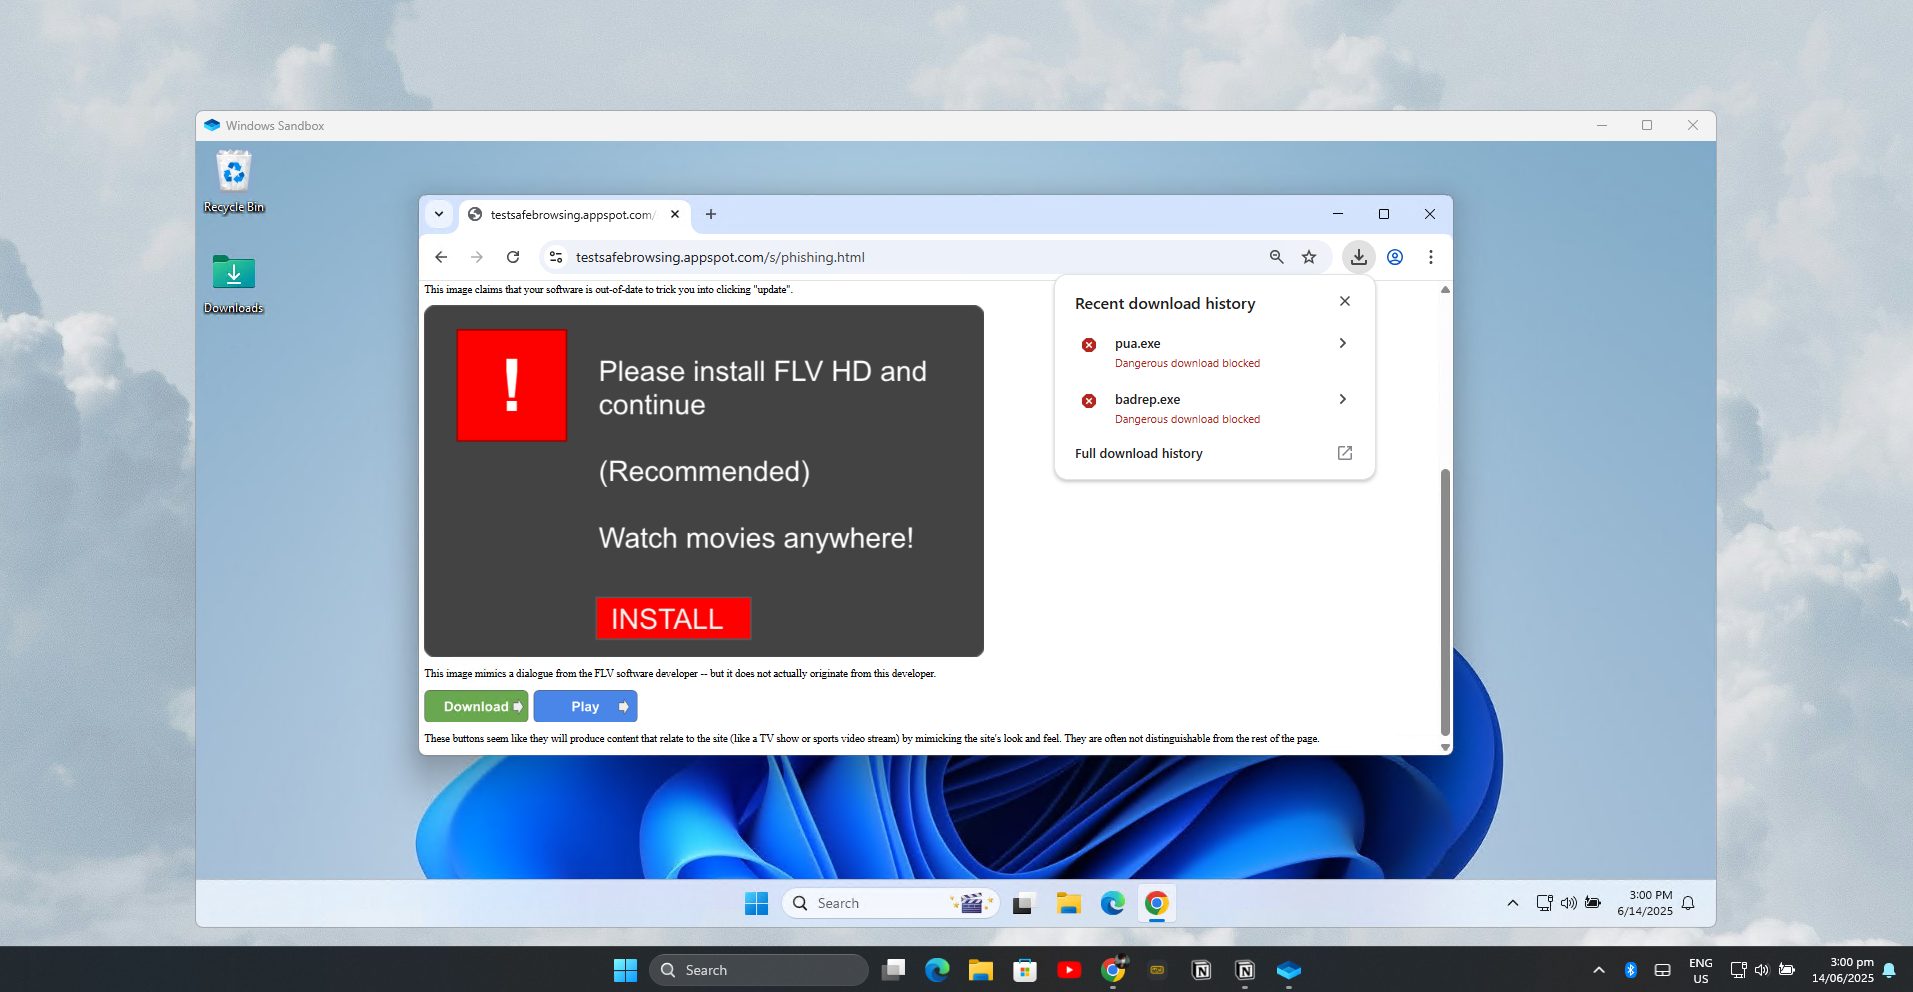
Windows Sandbox is a built-in security feature available on Windows 10 and 11 Pro, Enterprise, and Education editions. It creates a temporary, isolated Windows environment that’s completely separate from your main system. Think of it as a disposable computer inside your computer. Anything you do in the sandbox stays there, and when you close it, all traces vanish. This makes it one of the easiest ways to check if a download is safe, without putting your files or settings in harm’s way.
Unlike traditional virtual machines that require you to install an operating system and dedicate a chunk of your storage drive, Windows Sandbox uses your existing Windows files to spin up a lightweight, temporary desktop in seconds. It’s designed to be fast, efficient, and dead-simple for anyone to use—no tech wizardry required!
The temporary nature of Windows Sandbox is both its greatest strength and defining characteristic. Every time you launch it, you get a completely fresh Windows installation. When you close the sandbox, everything disappears permanently. All installed software, downloaded files, registry changes, and system modifications vanish without a trace.
Getting Started With Your First Virtual Sandbox
Windows Sandbox combines the security benefits of virtual machines with the efficiency of container technology. Instead of running like a traditional Hyper-V virtual machine, the sandbox operates more akin to a process within your main operating system, giving it better performance and resource management. The system uses intelligent memory sharing where the sandbox and host computer share the same physical memory pages for executable files, through a technology called “direct map”.
Before you can use Windows Sandbox, your computer needs to meet specific requirements. You need Windows 10 or 11 Pro/Enterprise/ Education. You must enable Hyper-V, and have virtualization turned on in your BIOS. See our guide to fixing common virtualization problems for help with checking this.
Finally, you’ll also need at least 4GB of RAM (8GB recommended), and at least 1GB of free disk space.
To enable Windows Sandbox, you need to turn on the feature within the OS. Open the Start menu and type “Turn Windows features on or off”. Alternatively, you can navigate to the Control Panel, open Programs and Features, and then click Turn Windows features on or off.
In the Windows Features dialog, scroll down and check the box next to Windows Sandbox. Click OK and restart your computer when prompted. The installation process will download and configure the necessary components.
Using the Sandbox
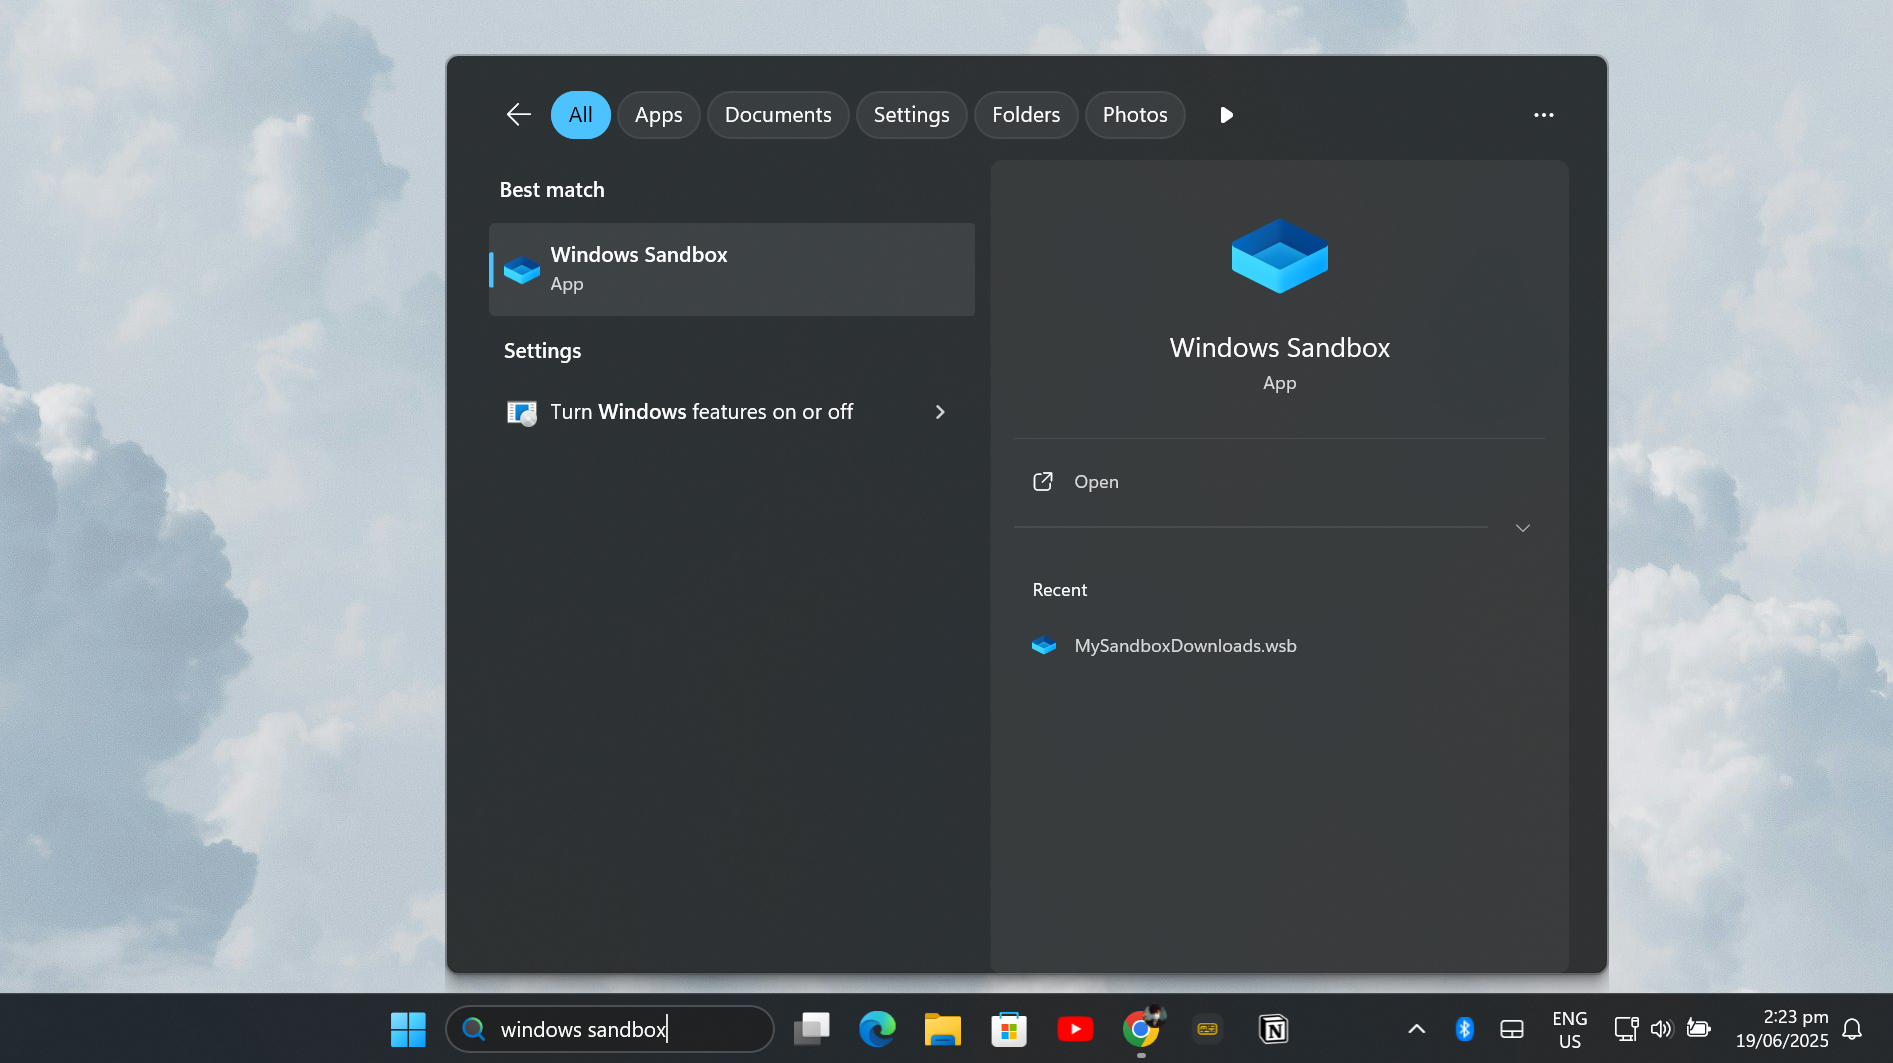
Once you’ve enabled it, launching Windows Sandbox is straightforward. Simply open the Start menu, type “Windows Sandbox,” and click it. The sandbox will launch in its own window, displaying a clean Windows desktop with only the basic built-in applications like File Explorer, Control Panel, Notepad, and Microsoft Edge. You can resize the window or maximize it for full-screen use, just like any other app.
Getting files into the sandbox is simple thanks to clipboard integration. You can copy files from your main computer and paste them directly into the sandbox environment. Alternatively, you can use the built-in Microsoft Edge browser within the sandbox to download files directly from the internet.
The sandbox has network access by default, so you can browse websites, download software, and access online resources.
Why You Should Use Windows Sandbox for Privacy and Security
Windows Sandbox is a practical solution for anyone who wants to stay safe while exploring unknown files or apps. Here’s why you should use this awesome feature:
- Complete Isolation: Anything you run in Windows Sandbox is sealed off from your main computer. Malware, viruses, or software bugs cannot escape the sandbox.
- Safe Software Testing: You can try out new programs, open suspicious email attachments, or experiment with downloads without worrying about damaging your main Windows setup. If something goes wrong, just close Sandbox and start fresh with another.
- Stronger Privacy: All your browsing history, cookies, and temporary files created in the Sandbox are deleted as soon as you exit. Although there are several free online sandboxing tools with more advanced testing capabilities, Windows Sandbox provides faster performance and will always be available within your system.
- No System Clutter: Installing and removing software in Sandbox never clutters your real PC. You avoid leftover files, registry changes, or slowdowns since every session starts with a clean slate.
The sandbox is particularly valuable for software testing and experimentation. You can install trial software without cluttering your main system, test different versions of applications, or explore system modifications without fear of permanent damage. Think of it like an incognito browser window, but for your entire PC.
How I Set Up and Use Windows Sandbox
I love how Windows Sandbox gives me a fresh, safe space to test apps and files, but downloading the same installer or file over and over again gets old quickly. That’s why I like to set up my Sandbox so it always has access to my Downloads folder. This way, whenever I want to try out a new program or check if a file is safe, I don’t have to waste time redownloading it inside the Sandbox. I just open the file from my real Downloads folder, test it, and move on.
Setting this up is much easier than you might think. Here’s exactly how I do it:
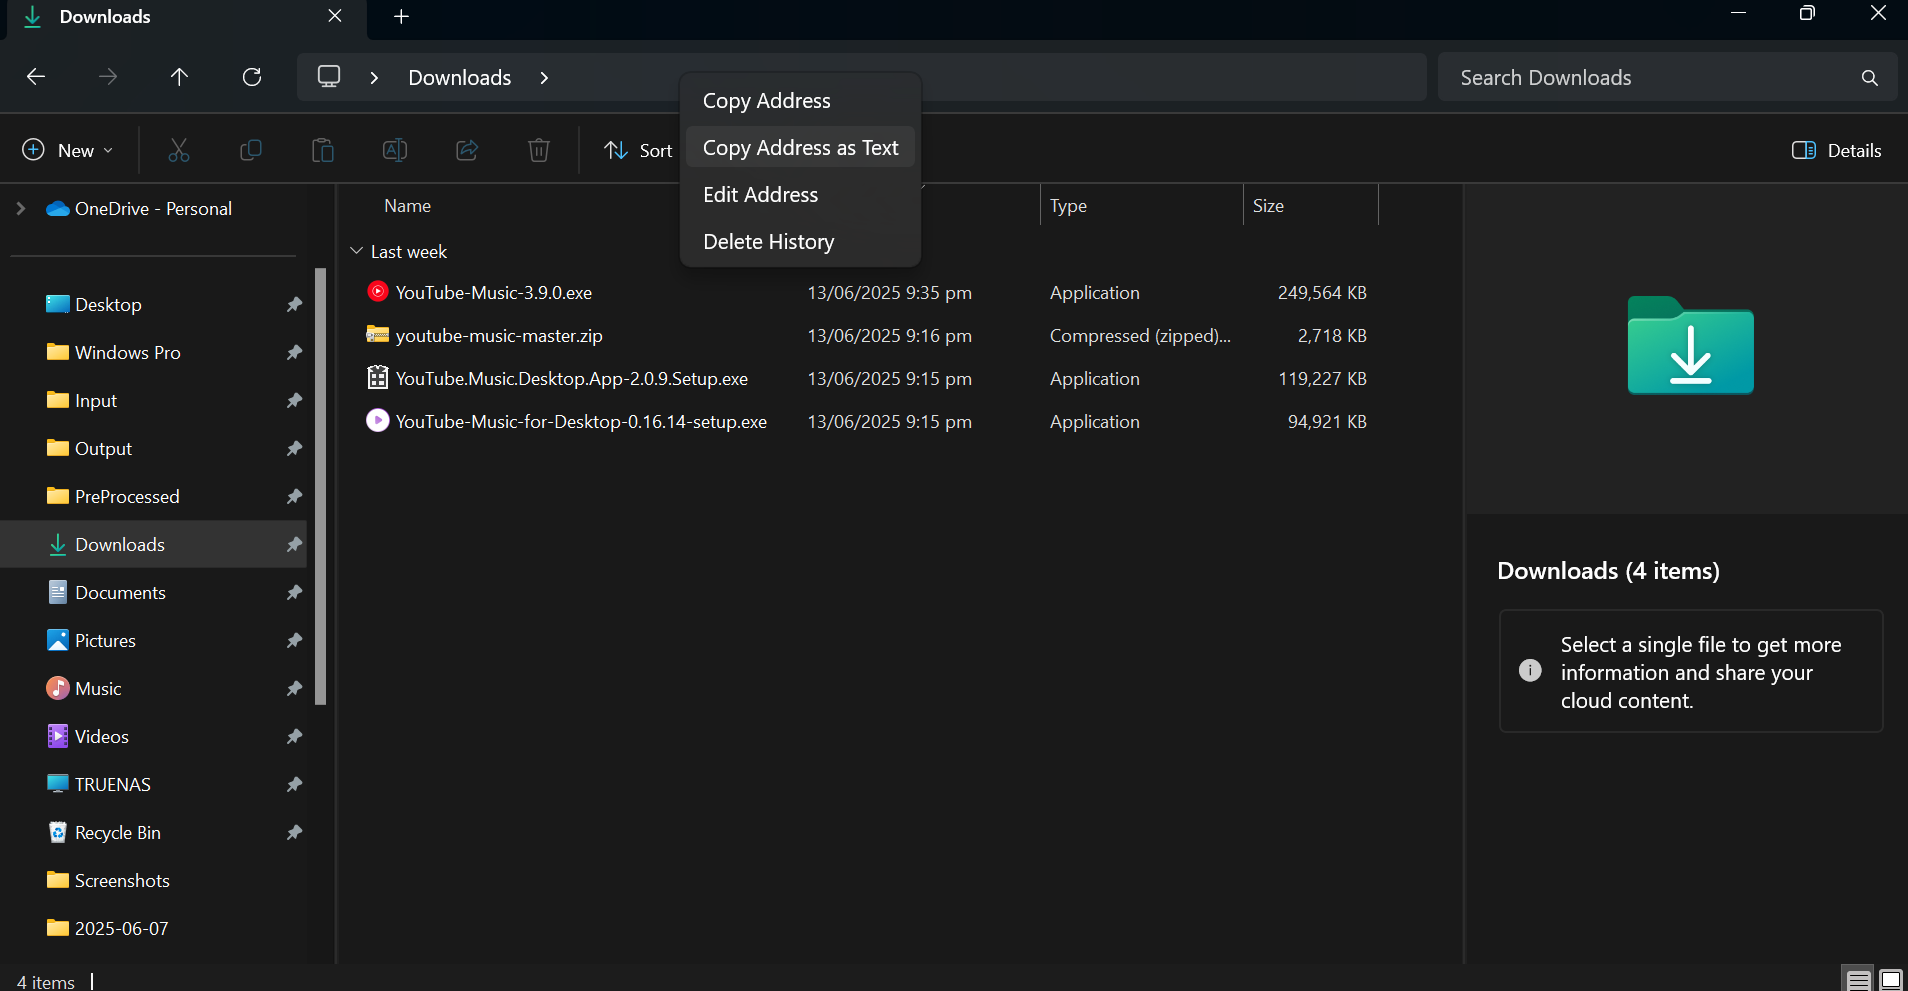
First, on my regular Windows desktop (not inside the Sandbox), I open File Explorer and go to my Downloads folder. At the top of the window, you’ll see the address bar showing the folder’s path. I right-click on that address bar and select Copy address as text from the menu.
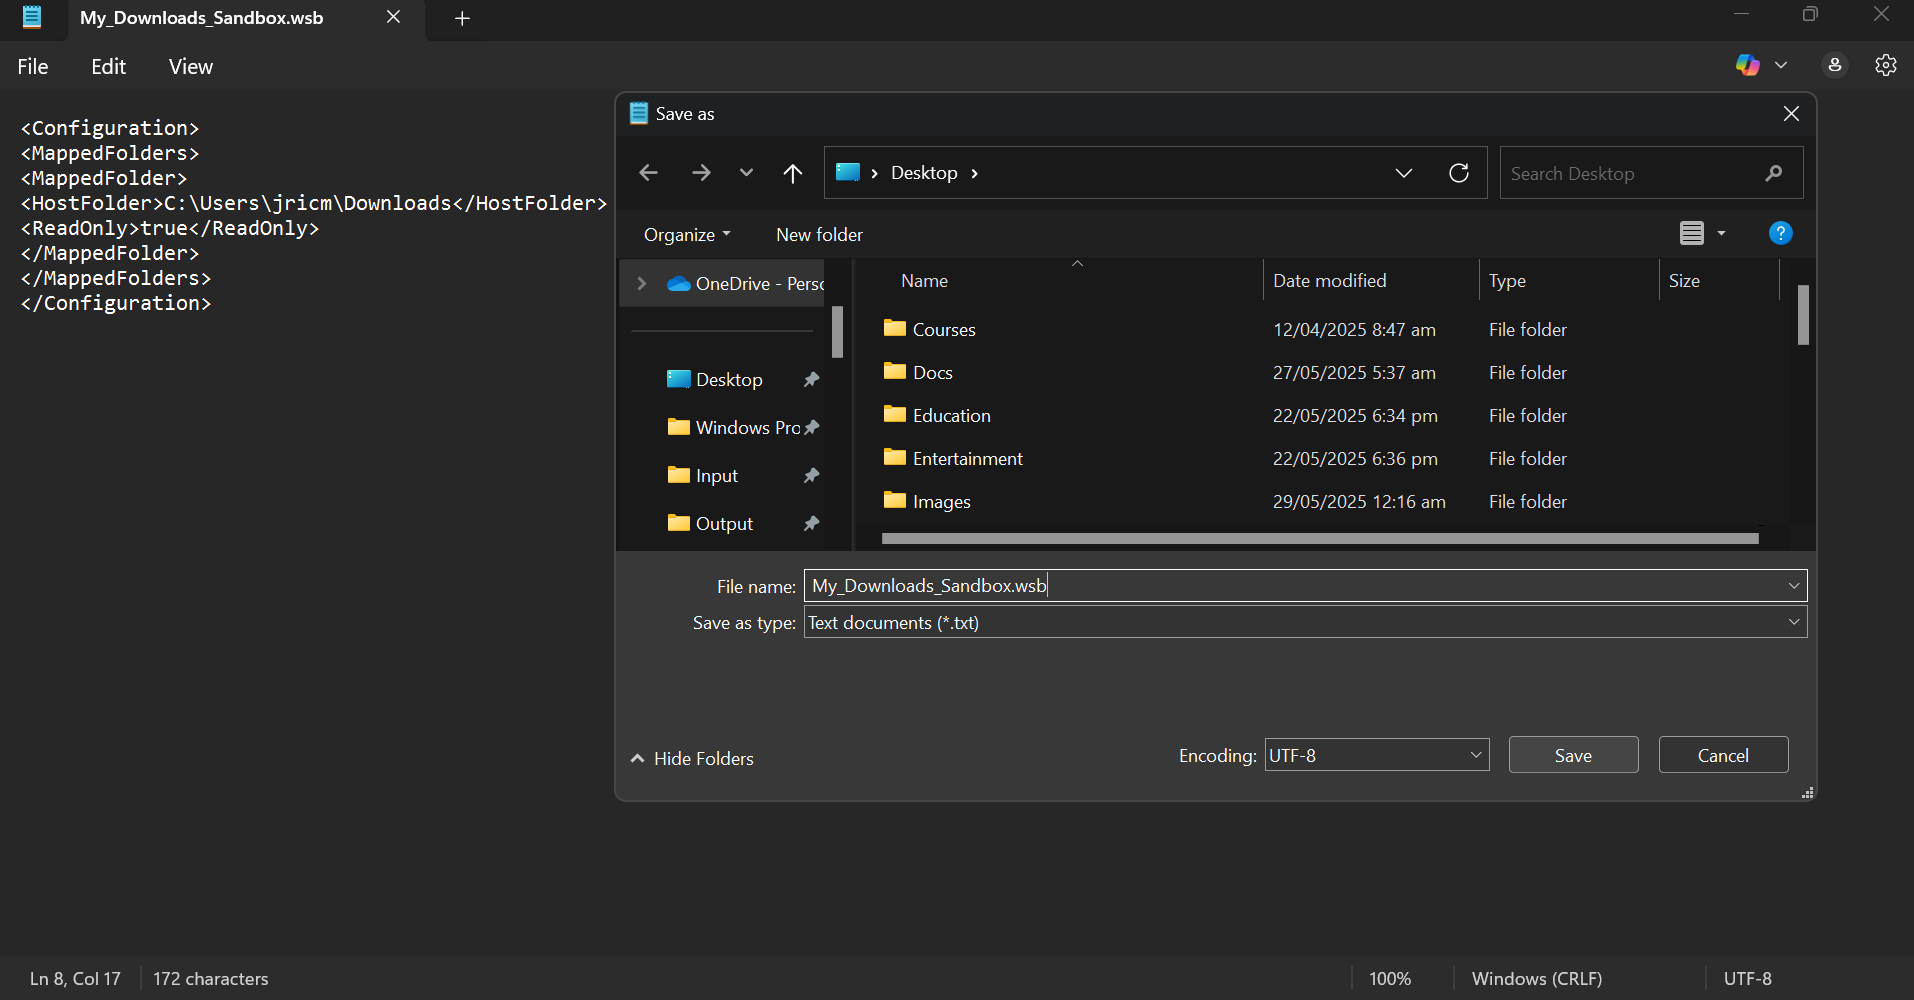
Next, I open Notepad and paste the code below:
 ENTER_FOLDER_ADDRESS_HERE/HostFolder>
 true
I change the part before HostFolder to my Downloads folder address that I copied previously. In this example, my computer’s username is “jricm”, so the path will look like this:
C:\Users\jricm\Downloads
I then save this text file as “My-Desktop-Sandbox.wsb” on my Desktop (for easy access). Once saved, the file should have a Windows SandBox (.wsb) icon.
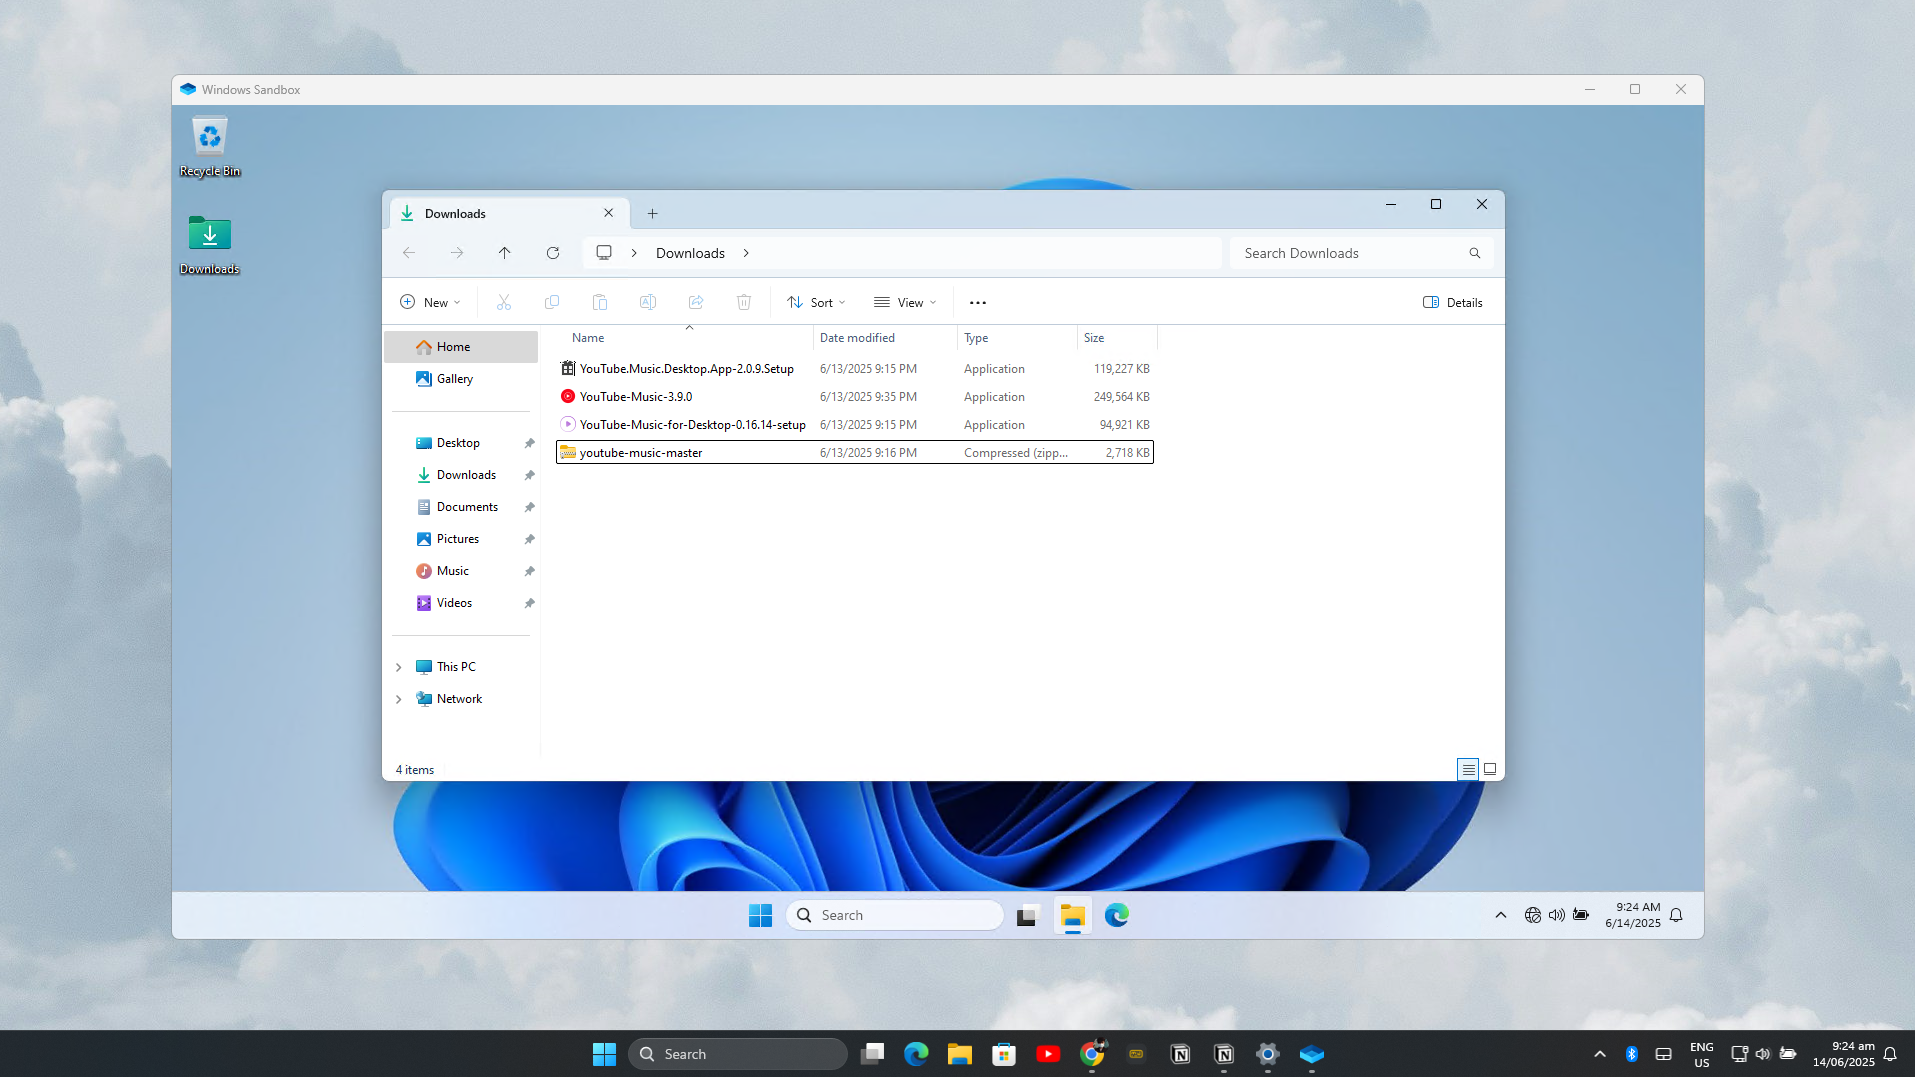
Now, whenever I want to open Windows Sandbox, I just double-click this file. Instantly, my Downloads folder appears on the Sandbox desktop, and I can open or test anything I’ve saved there. Because it’s mapped as read-only, I never have to worry about accidentally changing or deleting anything in my real Downloads folder. It’s all about convenience and peace of mind.
Sometimes I want to take it a step further, especially if I’m testing a file that could be risky. In those cases, I like to lock down the Sandbox even more by turning off its internet connection. That way, even if something tries to call home or download more junk, it can’t get online at all.
To do this, I just add one extra line to the top of my configuration file to disable networking:
 disable


C:\Users\jricm\Downloads
true
That’s it. Now, when I launch Sandbox with this file, not only do I get instant, read-only access to my Downloads, but the Sandbox itself is completely cut off from the internet. No downloads, no uploads, and no sneaky background connections.
This setup makes Windows Sandbox feel like a true personal testing lab. I can quickly try out anything in my Downloads folder, confident that nothing will mess with my real files or sneak out onto the web. And if I ever want to go back to the default, all I have to do is open the regular Sandbox app from the Start menu.
I find that Windows Sandbox provides a perfect balance between security and usability. It gives enterprise-grade isolation in a way that’s accessible to everyday users. By taking advantage of custom configurations and automated setups, you can create powerful, secure testing environments that protect your main computer while enabling safe exploration of the digital world.





Leave a Comment
Your email address will not be published. Required fields are marked *