Are you a Windows user thinking of switching to Ubuntu? Wondering how switching operating systems might influence your workflow? Well, I’m a former Windows user who’s been using Linux for nearly a decade, and here are five ways Ubuntu changed how I use my PC.
My introduction to computers started with Windows XP back in the early 2000s, and I stayed in the Windows ecosystem for more than a decade. It wasn’t until 2016 that I started trying out Linux distros, and Ubuntu was my first real entry point. I was surprised by just how different the entire experience was compared to Windows—not just in looks, but in how the operating system shapes the entire workflow. It made me realize that an OS is much more than a platform for running your apps—it has its own personality and can influence how you use your system.
5
Embracing a Desktop With Two Panels
As someone who has used Windows since childhood, I was accustomed to working with a single panel (the taskbar) at the bottom of the screen. It would house all the quick shortcuts and tools I need, like the app launcher (Start Menu), pinned and currently open apps, quick settings, and the time. Now, I did know about macOS and its two-panel layout with the Menu Bar on top and the Dock on the bottom, but since I have never used it, I didn’t realize how much it could impact my overall workflow.
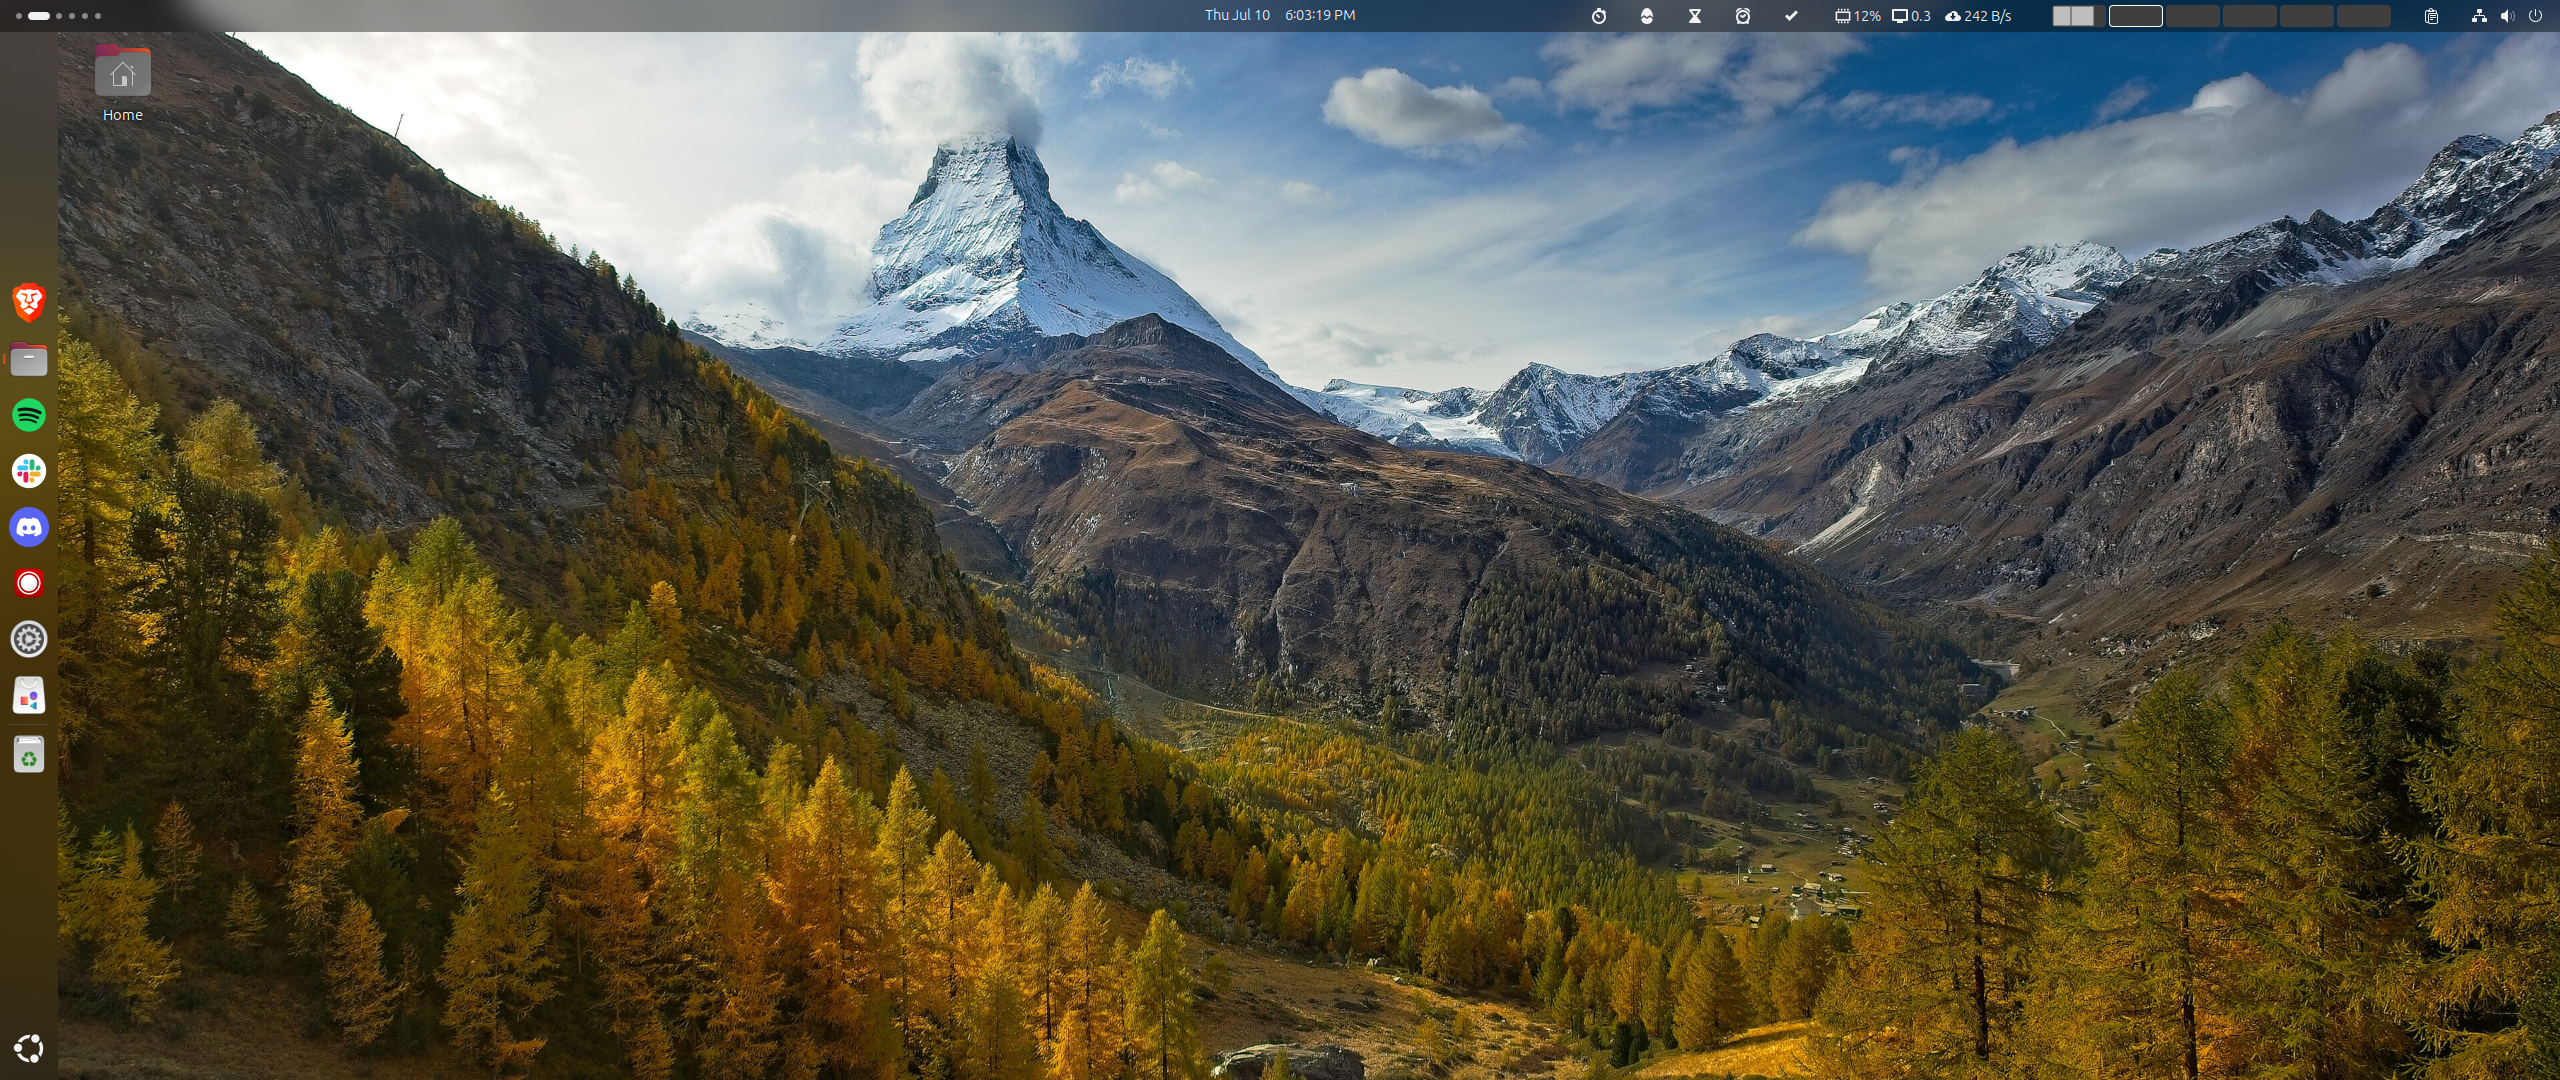
My first exposure to a two-panel layout was using Ubuntu, which offers the Top Bar for system settings and a full-length Dock on the left-hand side for all the pinned and running apps. At first, this felt a bit redundant and a waste of screen space, since the single-panel Windows taskbar could do all of that. However, the more I used Ubuntu, the more I understood the appeal, and I currently prefer the two-panel layout over Windows’ singular taskbar.
Firstly, the Ubuntu Top Bar, by default, is apparently thinner than the Windows taskbar, only displaying system information, a few quick toggles, and some extensions if you enable them. This means you’re saving slightly more vertical screen space, which is important as modern monitors are wider than they are tall. Also, to take advantage of the horizontal screen space, the Ubuntu Dock, which is roughly the same size as the Windows taskbar, is positioned on the left side of the screen. This way, it doesn’t get in the way of modern apps and websites which are designed to show content in a more vertically scrollable layout.
Another benefit of a two-panel layout is that I can auto-hide the wider Dock to free up more screen space. While you can also auto-hide the Windows taskbar, I rarely saw it as a pragmatic solution because it interfered with checking the time or the network status. But on Ubuntu, all that system information is visible in the thin Top Bar, so I just leave the Dock on autohide, only triggering it if I need to access an app.
4
Understanding the Power of Virtual Desktops
During the early days of Windows, virtual desktops weren’t really a thing. It was only with Windows 10 that Microsoft introduced virtual desktops, and even then, it wasn’t a fully fleshed-out feature thoughtfully integrated into the system. On the other hand, Linux has had virtual desktops since the early 2000s. So when I started using Ubuntu, I was exposed to a mature and well-integrated version of virtual desktops (called Workspaces) that I absolutely loved.
The main appeal of virtual desktops is that they allow you to neatly organize all your open windows. For example, you could have all your communication apps on one desktop, your work apps on another, and maybe your entertainment stuff on a third. It just makes everything much more manageable. However, this is only the bare minimum you’d expect and what Windows delivered.
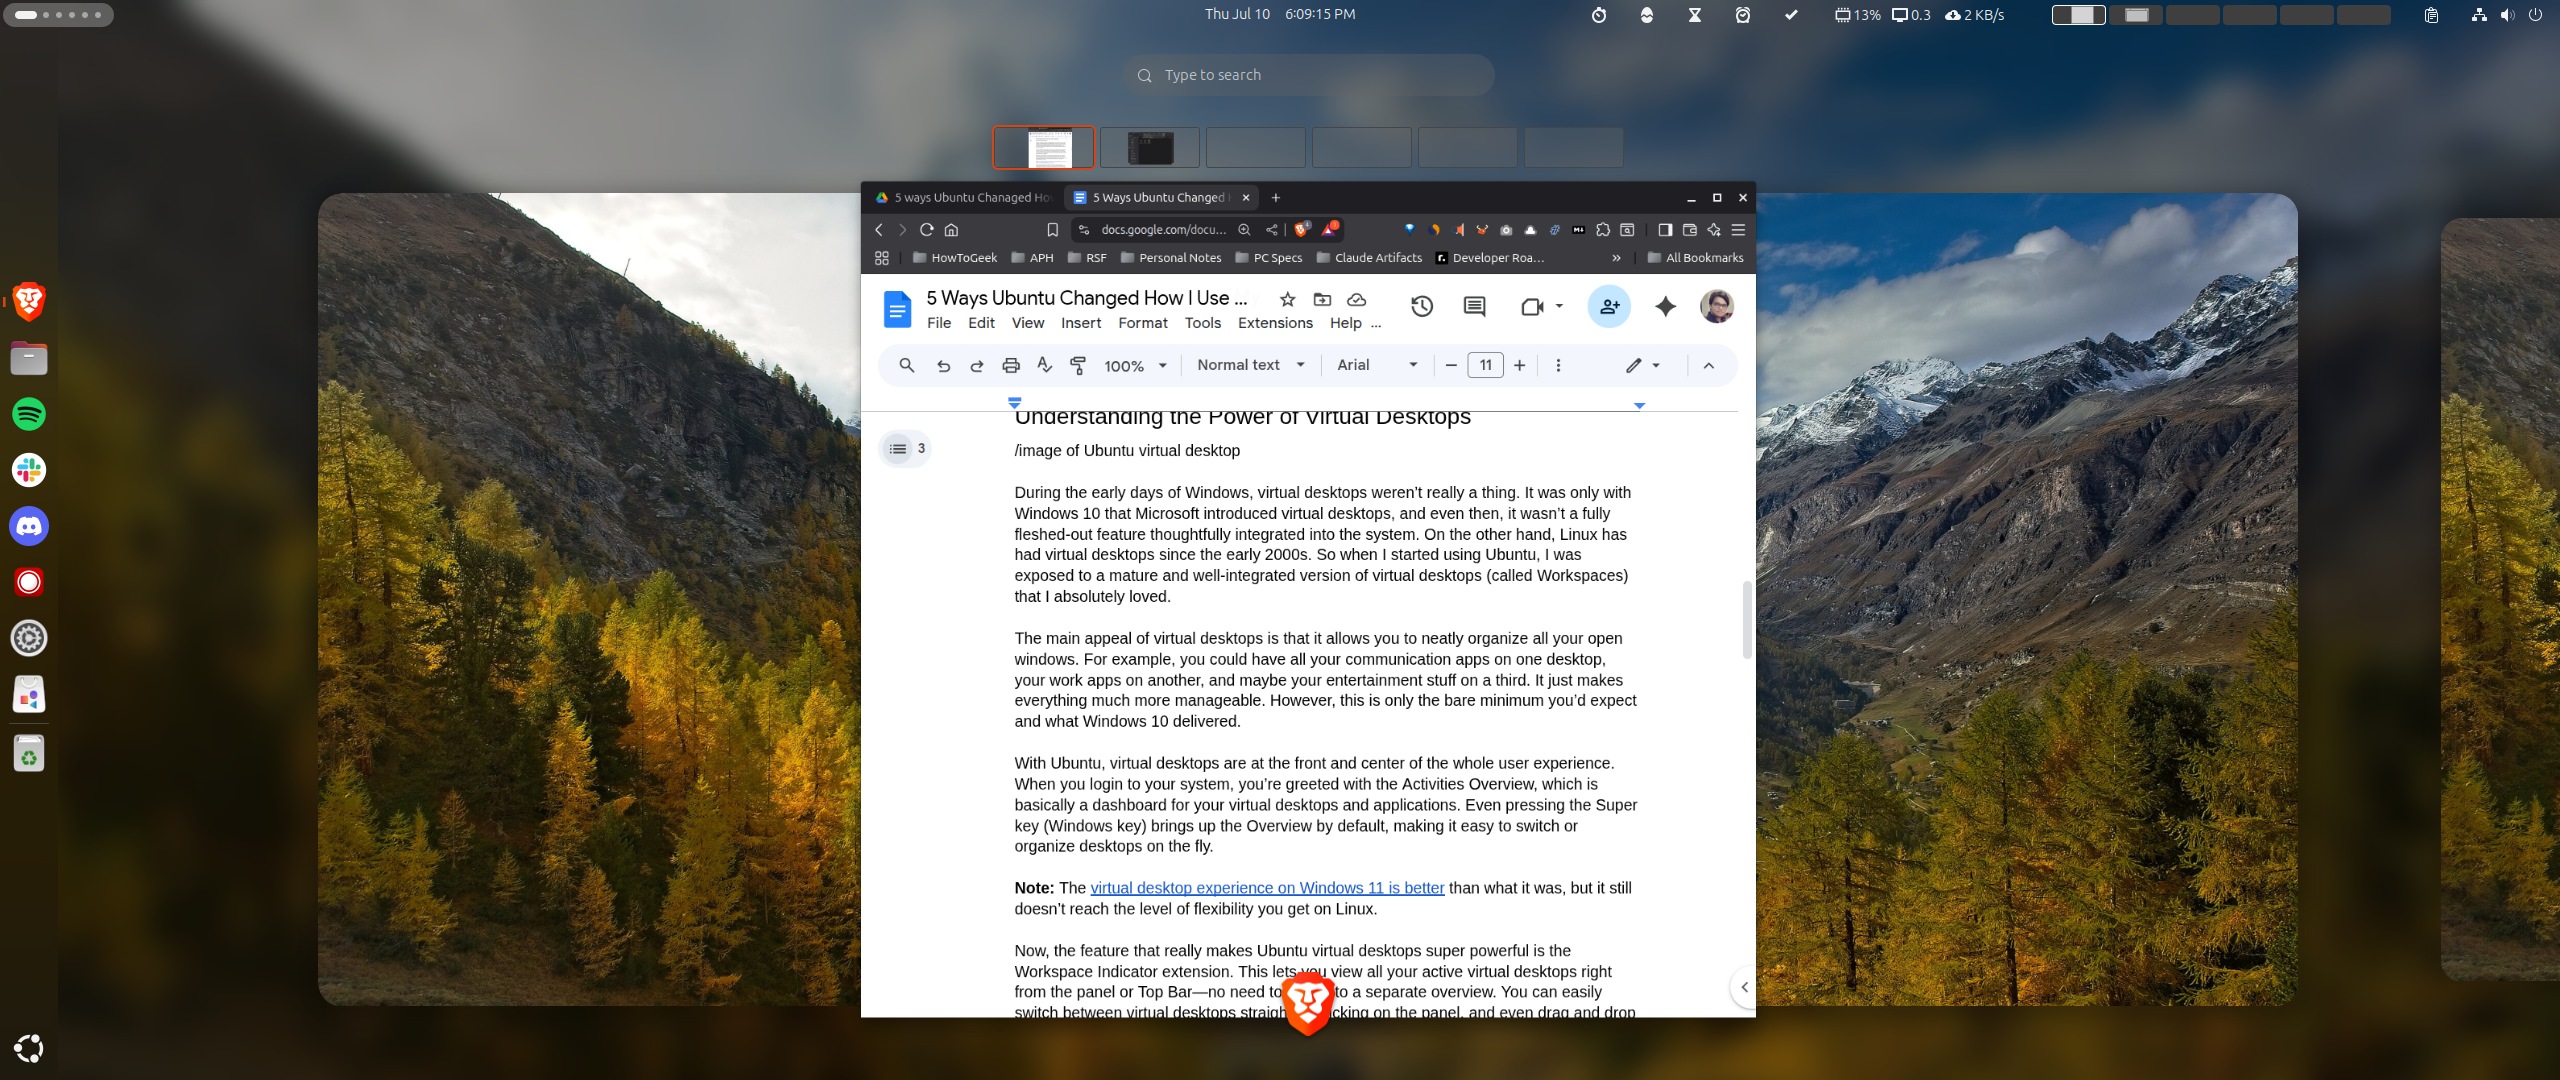
With Ubuntu, virtual desktops are at the front and center of the whole user experience. When you log in to your system, you’re greeted with the Activities Overview, which is basically a dashboard for your virtual desktops and applications. Even pressing the Super key (Windows key) brings up the Overview by default, making it easy to switch or organize desktops on the fly.
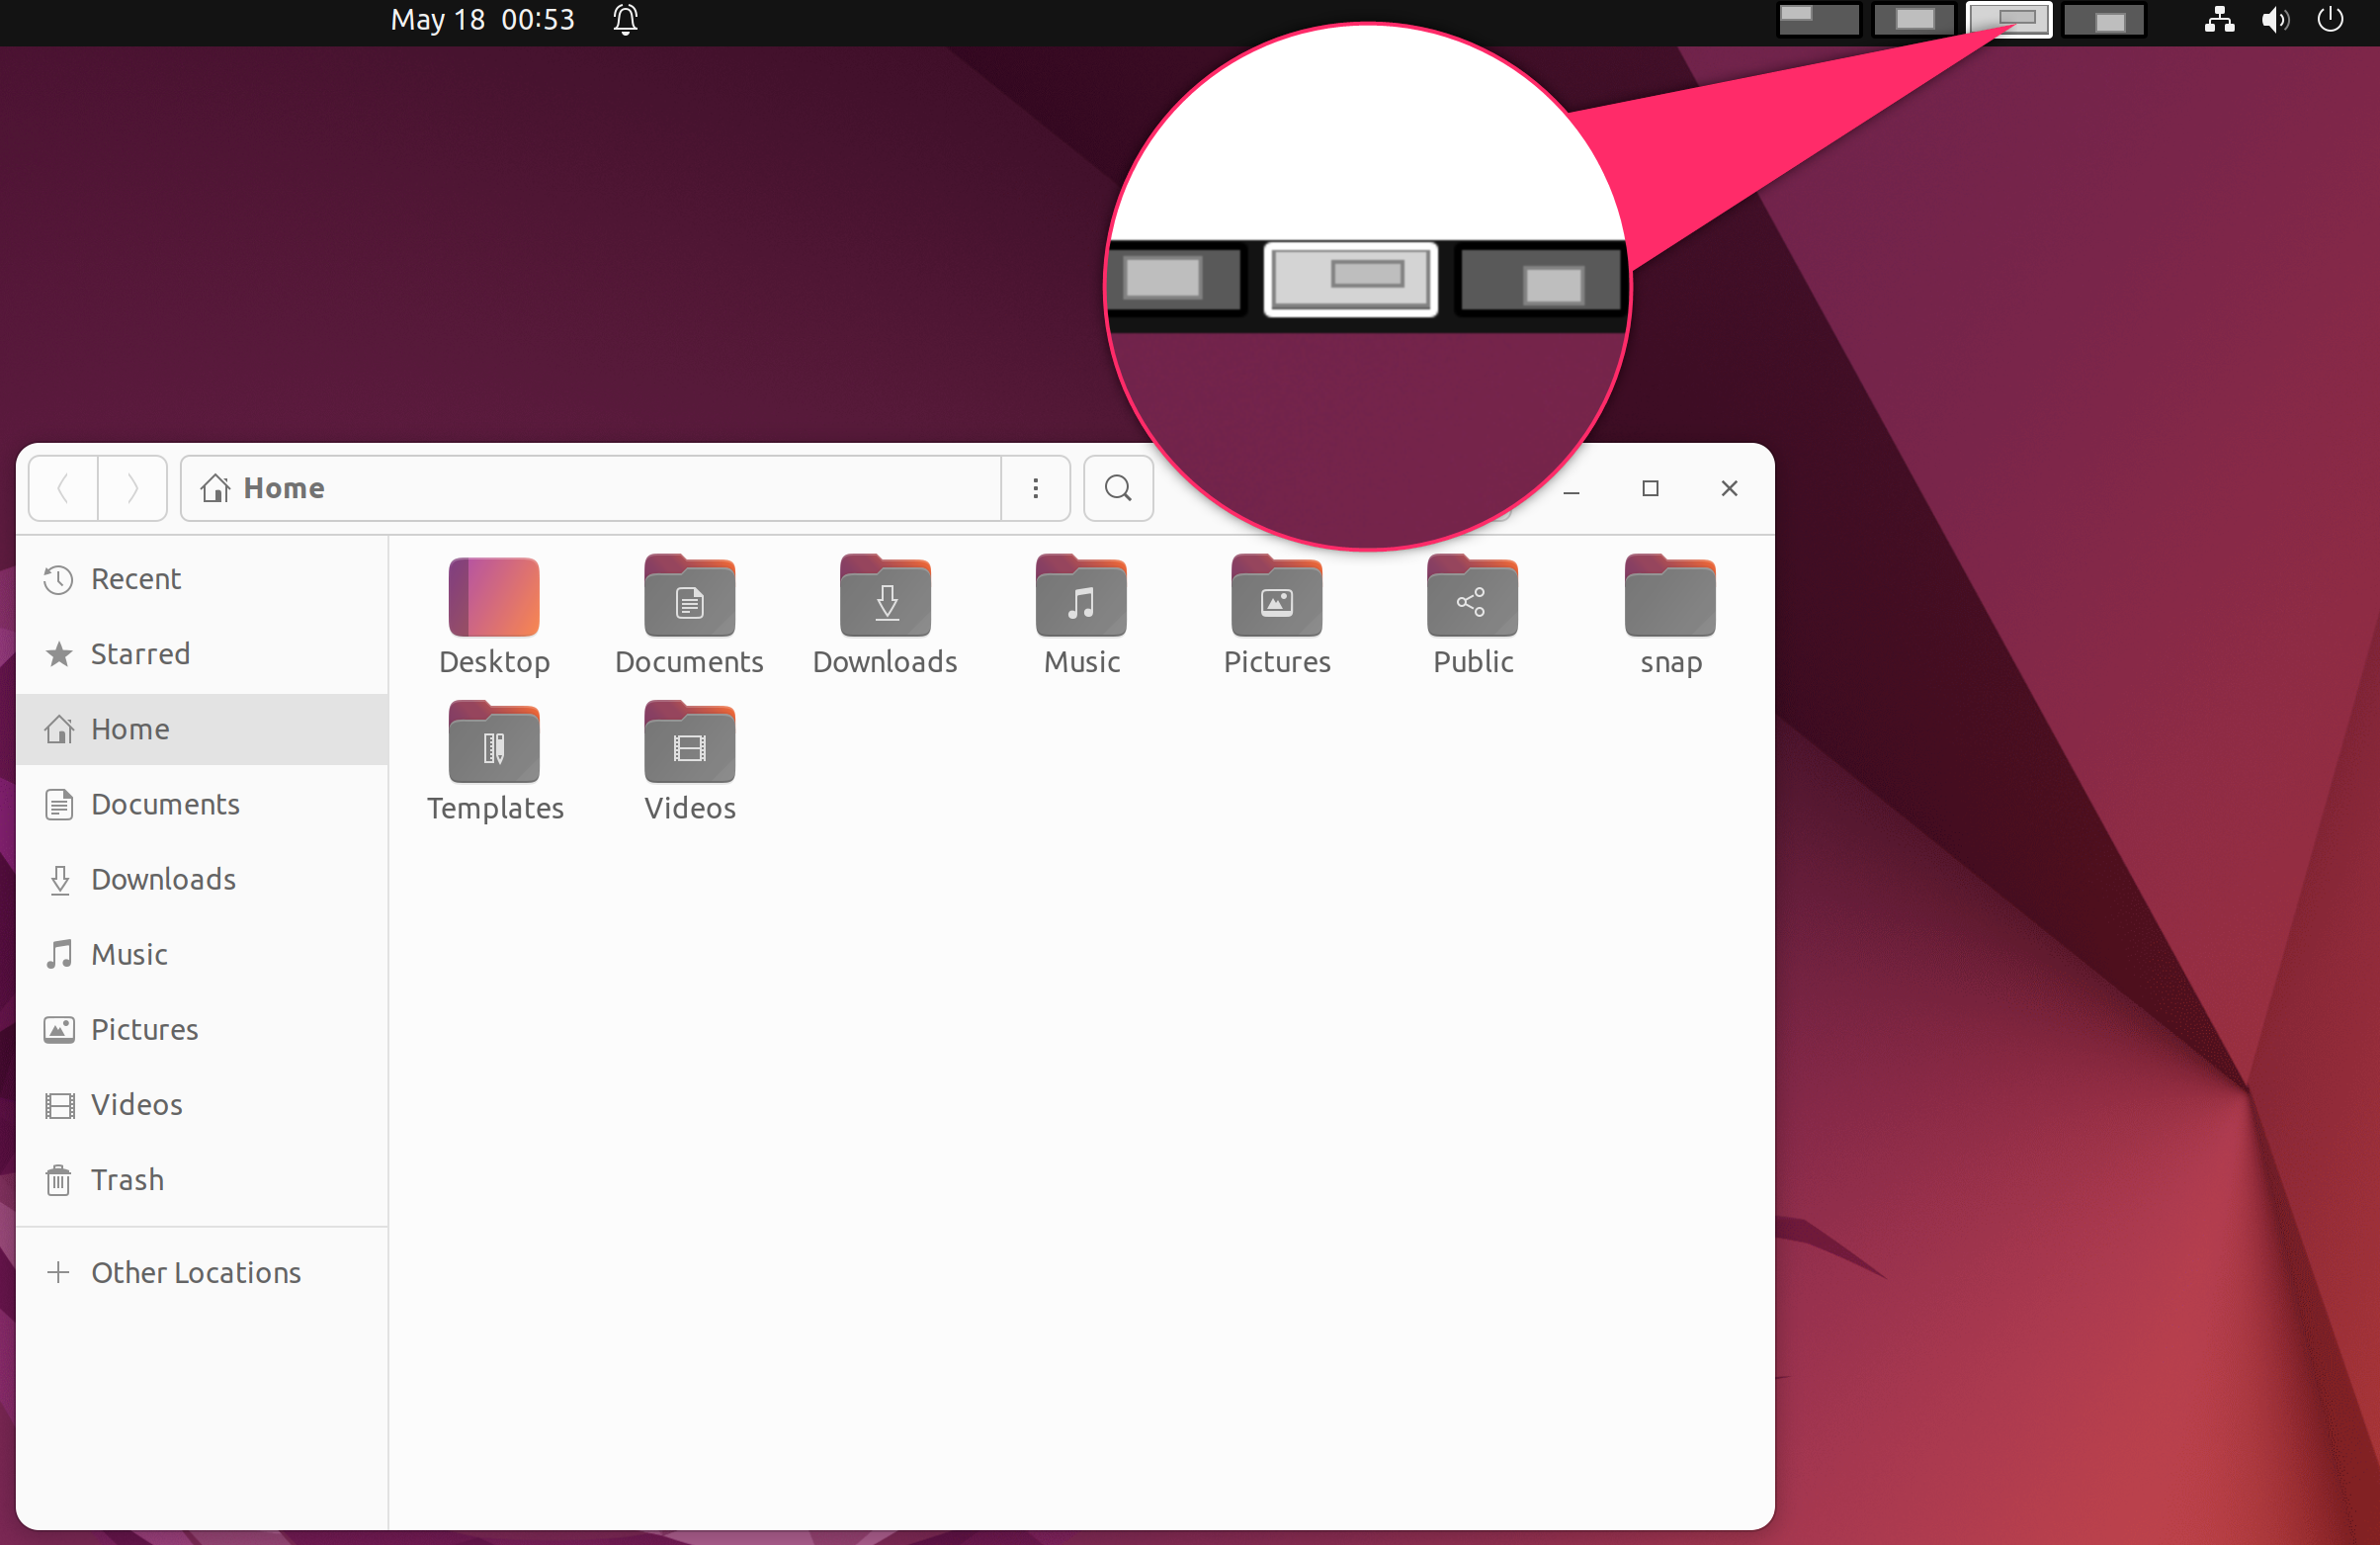
Now, the feature that really makes Ubuntu virtual desktops super powerful is the Workspace Indicator extension. This lets you view all your active virtual desktops right from the panel or Top Bar—no need to switch to a separate overview. You can easily switch between virtual desktops by directly clicking on the panel, and even drag and drop applications between desktops. It’s a much more powerful and seamless way to organize your workflow, and there’s nothing quite like it on Windows.
Back in the Windows 7 days, I was a big fan of desktop widgets and felt a bit let down when Microsoft killed them off citing security vulnerabilities. I really liked having the desktop always show me the calendar, the weather, and system stats. This is why I started using Rainmeter widgets on Windows, and Conky when I migrated to Ubuntu.
However, when you really think about it, desktop widgets aren’t that practical! If you have a window open (which is almost always), you just don’t see your widgets anymore. This means if you need to view your widgets, you’d need to minimize the window you’re working on, take a quick glance at your calendar or CPU usage, and then maximize the window, which just disturbs your workflow.
Now Ubuntu, or rather GNOME, solves this issue with extensions. They allow you to add widget-like functionalities to the panels, which are always visible, even with windows open. Whether you want a clipboard manager, virtual desktop switcher, system resource monitor, or even a Pomodoro timer, you can add all of that straight to the Top Bar and have it always available alongside your open windows.
2
Installing Desktop Apps Using an App Store or Repository
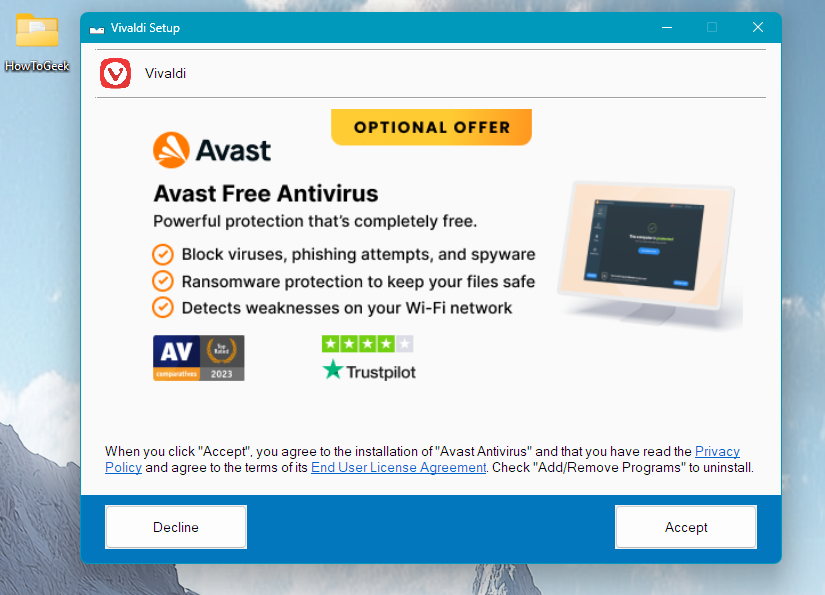
One of the biggest changes I noticed after switching to Ubuntu was how different (and honestly, how much simpler) installing applications became. On Windows, the usual process is to search for the app online, visit the website, hope you didn’t end up on a sketchy page by mistake, and finally download the right installer for your system. There’s always that risk of downloading adware or malware if you’re not careful, so you have to pay extra attention to the source each time. In fact, you also need to be vigilant during the installation wizard or you might accidentally agree to install some unwanted toolbars or extra software.
Vivaldi installer on Windows 11 promoting an antivirus service.
Fortunately, on Ubuntu, this whole hassle doesn’t even exist. You get a dedicated app store, much like what you have on your phone. Most applications you’ll need are right there, inside the official repository, curated and checked for safety by the Ubuntu team. You don’t have to worry about ending up with malware or picking the wrong app version—you just search for the app you want and install it with a click or command.
If you can’t find what you’re looking for in the official store or repository, Ubuntu lets you add additional repositories called PPAs for more software. Now, PPAs are not directly vetted by the Ubuntu team, so ensure you get them from a trustworthy source. Once you add that PPA to your store, installing the app is as seamless as before, with a couple of clicks or a single command.
I do acknowledge that Microsoft introduced a similar App Store in Windows 8, but it wasn’t a good implementation and I, along with many other people, just kept on downloading EXE files from the internet. That said, the current Windows 11 App Store is pretty decent and worth checking out.
1
Researching Hardware Compatibility Before Buying Something
This isn’t exactly a benefit of using Ubuntu, but it’s a real part of the experience that I didn’t have to think about as a Windows user. Back when I was on Windows, I was a lot more carefree about hardware. If I bought something mainstream—keyboard, mouse, printer, whatever—I just assumed it would be plug-and-play. Worst case scenario, in the olden days, I would have had to use the CD that came in the box to install the driver and then be able to use my new peripheral.
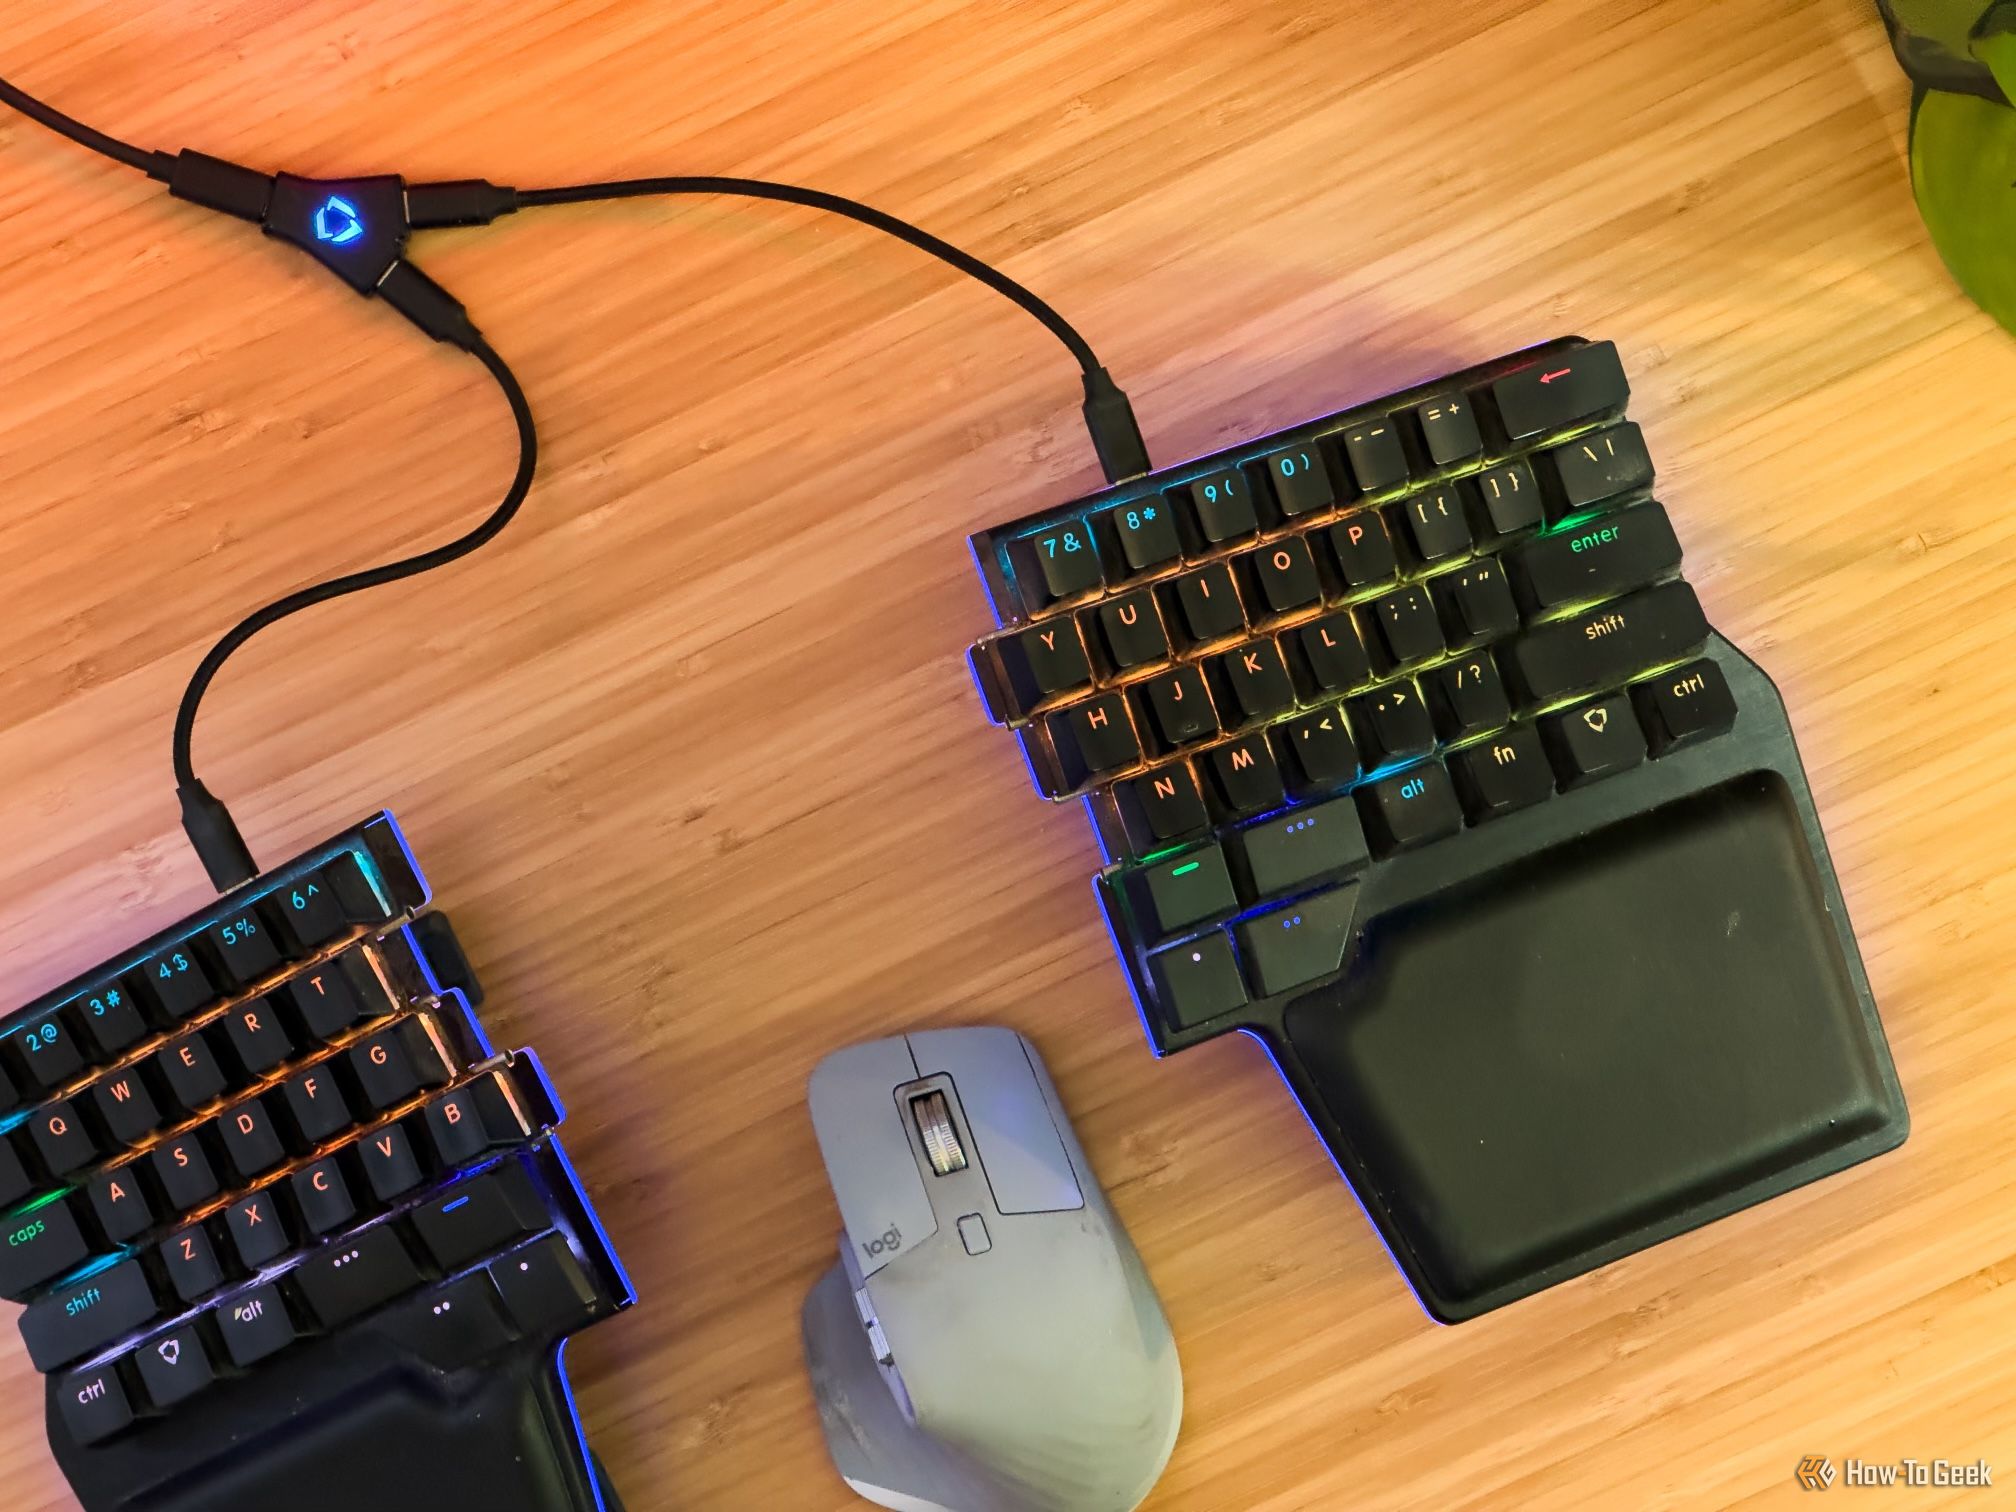
However, with Ubuntu, it’s a little more complicated. Most standard stuff works, but there are always some exceptions—especially when it comes to niche and premium hardware with features like RGB lighting or programmable buttons. For example, a lot of the tools needed to customize RGB settings on keyboards or mice just aren’t available on Linux, so you lose access to some features. My Logitech MX Master 2S mouse, for instance, has a base button to switch virtual desktops, but that only works on Windows when configured with the official software—it doesn’t work on Ubuntu at all.
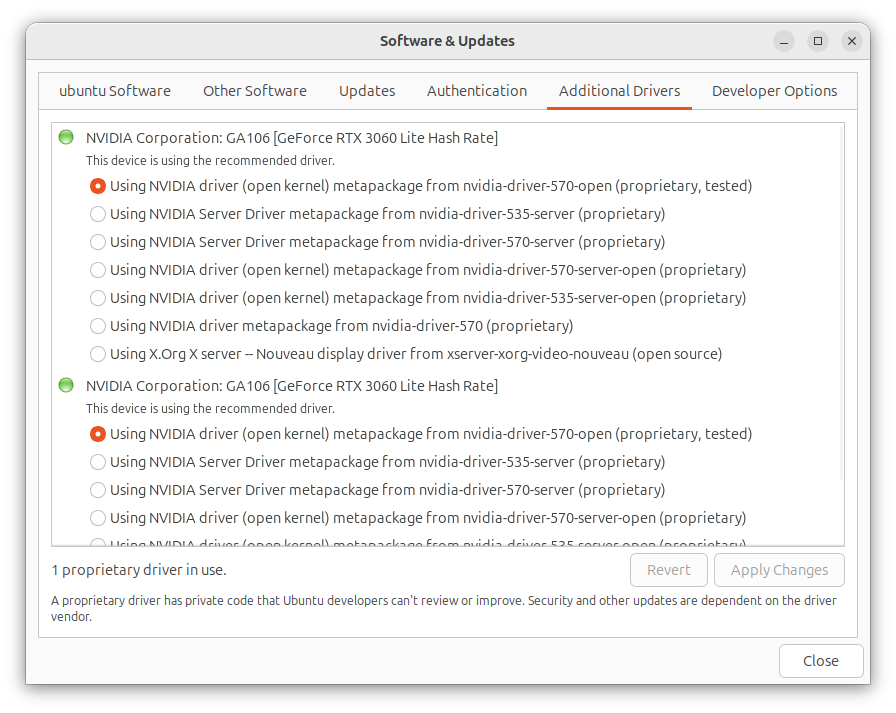
Printers are another area where things can get tricky. Some models just don’t play nice with Ubuntu, and you end up needing to hunt down workarounds or specific drivers. The same goes for certain Wi-Fi or Bluetooth modules, especially in laptops. This issue usually boils down to proprietary hardware drivers, where the hardware manufacturer hasn’t provided good Linux support, so the device might not work out of the box.
Because of this, I’ve learned to always check compatibility before buying new hardware. I’ll usually search through forums and communities to see if other people using Ubuntu or another distro have had success, or if there are known issues and workarounds. There’s an extra step involved here that just isn’t part of the Windows experience, but it’s something you get used to if you want your hardware to work reliably on Ubuntu.
In my experience, most people who’ve only used one OS their whole lives—whether Windows or macOS—think that’s the only way to use a computer. It’s only when you experiment with different OSes that you realize how different each OS can be, and how much of an influence it can have on your workflow. In fact, some OSes might be better suited to your unique needs than others. That’s exactly what happened to me and why I left Windows for Linux.






Leave a Comment
Your email address will not be published. Required fields are marked *