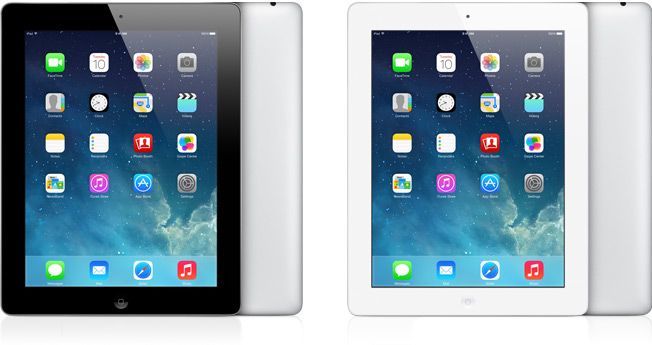
Tech devices that may still be in working order often become obsolete once they stop being able to run the latest operating systems. My old second-generation iPad, for example, still works perfectly, but it’s impossible to install most current apps on it as the version of iOS that it runs is so out of date. However, with a little bit of effort, I managed to get it working as a smart home control panel running my Home Assistant dashboard.
My iPad 2 Is Too Old to Open Home Assistant
If you’re anything like me, you have several boxes that are full of old cables and power cords for devices that you probably got rid of years ago. I was looking through one of these boxes the other day, and came across an old-school 30-pin charging cable that I used to need to charge my first iPhone and iPad.
It reminded me that I still had my second-generation iPad lying around somewhere. I eventually tracked it down in another box full of tech treasure and charged it up with the newly discovered charging cable. Despite a crack in the screen and being 14 years old, the iPad worked just fine.
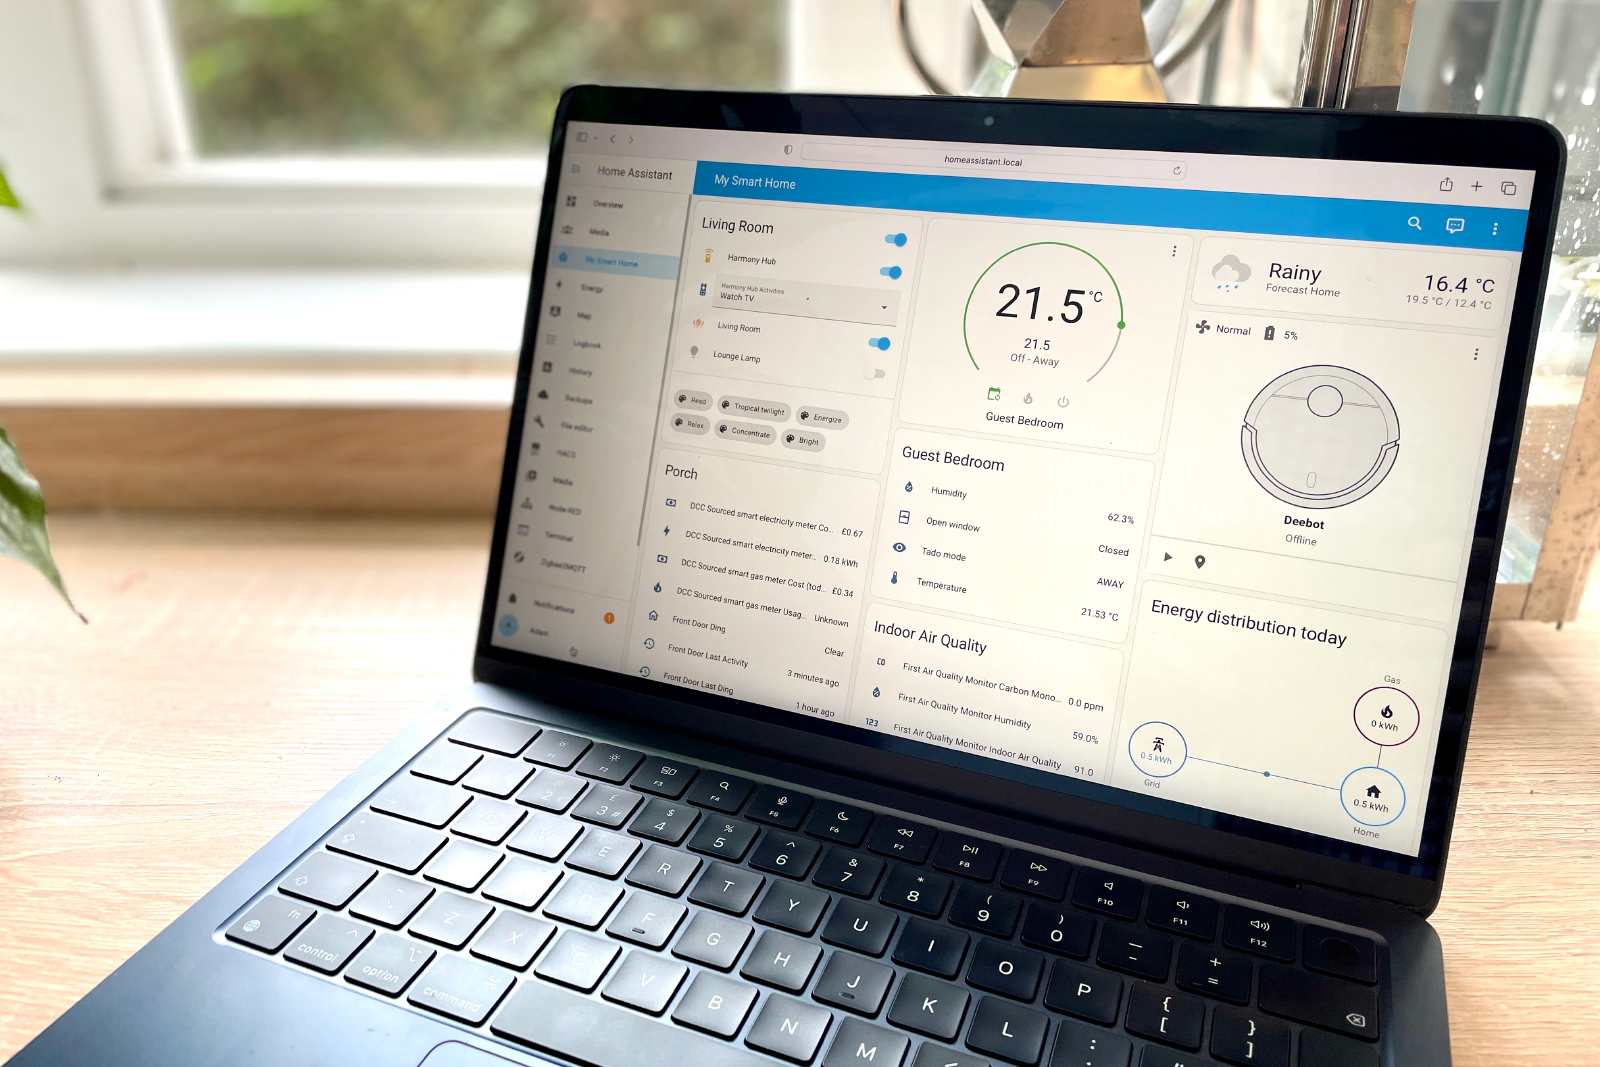
My first thought was to see if I could access my Home Assistant dashboard through the browser. However, my hopes were quickly dashed. The iPad 2 can only run iOS 9.3.5 (from the days before iPadOS was even a thing), and the version of Safari it supports is very outdated. It doesn’t support the web standards and security protocols required to open many modern websites, including Home Assistant.
Related
The Best iPads of 2025
An iPad may be the best tablet, but which iPad is the best for you?
I Wanted to Use the iPad as a Mobile Dashboard
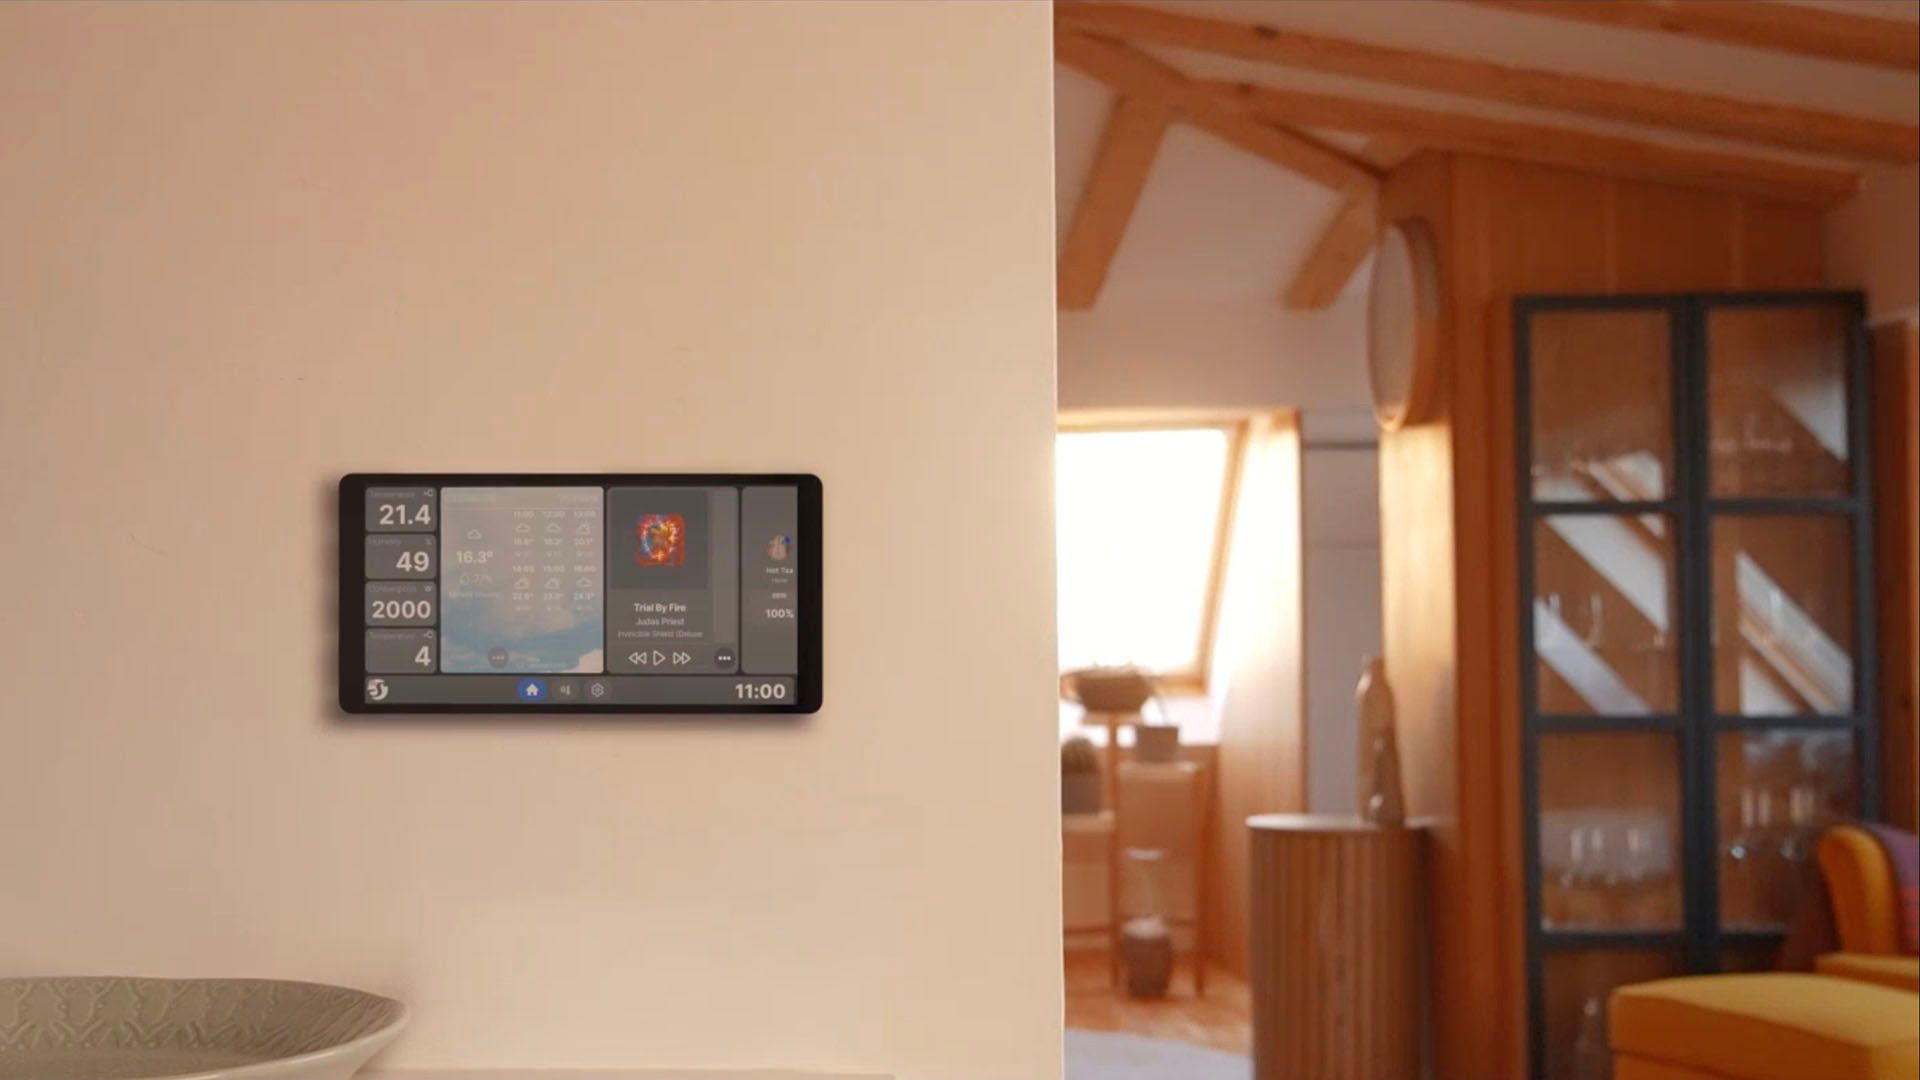
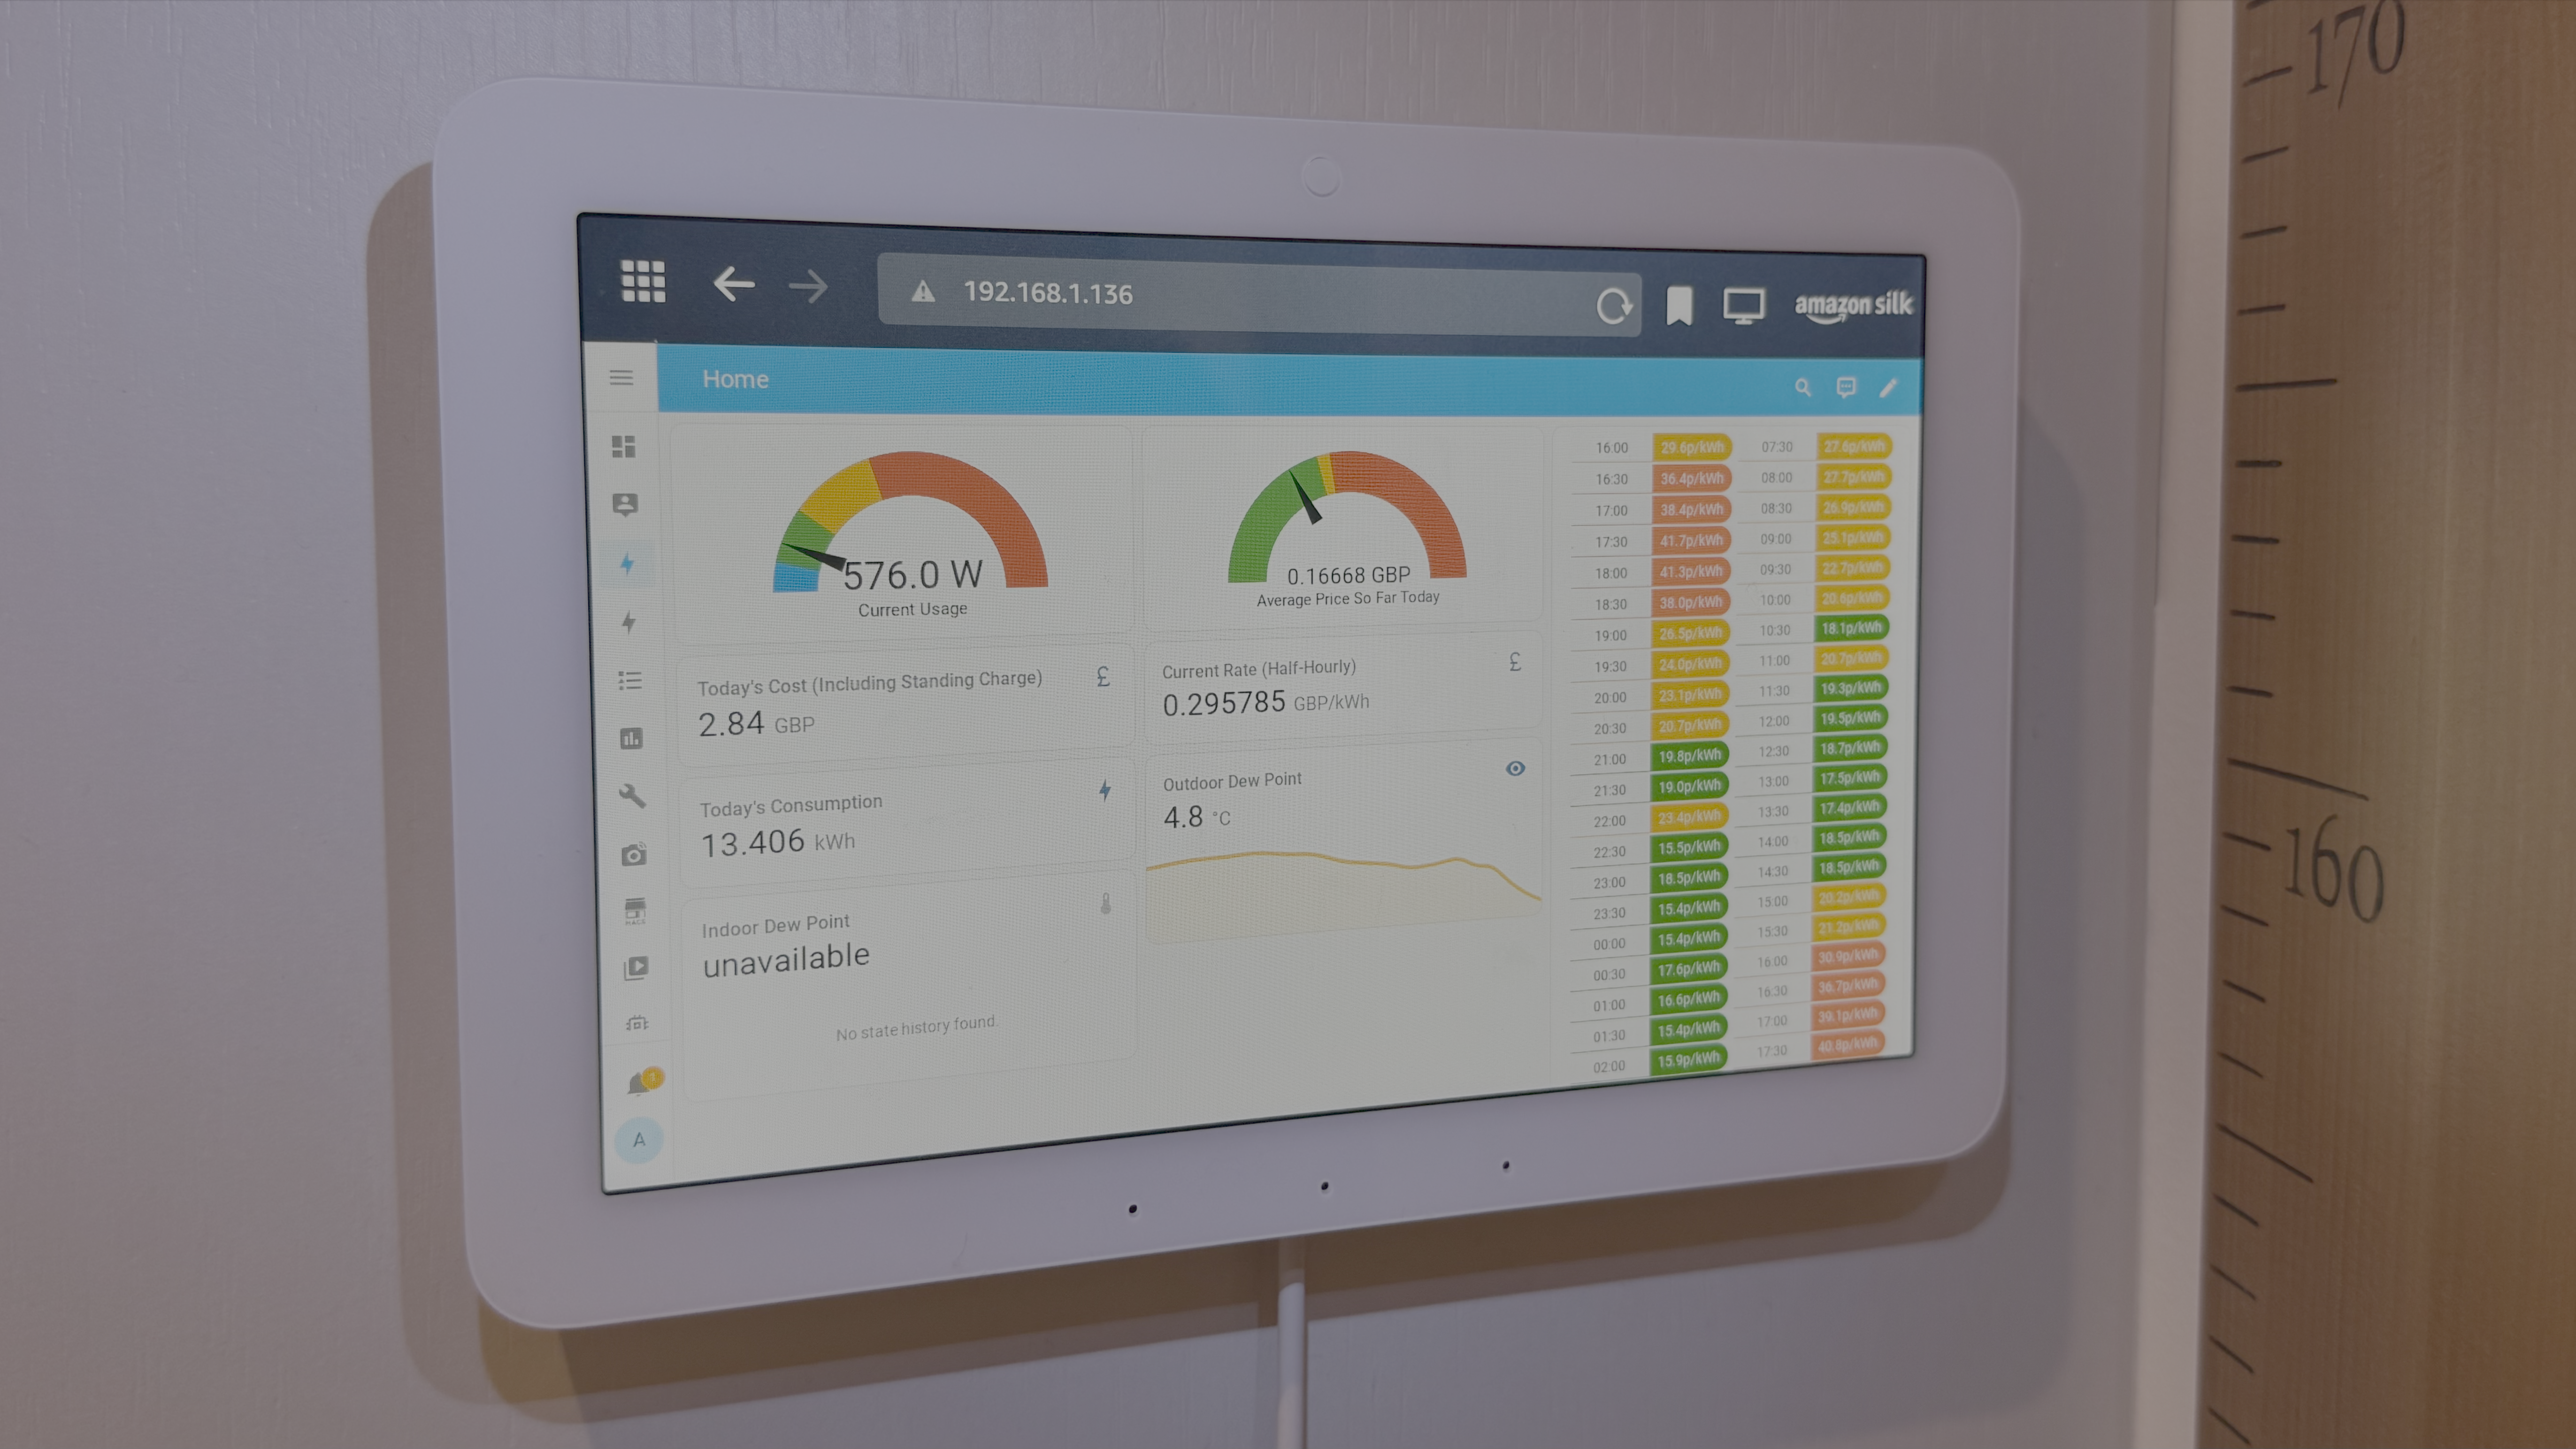
The reason that I tried accessing Home Assistant was because I thought the old iPad could be put to good use as a mobile dashboard. I’m not a huge fan of smart home control panels; I have an Echo Hub that I never use for controlling my smart home anymore. Part of the problem is that it’s stuck to the wall, so to use it, I have to move from wherever I am to the control panel, which doesn’t feel very smart.
Surprisingly, the 14-year-old iPad seems to hold charge remarkably well, however, and I thought it might make a useful mobile dashboard that could be placed in the living room within easy reach of the sofa, so that I could control my smart home without having to get up. I figured that there must be some way to get the Home Assistant dashboard running on the iPad 2.
Related
Smart Home Control Panels Will Be Big This Year (But I Wouldn’t Buy Any)
Control panels can be useful, but proprietary ones aren’t recommended.
One of the biggest benefits of using Home Assistant is that many like-minded geeks out there are using it too. There’s a thriving online community on the official Home Assistant forums, as well as sites like Reddit. The chances are, if you’re facing a problem, someone else has already faced the same problem and solved it.
With a quick Google, I soon found people who were in exactly the same situation, using old iPads that couldn’t open Home Assistant in a browser. However, they’d managed to crack the problem by using Virtual Network Computing (VNC). VNC allows you to run a browser on another device, and then remotely access that browser from your iPad.
Using this method, you set up a virtual machine with a lightweight operating system. You can then open your Home Assistant dashboard in a browser within that virtual machine. Since you’re running a modern browser, Home Assistant will open without any problems.
By setting up a VNC server, you can stream the display from your virtual machine to your iPad. You can then use your Home Assistant dashboard on the iPad exactly as if it were running locally on the device.
VNC connections are not typically encrypted by default. If you’re planning to use this method, you might want to consider using a VPN or an SSH tunnel for additional security.
Related
How to Connect to a Linux Computer with VNC Across the Network
Want to remotely connect to a desktop on another Linux server from your Linux desktop? Getting started is easy: this article will show you how to setup VNC and connect directly to the desktop of a remote machine!What is VNC?Often, we need desktop/GUI (graphical User Interface) resources “on the other side of the wire” and we want to avoid walking over (or driving!) to a remote computer.
Setting Up a Browser in a Virtual Machine
You can set up a virtual machine on a wide range of devices, so what you use depends on the hardware you have available. For example, you could set up your VNC server on a single-board computer such as a Raspberry Pi. If you have an old desktop or laptop lying around, you could use that as your VNC server, or you could set up a VNC server in your homelab if you have one.
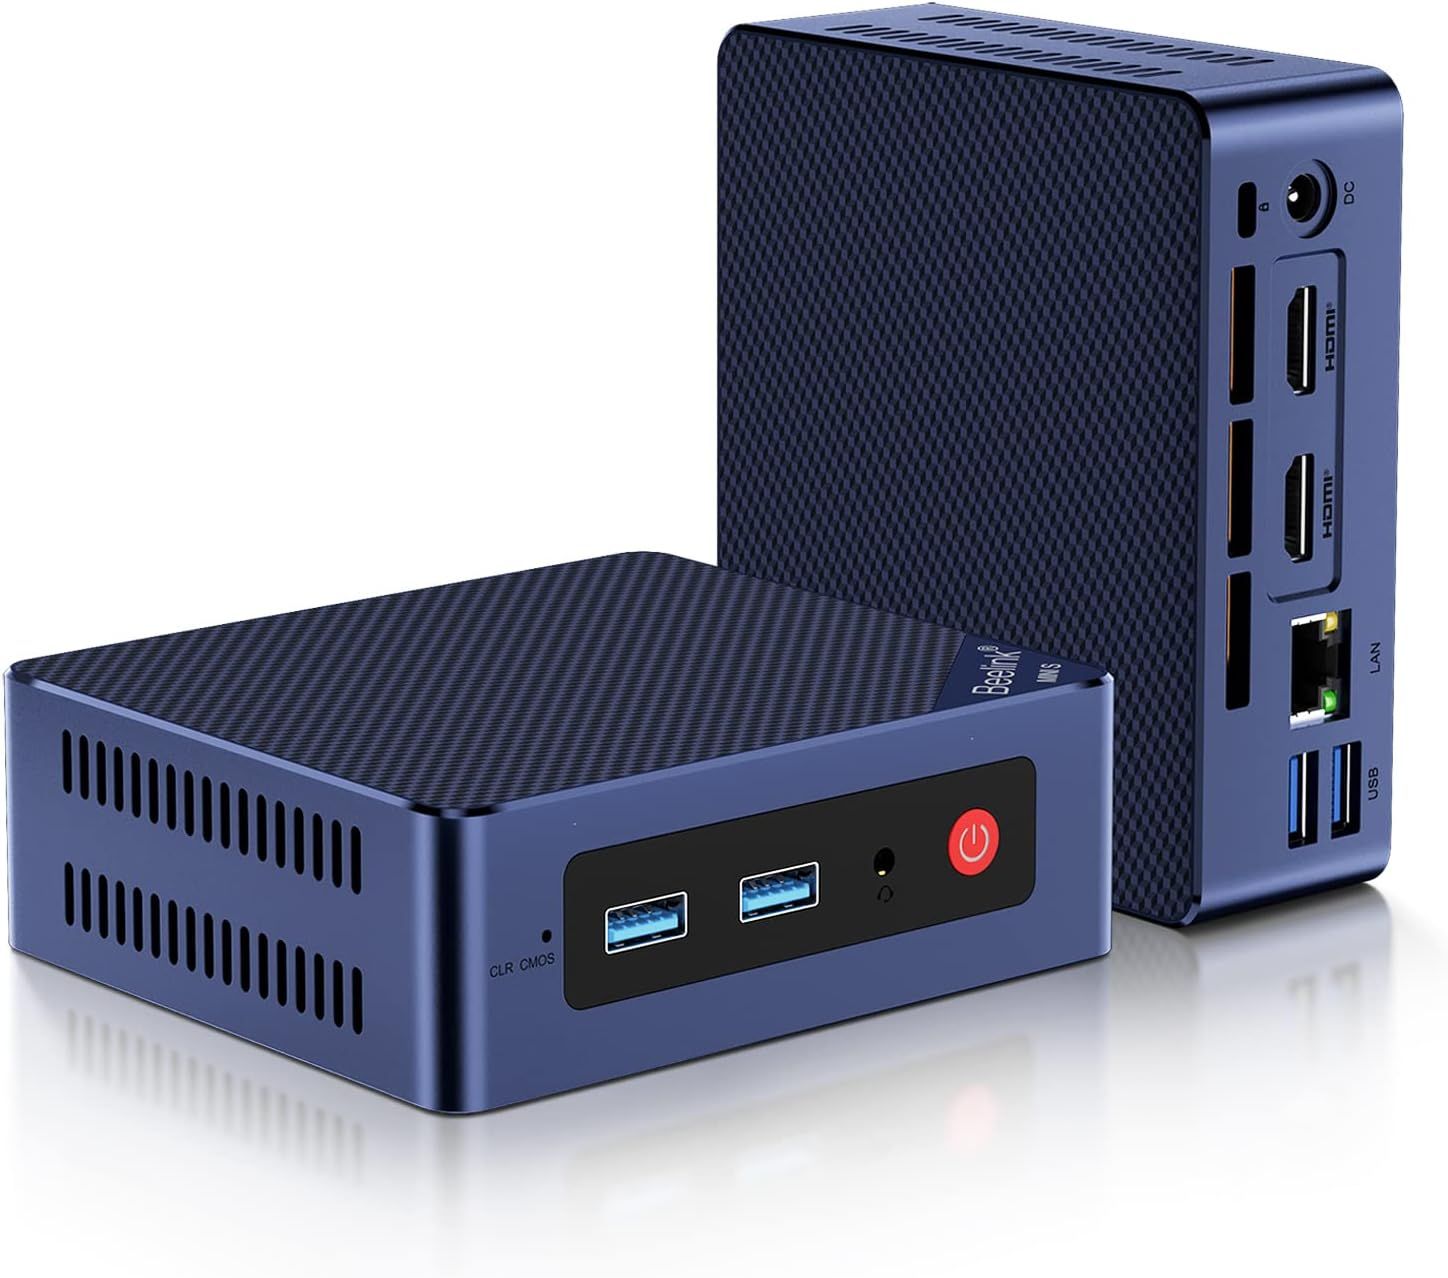
I’m running Home Assistant using the Proxmox open-source virtualization platform on a mini PC. This allows you to set up multiple virtual machines or Linux containers to run different services. For example, as well as Home Assistant, I have other services such as a Plex server and an MQTT server running in separate containers.
In Proxmox, I was able to create a new virtual machine running Debian, an open-source Linux distribution. Once it was created, I installed the lightweight XFCE desktop environment and the Firefox browser to display my Home Assistant dashboard.
The final step was to install a VNC server. I used TigerVNC as the server application, and once it was up and running, it was possible to connect to the VNC server using the IP address of the virtual machine. It did take a bit of fiddling to get everything set up properly, so if you’re planning to try this yourself, the following script may help.
You’ll need to replace “yourusername” with the username you used when setting up your virtual machine, and “yourpassword” with the password you want to use to connect to the VNC server. To save the script, enter the following:
nano setup-vnc-firefox.sh
Paste or type out the full script shown above, press Ctrl+X, then Y, then Enter to save it. Make the script executable with the following:
chmod +x setup-vnc-firefox.sh
Make sure you’re the root user by entering the following:
su -
You’ll be prompted for your password; make sure you use the root password. Navigate to the script location at:
cd /home/yourusername
Run the script with:
./setup-vnc-firefox.sh
You should now have a VNC server running in your virtual machine, with a lightweight desktop and the Firefox browser installed.

Related
Debian vs. Ubuntu Linux: Which Distro Should You Choose?
From software updates to hardware support, there are some key differences to be aware of.
Installing a VNC Viewer on My iPad
To connect to the VNC server, you need to run a VNC app on your iPad. This was a small problem; I couldn’t install any VNC apps directly from the App Store on my iPad 2, since they all required later versions of iOS than my iPad could run. However, there is a workaround.
On my current iPhone, I installed the free RealVNC Viewer app through the App Store. Once the app had downloaded to my iPhone, I opened the App Store on my iPad 2 and selected the “Purchased” tab at the bottom of the screen. You should see a list of all the apps you’ve downloaded on your Apple mobile devices. Tap the iCloud icon for RealVNC Viewer, and you’ll see a message that the app isn’t supported on the current device. Tap “Download” to install an older version that’s compatible with your iPad.
Once installed, tap the “+” (plus) icon in the top-right of the screen. Enter the IP address of your VNC server (you can find this by entering “ip a” in your VM), followed by a colon and the port number 5901. Give the session a name and tap “Save.”
By default, the app will work by allowing you to drag the mouse pointer around with your finger, but if you prefer to use touch to interact with your dashboard, tap “Interaction” and select “Touch Panel.” Tap “Connect”, and the app should connect to your VNC server. Enter your password, and the desktop should open. Launch Firefox, point it to your Home Assistant server, sign in, and you should see your dashboard.
You can make further changes to get Firefox to open automatically to your Home Assistant dashboard or to run in kiosk mode. If you’re stuck, asking an AI chatbot for help can be fruitful.
Accessing my Home Assistant dashboard on my old iPad was more challenging than I expected, but with help from the Home Assistant community, I was able to get it to work. My next task is to create a dedicated dashboard for my AV devices that uses large, touch-friendly cards more suited to the iPad’s screen. My old iPad can then finally be brought back out of retirement and become a useful portable remote.




Leave a Comment
Your email address will not be published. Required fields are marked *