Windows once had a native “Windows to Go” feature, but it had specific hardware requirements that made it a bit unpopular. Luckily, you can still create a portable Windows installation with a third-party program if you need one. Here’s how.
What is a Portable or “Live” Installation?
If you’ve ever tried Linux, you’ve probably encountered the option to “choose before you install.” In other words, you can run the operating system temporarily off a USB drive (either a flash drive or SSD), before you commit to installing it on your PC.
Linux distros also let you create a “portable” installation, which is a permanent, real installation of Linux that is located on a portable device, like an external SSD or a flash drive.
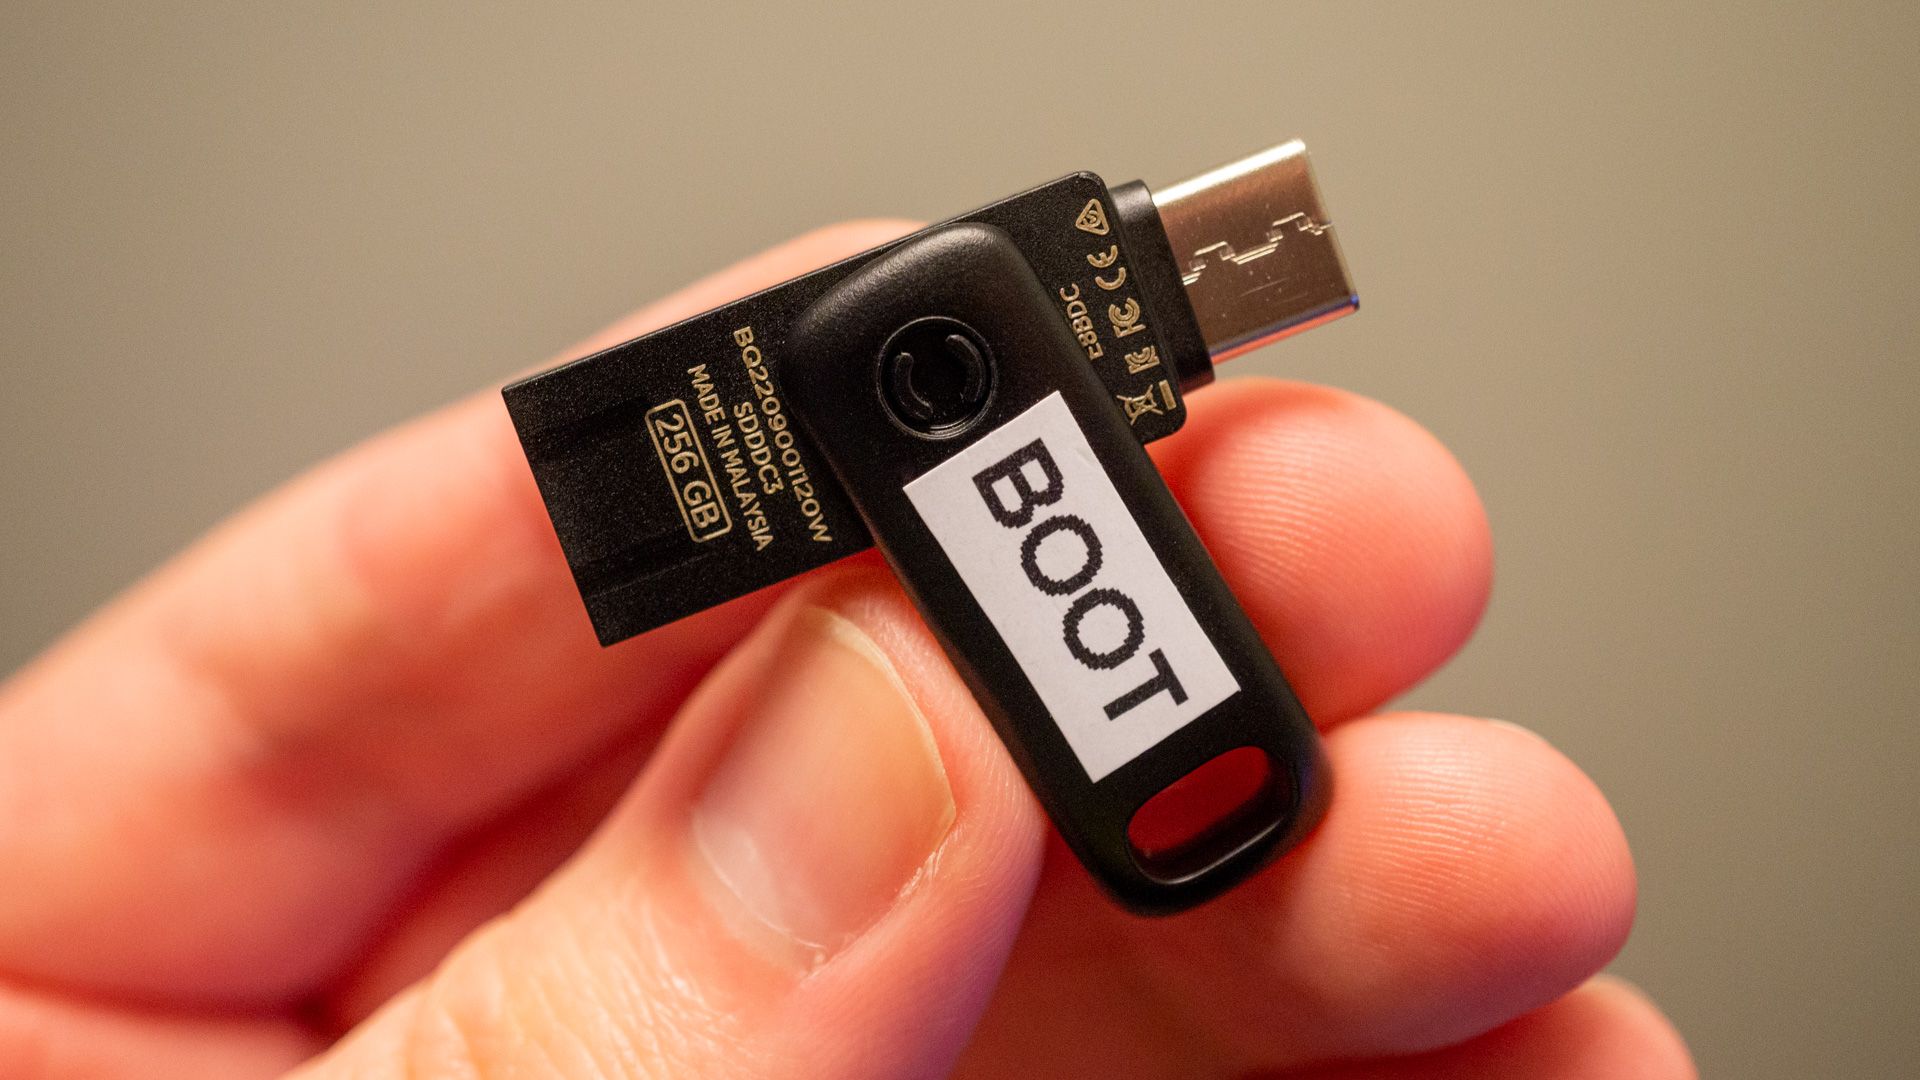
I Made the Ultimate USB Boot Drive: Here’s How
One drive to rule them all.
Unfortunately, Windows doesn’t offer a comparable feature natively. You can’t install it to an external drive normally, and there isn’t any way to try Windows before you install it. However, with a little bit of work, it is possible.
Why Run Windows on a USB?
Portable operating systems are handy for any number of reasons. I originally created a portable windows installation because I switched my laptop over to Linux. However, I still need regular, easy access to Windows for work. I didn’t want to deal with the hoops you have to jump through to get dual booting working smoothly, so installing Windows on an external NVMe SSD was an obvious alternative.

7 Things Nobody Tells You About Dual Booting Linux and Windows
Truths about dual booting I learned the hard way.
Besides dual booting, having a portable Windows install can be extremely helpful if you ever need to troubleshoot a malfunctioning Windows PC.
What Do You Need?
There are a few things you’ll need before you set up your portable windows installation.
USB Drive or External SSD?
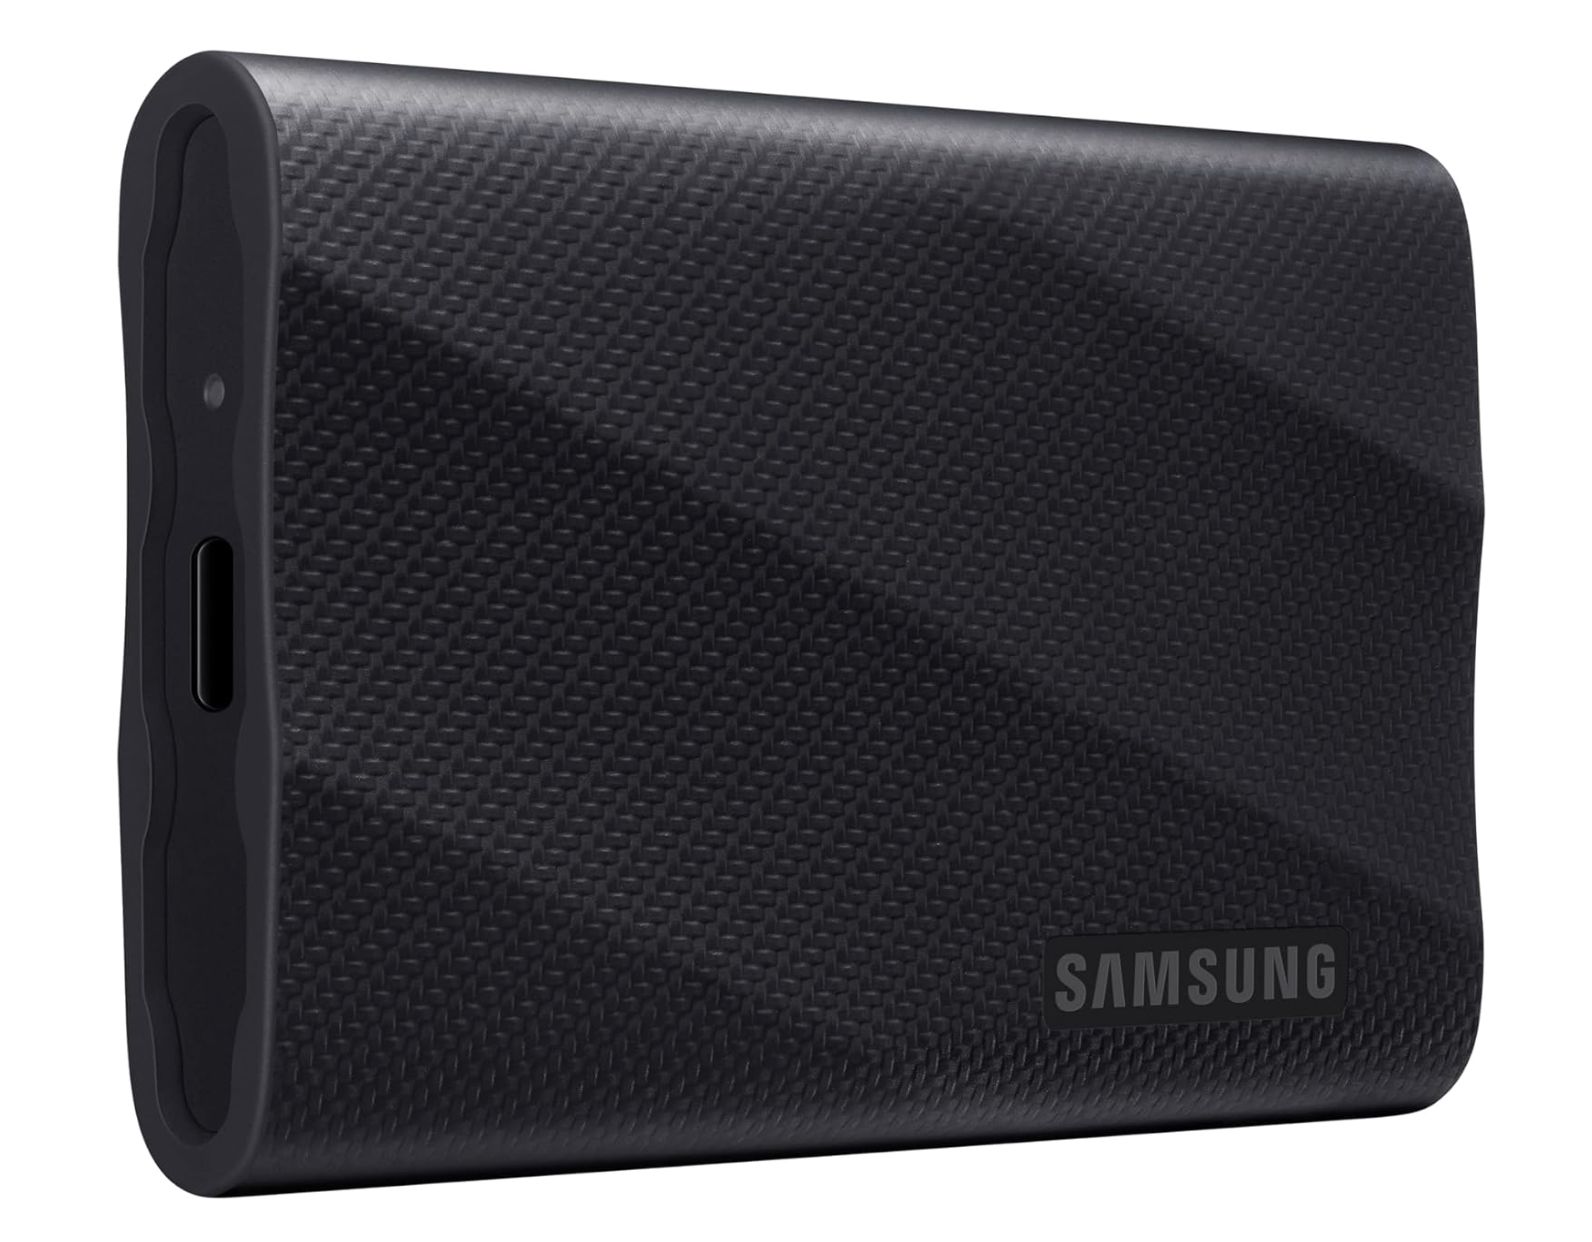
You can use this method to install Windows to a flash drive if you want, but I wouldn’t recommend it. You should use an external or portable SSD instead, since flash drives tend to have worse read and write speeds.
If you can, use an external NMVe drive. NVMe drives are faster and now cost about the same per gigabyte of storage as SATA SSDs (or their portable equivalents). I’d also recommend piecing together your own external SSD, since it is easy and cost-effective for the performance you get.
The big limiting factor in all of these scenarios is interface speed. USB 2.0 is simply too slow to run a hard drive—it would be like using a mechanical hard drive, but worse.
Ideally, you’d want to use USB 3.2 Gen 2, USB 4, or Thunderbolt 3 or 4, but anything as fast or faster than the original USB 3.2 Gen 1 (originally called USB 3.0 when it was released) will work.
Creating a Windows Installation on an External USB Device
The first thing you need to do is download your Windows 11 ISO and the program Rufus, if you don’t have it already. Rufus is used to create bootable media of all kinds.
Once you’ve got the software components you’ll need, make sure your USB device is attached to the fastest USB port you have on your PC.
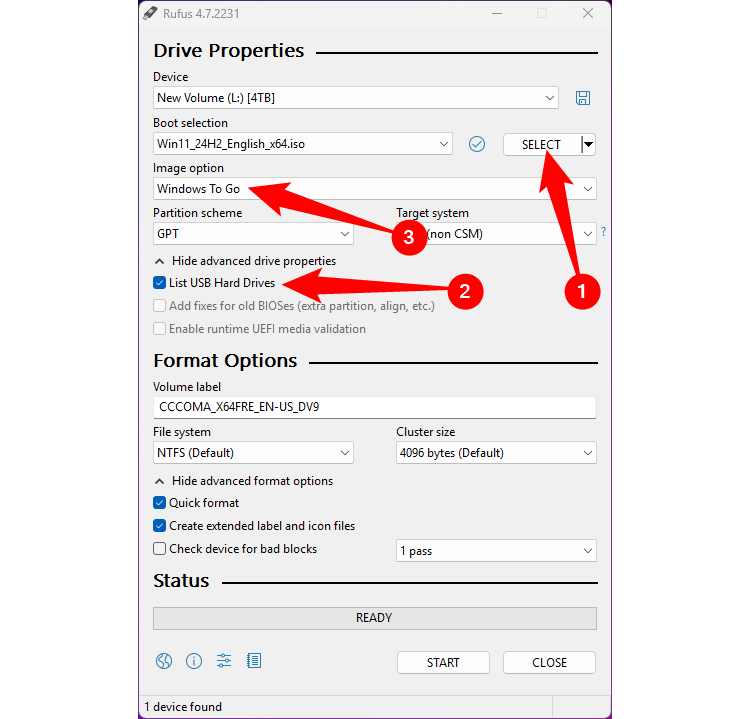
Open up Rufus, then click the “Select” button and pick your Windows 11 ISO. Make sure to tick the box that says “Show USB Hard Drives,” then select your USB device from the list.
Select MBR partitioning scheme if you’re going to try using this drive on older PCs (10 years plus), otherwise use GPT.
Finally, select “Windows to Go” from the Image Option drop-down menu.
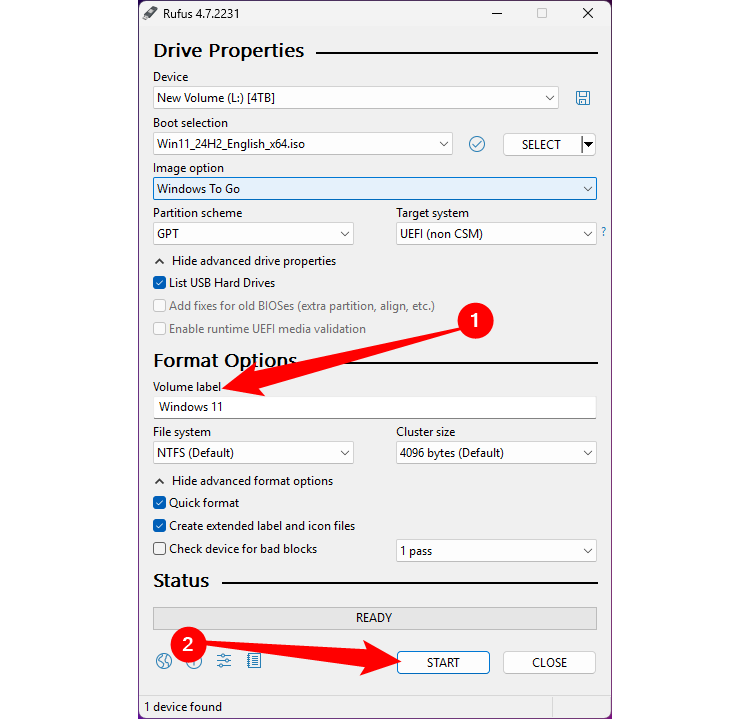
Once that is done, name the drive and click “Start.” I opted for Windows 11 Pro; I’d recommend sticking to Pro or Home for most cases.
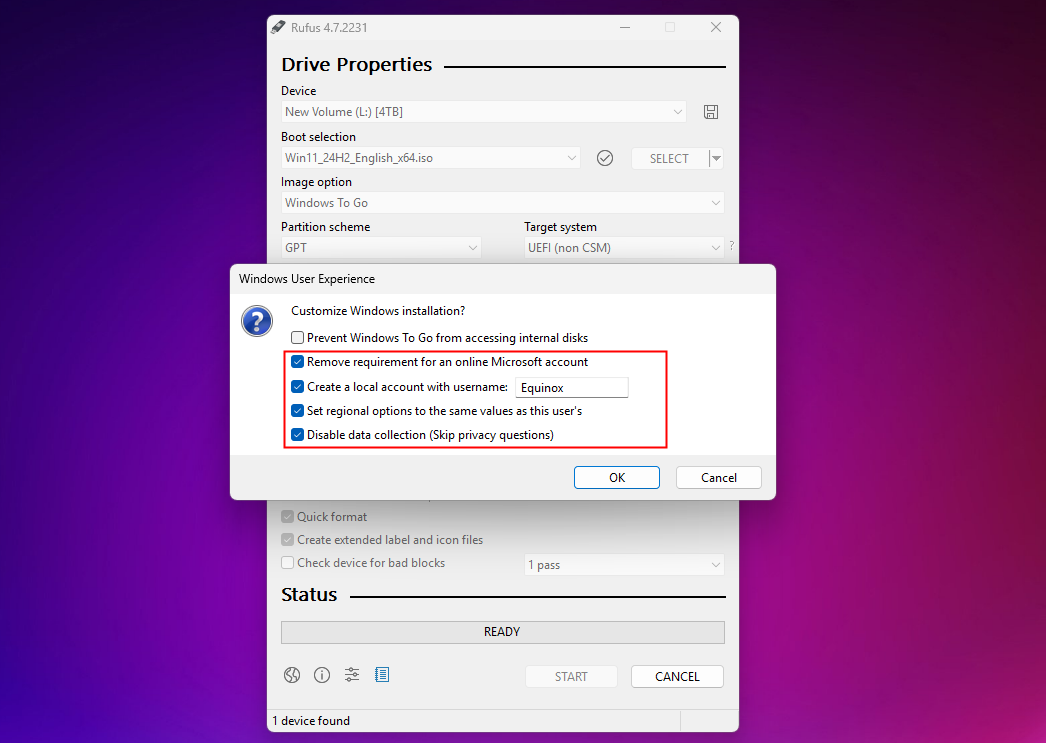
I’d also recommend creating a local account, removing the online Microsoft Account requirement, and disabling data collection.
Once that is done, Windows is on the drive, but you’ll still have to go through the Windows Setup process the first time you boot from the drive. I’d recommend doing this on whichever PC has the fastest USB ports and CPU. I tested the time it took to run the setup process on my laptop (which is now a bit old) and my desktop PC, which is much more powerful, and the desktop PC was noticeably faster.
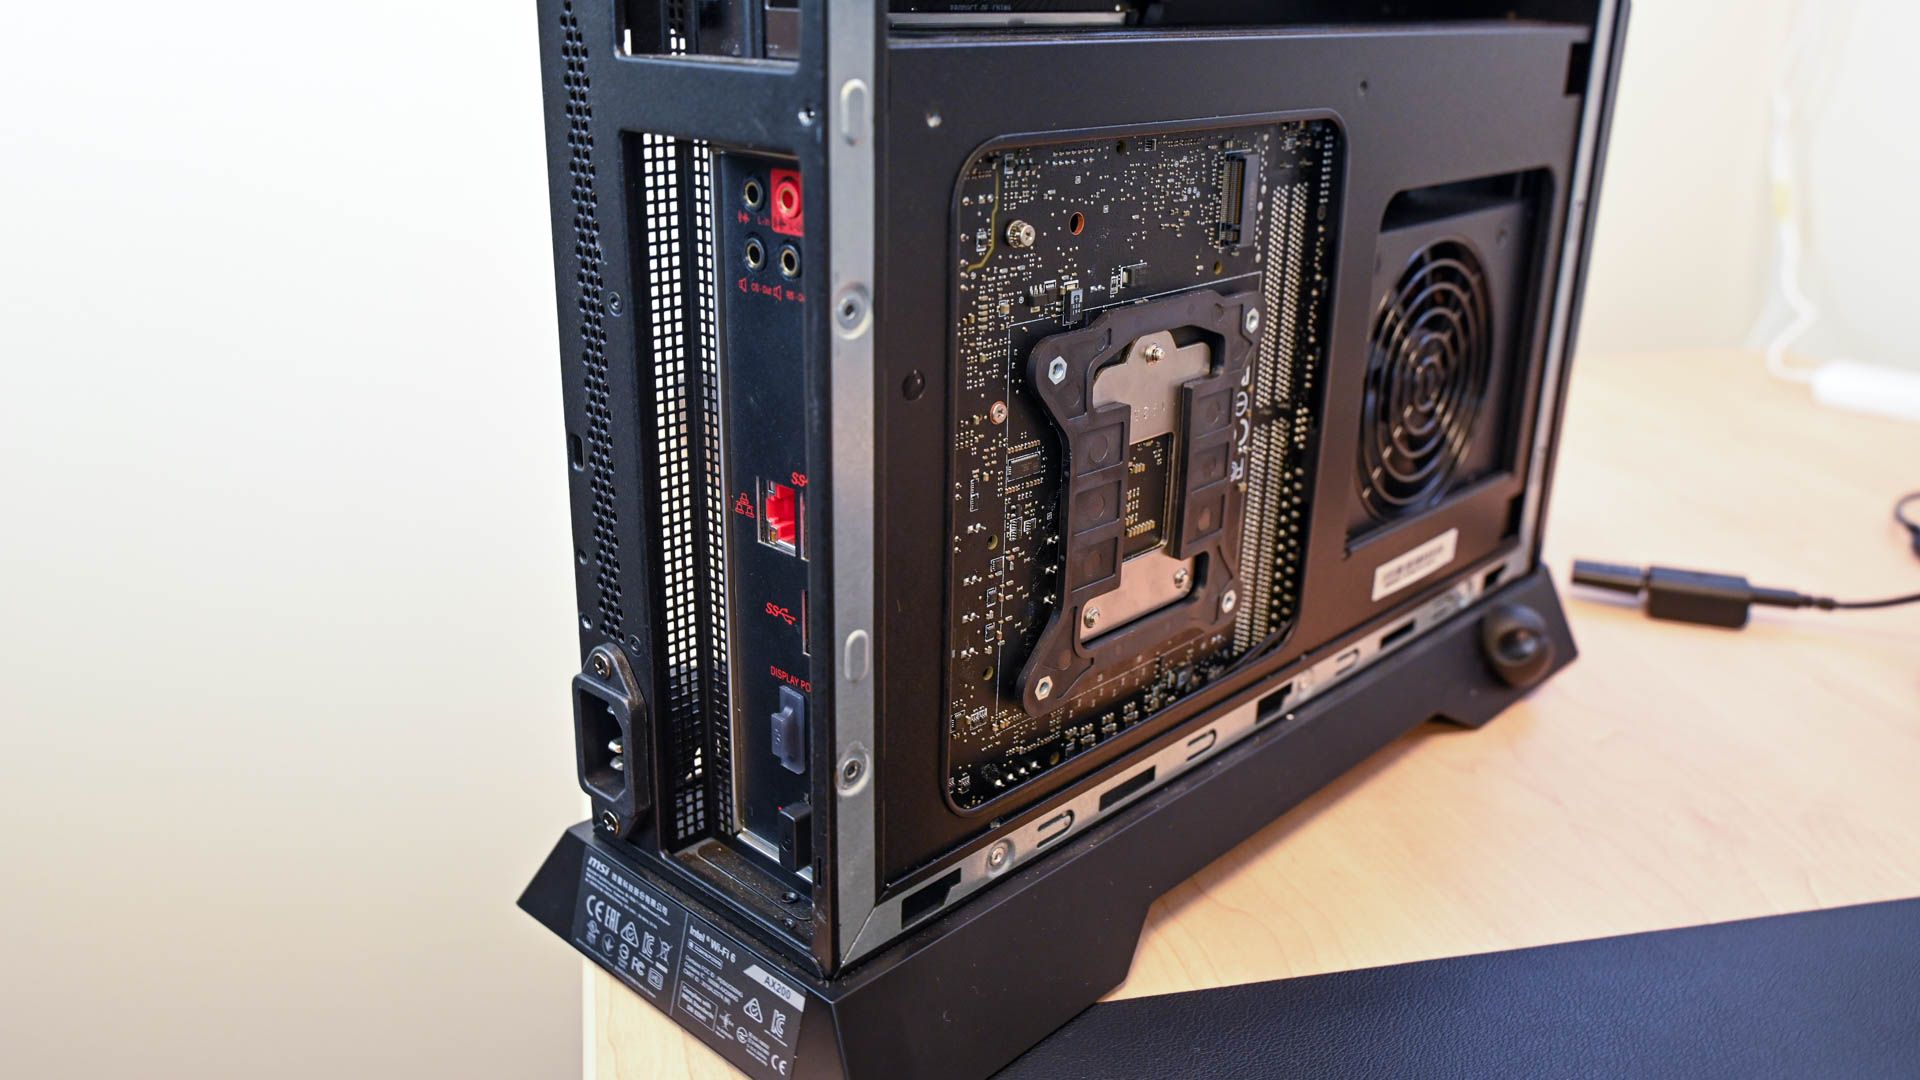
What Is UEFI, and How Is It Different from BIOS?
BIOS is dead, long live UEFI.
To boot from the drive, you need to change your boot order. Restart your PC and tap the F2 or Delete key to access the BIOS or UEFI. Alternatively, shift-click “Restart” in the Start Menu. Once you’re in the UEFI, look for “Boot Options,” and select your new USB device as the boot device.
When you save and exit, your PC will restart and walk you through setting up Windows 11 on the portable drive.
Once Windows has been installed and set up, you’ll have a fully functional Windows 11 installation running off a USB device. Just make sure to encrypt it so that no one can steal your data.




:max_bytes(150000):strip_icc()/imac-27-2020-eb710e246e994e38a6ebaf27f9d9176f.png?w=1174&resize=1174,862&ssl=1)
Leave a Comment
Your email address will not be published. Required fields are marked *