

The Switch 2 is the perfect console for anyone who fell in love with Nintendo’s original hybrid. It’s slightly bigger, far more powerful, and backward compatible with the vast majority of Nintendo Switch titles.
If you decide to jump ship, you can easily transfer data from your old console to your new one. Here’s how it works, what gets transferred, and what happens to the old console.
Which Data Is Transferred?
Using Nintendo’s System Transfer feature, the following data will be copied from the source Nintendo Switch to the new Nintendo Switch 2:
- All user profiles, including settings
- Eligible save data
- Screenshots and videos you have captured
- Purchased digital games and demos
- Parental control schemes for accounts
There’s no way to decide which data gets transferred, it’s an all-or-nothing approach. You can always tidy up the transfer afterward, but the best way to avoid transferring things you don’t want on your new Switch 2 is to delete them from your old Switch first.
Setting Up the Transfer
You’ll be invited to transfer data from an old Switch to a new one when you first turn on and set up your Nintendo Switch 2 console. To get started, turn on the console and initiate the setup. Follow the on-screen instructions and select your language, region, and connect to the internet when prompted to do so.
Eventually, you’ll be asked to update your Switch 2 to the latest firmware. Once you’ve done this, your Switch 2 will reboot and you’ll finally be prompted to choose whether or not you want to transfer data. Choose “Begin System Transfer” to get started.

If you skip this process during the initial setup, there doesn’t appear to be any way to manually trigger it again once you’ve set up your Switch 2 (we checked). The best you can hope for is the save data transfer feature under System Settings > Data Management > Transfer Save Data using the “Receive Data” option.
This works in much the same way as the process detailed below but only applies to your save data. In order to transfer data from your Switch to your Switch 2 using the System Transfer wizard, you’ll need to reset your Switch console. To do this, head to System Settings > System >Formatting Options and choose “Restore Factory Settings.”

If you go this route, you’ll lose everything on your Switch 2. When the Switch reboots after being formatted, you’ll be able to set it up as if it were new and select the option to “Begin System Transfer.” This is a better approach since it moves everything all at once and requires less manual work on your part.
Transferring Data to Your Switch 2
With the System Transfer process initiated, you’ll be asked to insert a microSD Express card if you have one. You can skip this, but note that any data copied from your Switch memory card will be copied to the internal system memory on your Switch 2 rather than external storage. Remember, you can’t simply remove the microSD card from your Switch and use that because the Switch 2 requires faster removable storage.

Related
The Best Nintendo Switch 2 microSD Express Cards in 2025
The Nintendo Switch 2 is very particular about the kind of microSD card you use to expand its storage.
Next, you’ll be asked to sign in with your Nintendo account on your Switch 2. This needs to be the same Nintendo account that you’re transferring data from on the old Switch.

Next, it’s time to make sure both consoles are close together. The transfer takes place wirelessly over Wi-Fi, and things will move faster with a stronger connection. You need to connect the relevant USB-C adapter to both the Switch and Switch 2 before the process can begin.

Now, on the old Switch that you’re transferring data from, head to System Settings > System > System Transfer to Nintendo Switch 2. If you don’t see this option, you’ll need to first update the system software under System Settings > System > System Update.

Now there are a few more prompts to sail through. Hit “Next” and then “Done” to start, read the notice, and then hit “Next” one more time. You’ll now be prompted about any save data that can only exist on one console at a time. This means that some save data will be removed from the old Switch after it has been transferred. This includes any data associated with demos as well as Nintendo first-party titles like Pokemon Legends Arceus, and Animal Crossing: New Horizons.

Animal Crossing: New Horizons
![]()
- Released
-
March 20, 2020
- ESRB
-
E for Everyone: Comic Mischief
- Developer(s)
-
Nintendo EPD
- Publisher(s)
-
Nintendo
- Engine
-
Havok
When everything is ready, hit “Start Receiving Data” and the process will finally begin.

Now Wait for the Transfer to Complete
Once data begins transferring, you’ll see a transfer screen appear along with a percentage and progress bar. You can’t use either console until this screen disappears and the transfer is complete. Go and make a cup of coffee or something.
Once the process is complete, the screen will update and you’ll receive a notice that the theme you were using on your original Switch has been applied to the Switch 2. Lastly, you’ll be invited to hit the “Home” button to finish setting up your Switch 2, at which point you can start using the console.

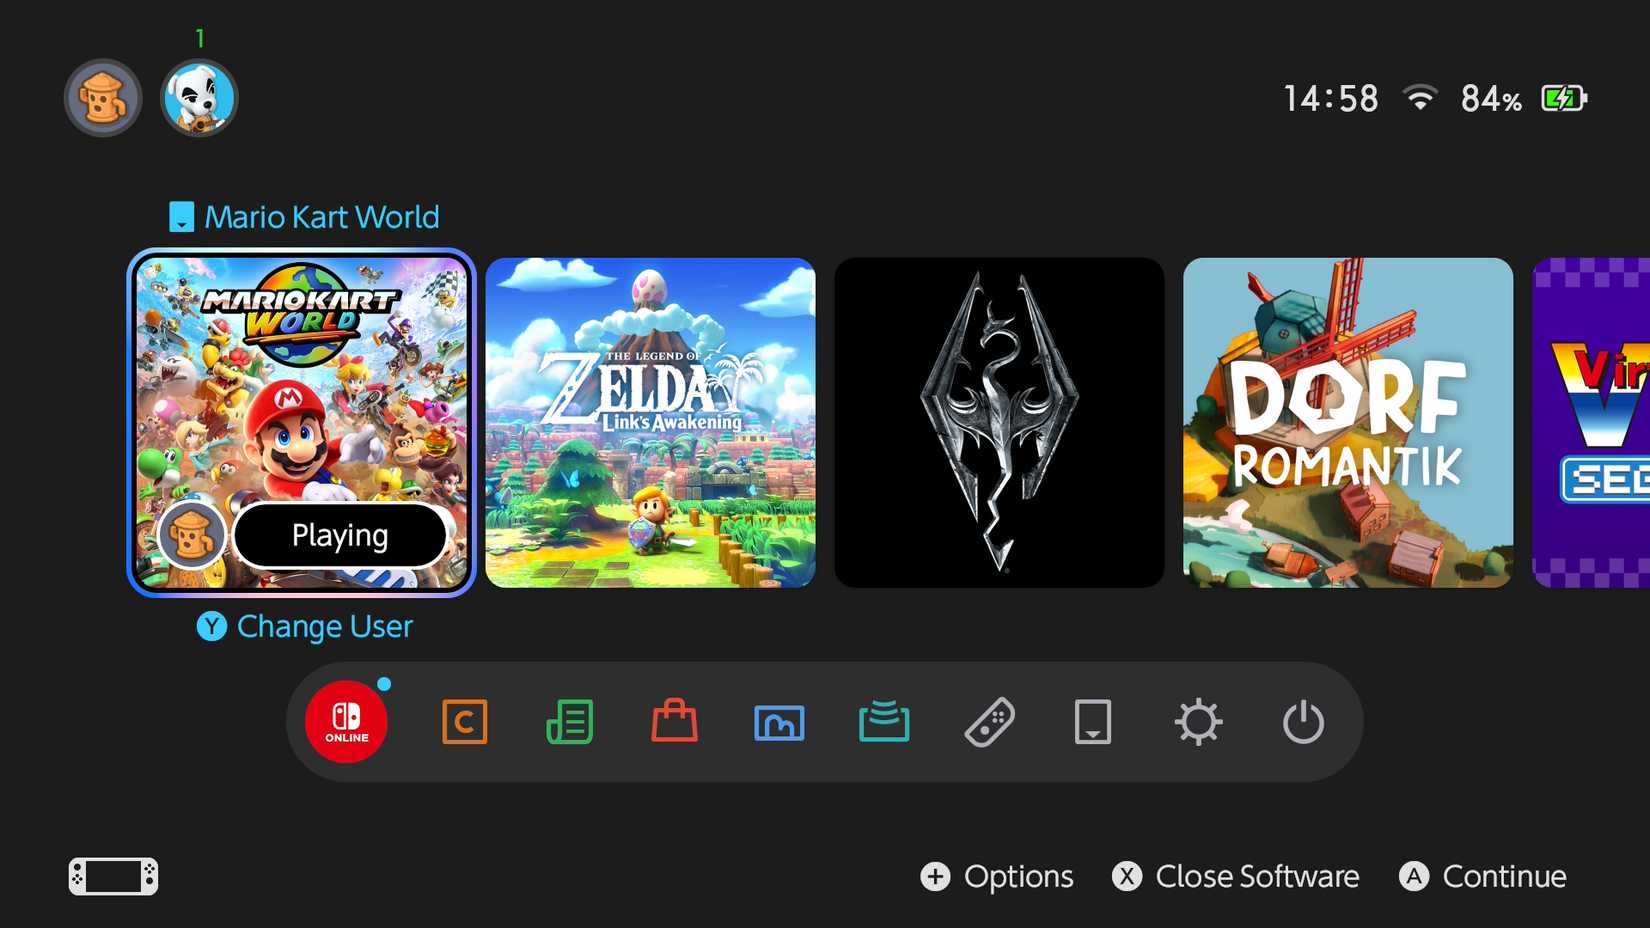
When the interface finally appears, you’ll notice the same game icons that were present on your original Switch are now on your Switch 2. To save time in the initial transfer, digital games are downloaded only once the transfer has been completed. Your games will gradually download in the background.
For physical editions of games that you’ve played recently, downloads consist solely of update files.
Time to Clean Up
There’s a good chance you don’t want everything from your original Switch on your Switch 2, particularly demos and games you have no interest in playing. Act quickly and prevent these titles from downloading by finding them in your library, tapping the plus “+” button, and choosing Data Management > Delete Software.
There’s an option to retain the game icon if you want easy access to it later. Any icons that you remove can still be downloaded via the “Virtual Game Cards” option from the main Switch menu.
What Happens to the Original Switch?
Your original source Switch will still be usable after you’ve set up your Switch 2. It won’t be factory reset, and the only data that will be modified is the save data that can’t exist in multiple locations at once. If you have a Nintendo Switch Online membership, you’ll get access to cloud saves which will keep your saves in sync between consoles (perfect if you want to play the same game on multiple systems).
Regardless, you can carry on using your old Switch as you were before or you can factory reset it and sell it or hand it to a friend. Enjoy your new Switch 2!


Leave a Comment
Your email address will not be published. Required fields are marked *