People assume I’m carrying around some mirrorless camera or retro film setup. I’m not. Every time someone asks what gear I used, I almost feel bad admitting it’s just my phone—and one app that changed everything.
NeuralCam Helps Me Take Better Photos
Since 2019, NeuralCam’s iOS apps have helped make photographers better. Its first focus was a night-mode-specific app, but now there’s a whole suite of photography apps, which each improve photography results for anyone. I love the NeuralCam app as it subtly—or sometimes, more obviously—improves my photos.
The settings in NeuralCam are similar, but different, to those often found in other camera apps. With more detailed tools, my photos are simply just better than with other cameras or apps.
You’ll find self-timers, an expandable frame amount for more contrast depth, AI styles to apply to your photos, brightening options, bokeh settings, and background features, among other more standard features like white balance, exposure, and focus area.
The Pro version of NeuralCam unlocks even more options, with more frame amounts available, a larger aperture option in the Bokeh tab, more AI styles to apply, and wider varieties of other settings.
As a result, these camera settings initially let me take better photos, even before I get to edit them. My favorite part about NeuralCam’s features is that I can apply them before taking a photo or afterward—and I can easily edit pre-applied settings after I see the results too. It’s all fully customizable, but it saves a bunch of time having it set up to begin with.
Download: NeuralCam for iOS (Free, includes paid features)
Related
Here’s How I Get the Bokeh Photo Effect Using My Smartphone
iPhone and Android don’t have a native bokeh setting in their camera apps, so how do you create one? Here’s how I do it.
NeuralCam Shines with Night Mode
When NeuralCam released its first app in 2019, it had a focus on night mode photography. This app implemented night mode before it was freely available on the native iPhone camera.
Although, now, NeuralCam can be used for all types of photography, it still shines best in night mode. Whether I’m taking photos of an evening sky or photos of my pets indoors in low lighting, the tools in NeuralCam bring the darkness to life in my photos.
In more modern versions of the NeuralCam app, it also features low noise modes, and—under the Pro plan—high detail and unprocessed modes to capture better in low lighting. This also includes AI upscaling tools which can help enhance your photos, whether in low light or not.
Built-In and Automated Editing For the Best Looks
Although you can choose the camera settings before taking a photo, all is not lost if you wish to apply or edit them afterward. After taking a photo, I like to experiment with NeuralCam’s editing features.
NeuralCam highlights the best version of your photo with a before and after viewer so you can visualize the subtle differences. This helps you decide how much editing to add to your photo or whether it simply looks better right out of the camera.
The editing settings are largely the same as the camera settings offered, but you can apply them after taking the photo rather than setting up the camera with those settings. It’s great to have the option for both.
After taking your photo, hitting Adjust displays a whole host of sliders. These include bokeh intensity, AI illumination, style, style intensity, and other settings like brightness, and vibrance. If any of these settings were already set when you took the photo, the sliders will move to show that. You can retroactively remove your settings in post.
Selfie Focus and Generic Photography Improvements
Even though NeuralCam is great for improving on photography itself, it’s also a fab tool for taking better selfies and portraits. You can still be artistic while taking selfies.
NeuralCam features a timer with 2 seconds and 10 seconds as options, allowing you to set your iPhone on a tripod or propped up on something sturdy so you can get your pose perfected in time.
All the same editing and style features are present even using the selfie cam, so you can also set exposure levels, AI styles, white balance, focus modes, and more.
I like that NeuralCam applies auto-portrait mode and face color contrast to selfies or portrait photos. This instantly improves your photos without you needing to do a thing. All you have to do is take a selfie photo, and then you can see the original and edited versions of your photo to see what the difference is with and without those settings.
I personally like the bokeh effect and how it makes a human subject stand out in selfies or portraits. While the iPhone’s native camera has the Portrait Mode option—which does the same thing—NeuralCam’s bokeh tool is customizable. The iPhone’s Portrait Mode isn’t customizable and often looks extremely false compared to a true shallow aperture effect.
NeuralCam Pro Gives Even More
The free features and abilities on NeuralCam are great. You have the ability to change many aspects, like styles, editing, and applying AI features for ultimately great photos—but with NeuralCam Pro, you get even more options.
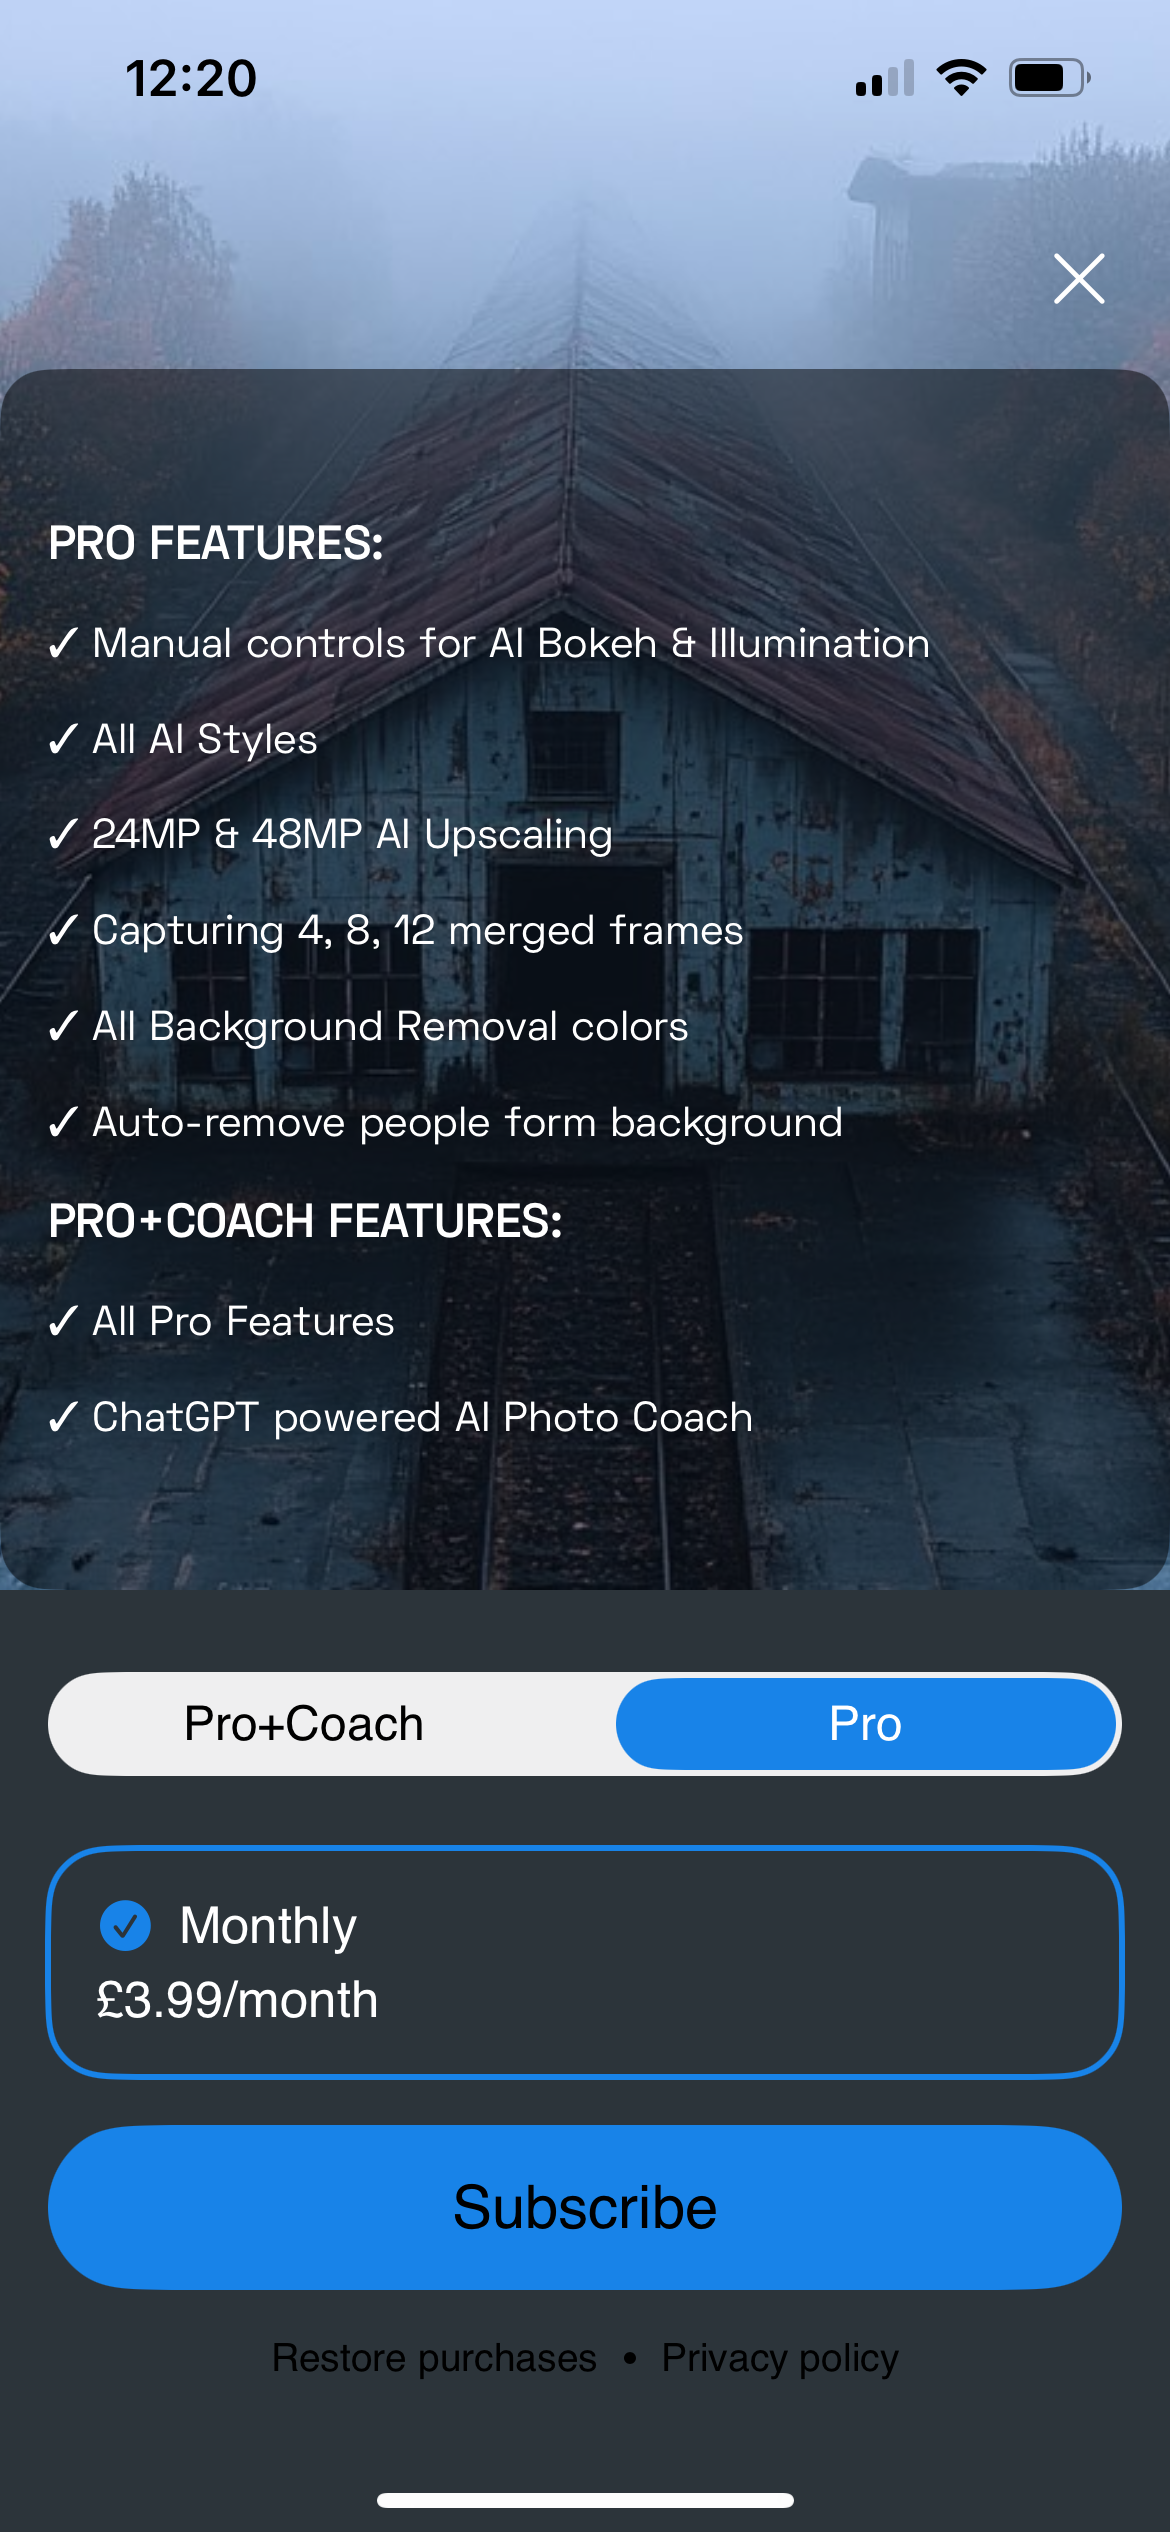
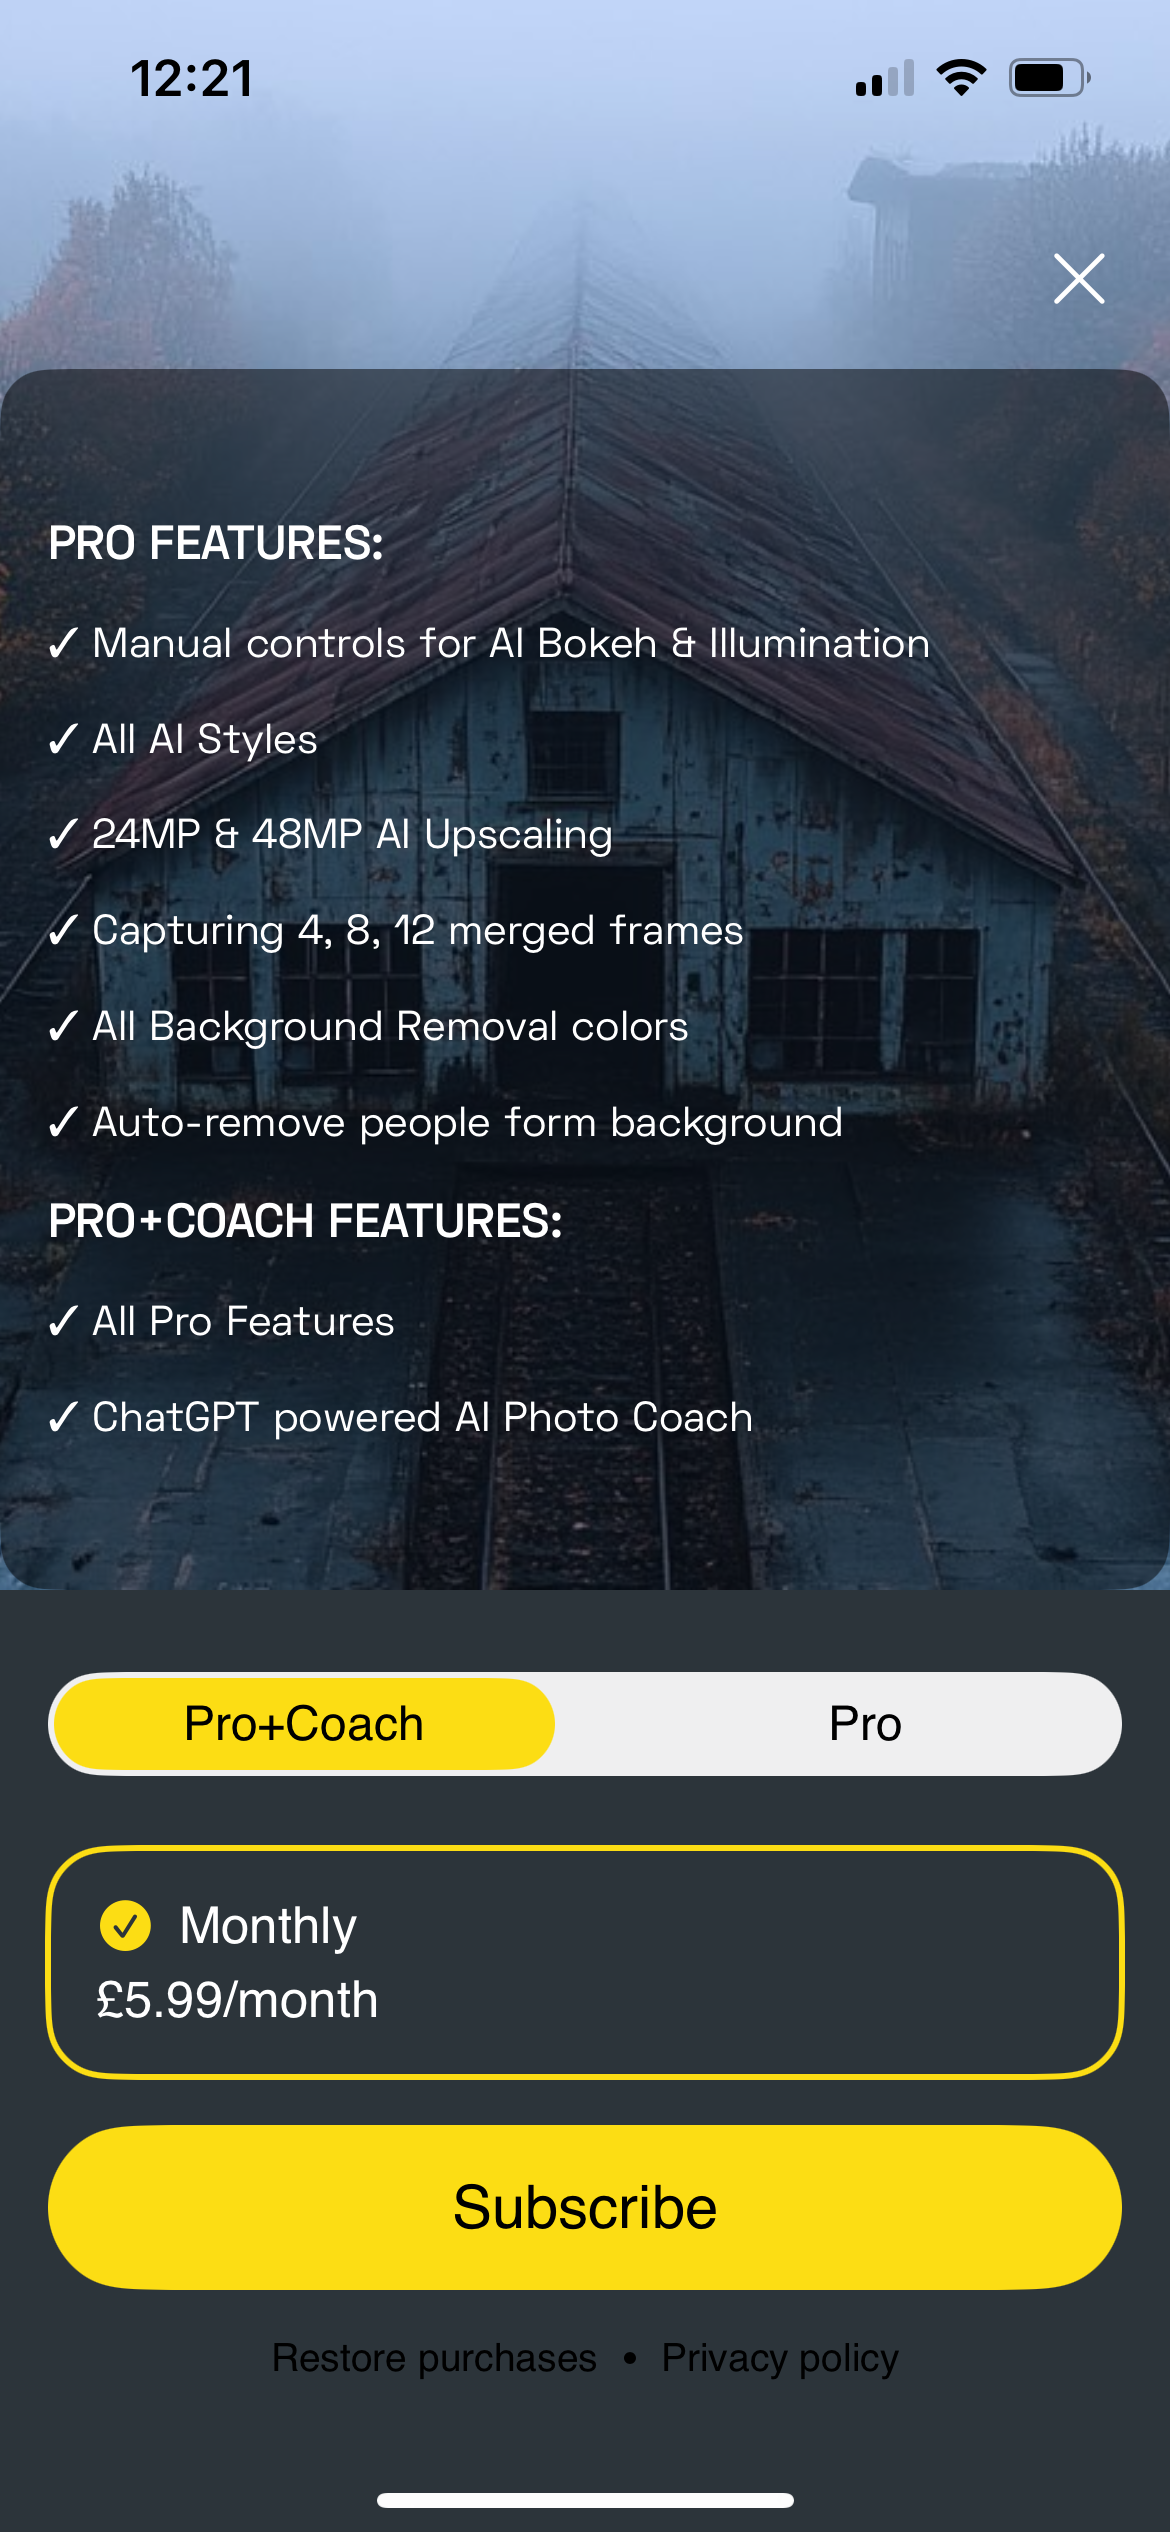
NeuralCam Pro is a monthly subscription of $3.99. For this small sum, NeuralCam opens up with more features including manual override controls for AI bokeh effects and AI illumination effects. You get access to all the photo AI styles, not just the free versions. You can upscale to even better enhanced amounts, such as 24MP and 48MP using Pro AI upscaling.
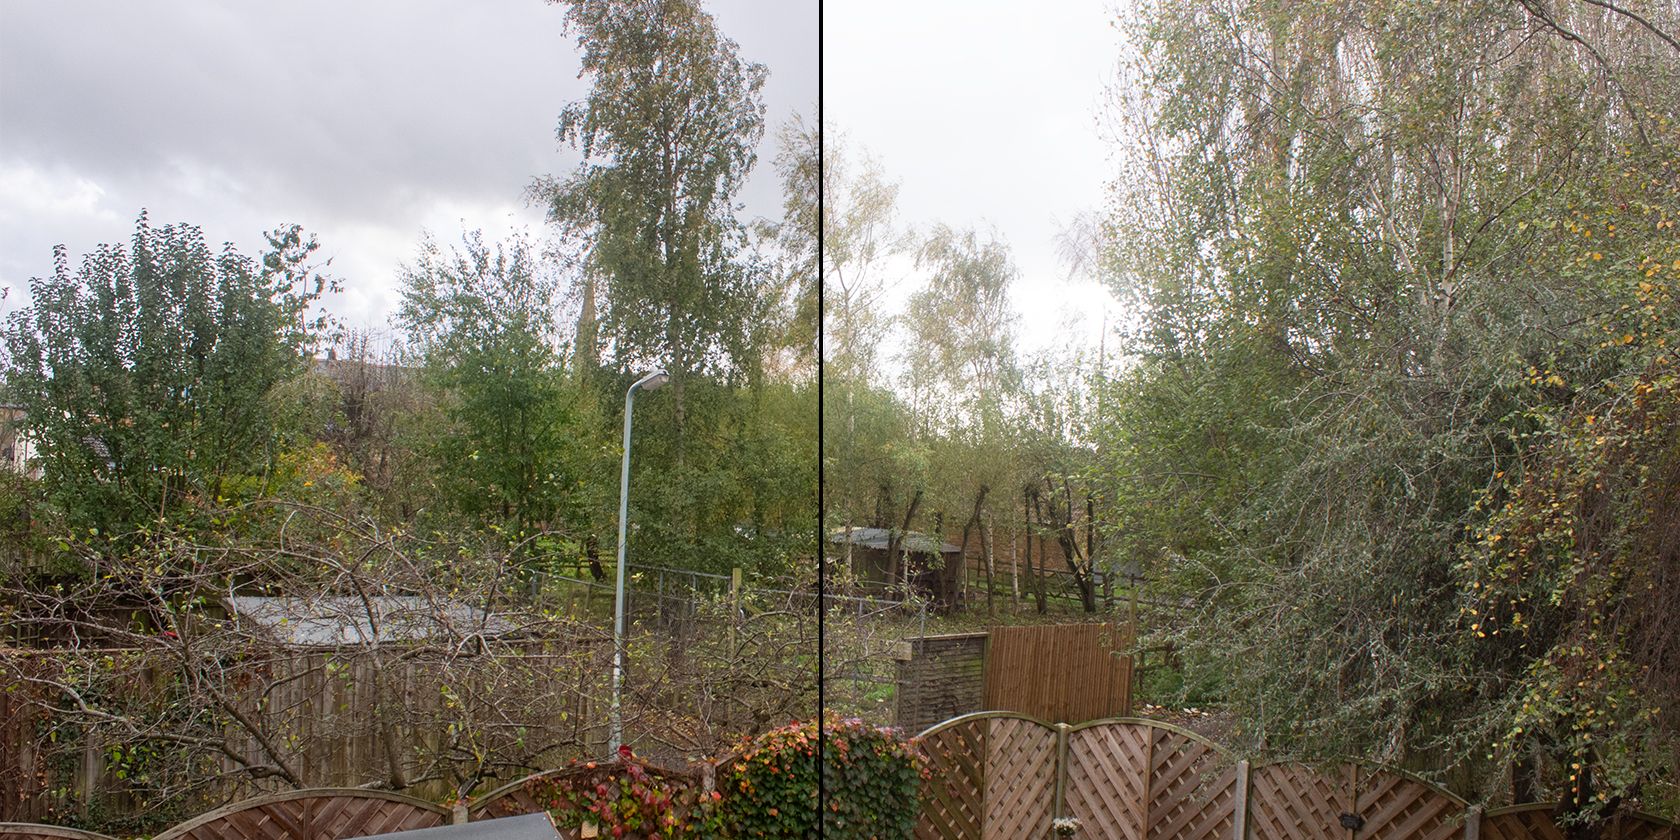
The Pro version also lets you choose more frame captures, essentially allowing you to create HDR-style imagery which is made by capturing multiple frames at different exposures and then merging them back to benefit from the best of each exposure. Some smartphone HDR modes don’t make a difference, but in NeuralCam, it does.
Related
How to Create HDR Images in Photoshop With Camera RAW
Using Camera RAW in Photoshop, you can easily turn your bracketed photos into a beautiful HDR. Here’s how.
Some of the better Pro features include auto-removal of other people in your photos, which saves time and frustration when your otherwise-perfect photo is ruined by stragglers in the background. There’s also a background removal tool which benefits from extra colors in Pro. The free version only offers white.
Photography Coaching For a Premium
The NeuralCam PhotoCoach is like your photography assistant in the palm of your hand. PhotoCoach is an added paid feature on top of the paid Pro plan—there’s an option for Pro only or for Pro + PhotoCoach—which means free users don’t get the benefit of it. But if you’re looking to improve your knowledge of photography, it’s a great option.
Using AI, the PhotoCoach offers suggestions to improve your photo based on what the subject and type of photo is. It gives you three ratings out of ten for the subject, composition, and storytelling elements of photography.
This coach is for more than just cute selfies or random snaps. It’ll truly teach you the ins and outs of a good photo, such as how to place your subject to better capture the lighting of the environment.
Related
Here’s How I Get the Perfect Composition in My Smartphone Photos
There are lots of ways to make your smartphone photos look good, but these composition basics that I use are the essential starting point.
With the tools and features in NeuralCam as well as the addition of an AI PhotoCoach, it really feels like I have a professional-level camera in the palm of my hand when using this app. I don’t have to spend hours slogging over Lightroom or in Snapseed delicately editing minute details—the AI’s got me covered with improving my photos in the way that suits the subject best.
The editing features are easy to use and provide really impressive results that I’m happy to share. They’re subtle and not overwhelming, but they truly make a difference to my photos. With NeuralCam, my photos impress others instantly, even though there’s little effort that goes into their creation.


Leave a Comment
Your email address will not be published. Required fields are marked *