Whether you need to open apps, view recently used files, or shut down your PC, the Start menu is an essential part of the Windows experience. But if yours has disappeared, there is no need to panic, as it is usually easy to restore.
5
Restart Windows Explorer
Windows Explorer is a system process that provides the graphical user interface for the desktop, taskbar, and Start menu. If this process malfunctions for any reason, the Start menu may become unresponsive or even disappear.
Restarting Windows Explorer is often effective in fixing such issues. Hence, it’s the first thing you should try.
- Press Ctrl + Shift + Esc to open the Task Manager.
- In the Processes tab, find and select Windows Explorer.
- Click the Restart task button at the top.
Your screen might flicker or briefly go black, but don’t worry—that’s normal. Within a few seconds, your desktop and taskbar should reload, and your Start menu should reappear.
If Windows Explorer doesn’t restart automatically, you can also start it manually. To do that, press Win + R to open the Run dialog box, type explorer.exe, and hit Enter.
4
Unhide Taskbar
Not everyone likes having the taskbar constantly visible at the bottom of the screen. That’s why both Windows 10 and 11 include the option to automatically hide it when not in use. If you’ve accidentally enabled the option on your PC, it may cause the taskbar and the Start menu icon to disappear.
In that case, you can simply hover your cursor over the bottom edge of the screen to reveal the taskbar. Alternatively, you can unhide the taskbar permanently by following these steps:
- Press Win + I to open the Settings app.
- Navigate to the Personalization tab and select Taskbar.
- Scroll down and expand the Taskbar behaviors section.
- Uncheck the Automatically hide the taskbar box.
Once you’ve completed the above steps, your taskbar, and the Start menu button will stay in place. So you should be able to access them easily.
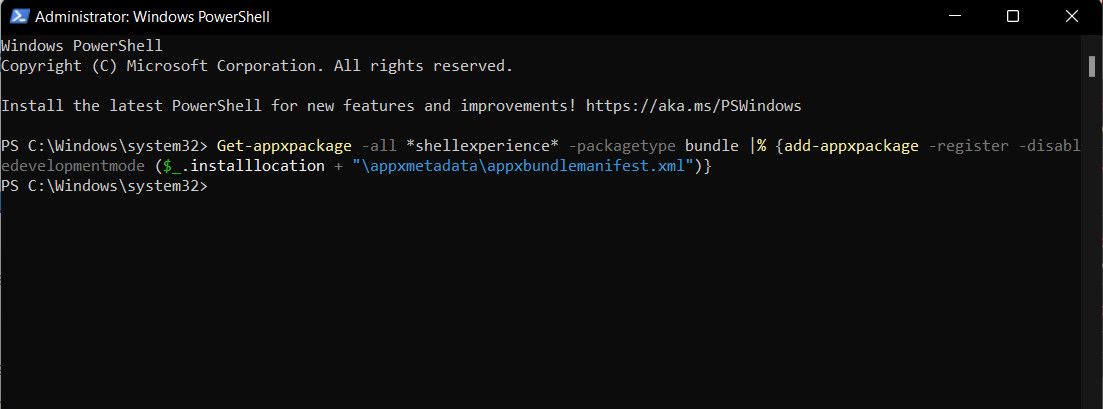
If the Start menu is still missing at this point, you can try re-registering the Start menu packages. This process reinstalls the core system applications associated with the Start menu without affecting your personal files or settings.
Don’t worry; this isn’t as complex as it sounds and only requires you to run a single command.
- Press Win + S to open the search menu.
- Type powershell in the box and select Run as administrator.
- Paste the following command and hit Enter.
Get-appxpackage -all *shellexperience* -packagetype bundle |% {add-appxpackage -register -disabledevelopmentmode ($_.installlocation + “\appxmetadata\appxbundlemanifest.xml”)}
After running the above command, check if the issue is still there.
2
Scan for Corrupt Files
Your Windows PC relies on several system files to function properly. If any of these files are damaged or missing, you may encounter unusual problems with Windows.
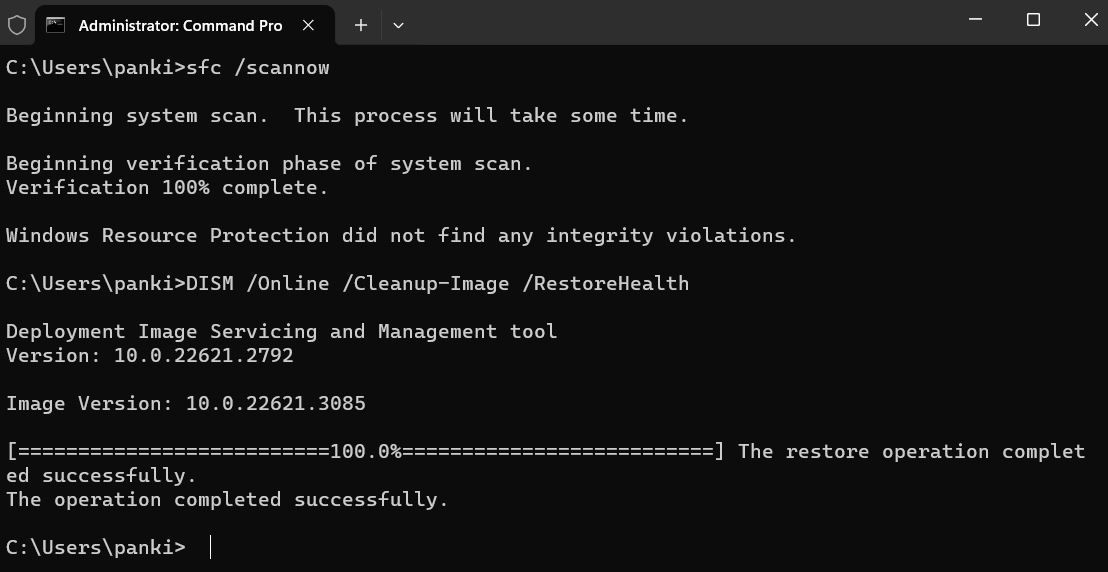
The good news is that Windows includes a useful tool called System File Checker (SFC) that can scan your PC for corrupted system files and repair them. Here’s how to run it.
- Right-click on the Start icon or press Win + X to open the power user menu.
- Select Terminal (Admin) from the list.
- Type sfc /scannow in the console and hit Enter.
Wait for the scan to complete, and then restart your PC.
If you’re still experiencing issues, try running a Deployment Image Servicing and Management (DISM) scan. This tool can fix deeper problems with your Windows image. To do so, open the terminal app again and run the following command:
Dism /Online /Cleanup-Image /RestoreHealth
This scan can take a while, so be patient. Once it is complete, restart your computer again and see if the issue is resolved.
1
Perform System Restore
At times, a faulty Windows update, a rogue app, or unwanted system changes can cause your Start menu to disappear unexpectedly. If the issue has started recently, you can use the System Restore tool to resolve it.
System Restore allows you to roll your computer back to a previous state—before the issue started—without affecting your personal files like documents, photos, or videos. However, keep in mind that it will remove any apps or drivers installed and undo system settings changed after that restore point was created.
Here’s how to perform a System Restore:
- Press Win + S to open the search menu.
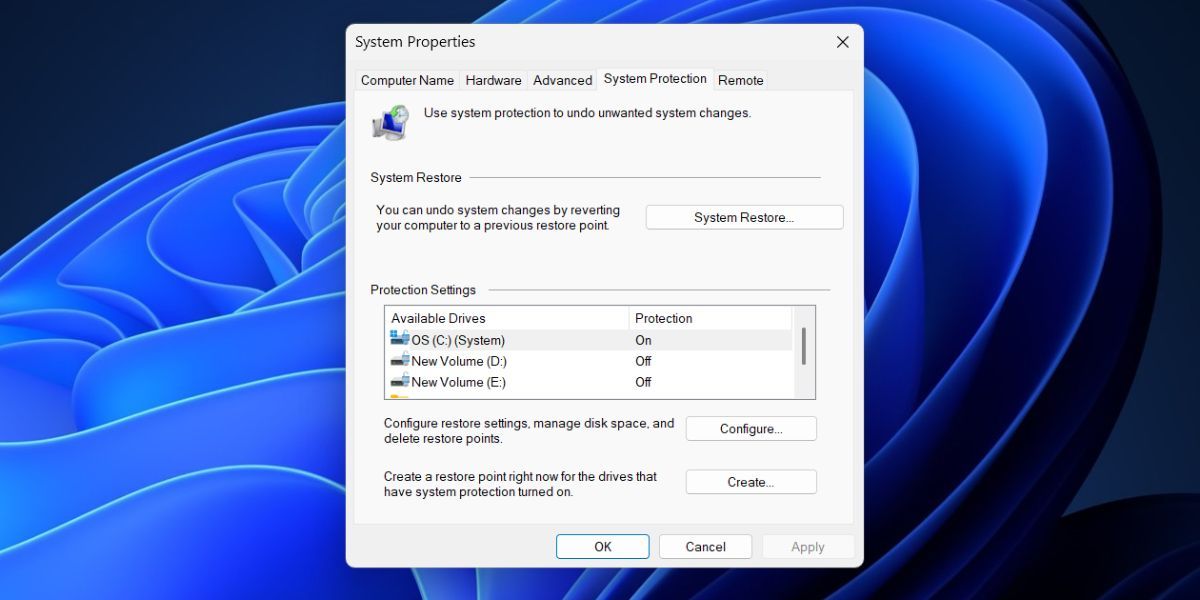
- Type create a restore point in the text box and hit Enter.
- Under the System Protection tab, click the System Restore button.
- Click Next.
- Choose one that was created before the Start menu issue began. Then, click Next.
- Review all the details and hit Finish.
Wait for Windows to revert to the specified point. Following this, your problem should be solved.
A missing Start menu can feel like losing your way in a familiar room—suddenly, everything becomes harder to find. Fortunately, restoring it isn’t too difficult if you follow the right steps. Once it’s back, it’s a good idea to customize the Start menu to make navigation in Windows easier.


Leave a Comment
Your email address will not be published. Required fields are marked *