The Easy, Free Way to Get Windows 11 on Your Old Computer

The Easy, Free Way to Get Windows 11 on Your Old Computer

Windows 10 is nearing its end, and if your PC can’t run Windows 11, it’s headed to the scrapyard as well. But there’s one clever tool that can get Windows 11 running on your old PC, thanks to a simple loophole.

What Is Flyby11 and How Does It Work?

Flyby11 is a simple patcher to remove annoying hardware restrictions that prevent Windows 11 from running on older hardware. Even if Windows 11 doesn’t support your CPU because it lacks TPM 2.0 or Secure Boot, Flyby11 lets you install Windows 11 24H2 anyway.

The tool does this through a feature of the Windows 11 setup process that uses the Windows Server variant of the installation. Unlike a regular Windows 11 install, the server variant doesn’t impose the same hardware requirements and skips most hardware compatibility checks. This means you can run Windows 11 on most unsupported systems without needing sketchy command line commands that may or may not work.

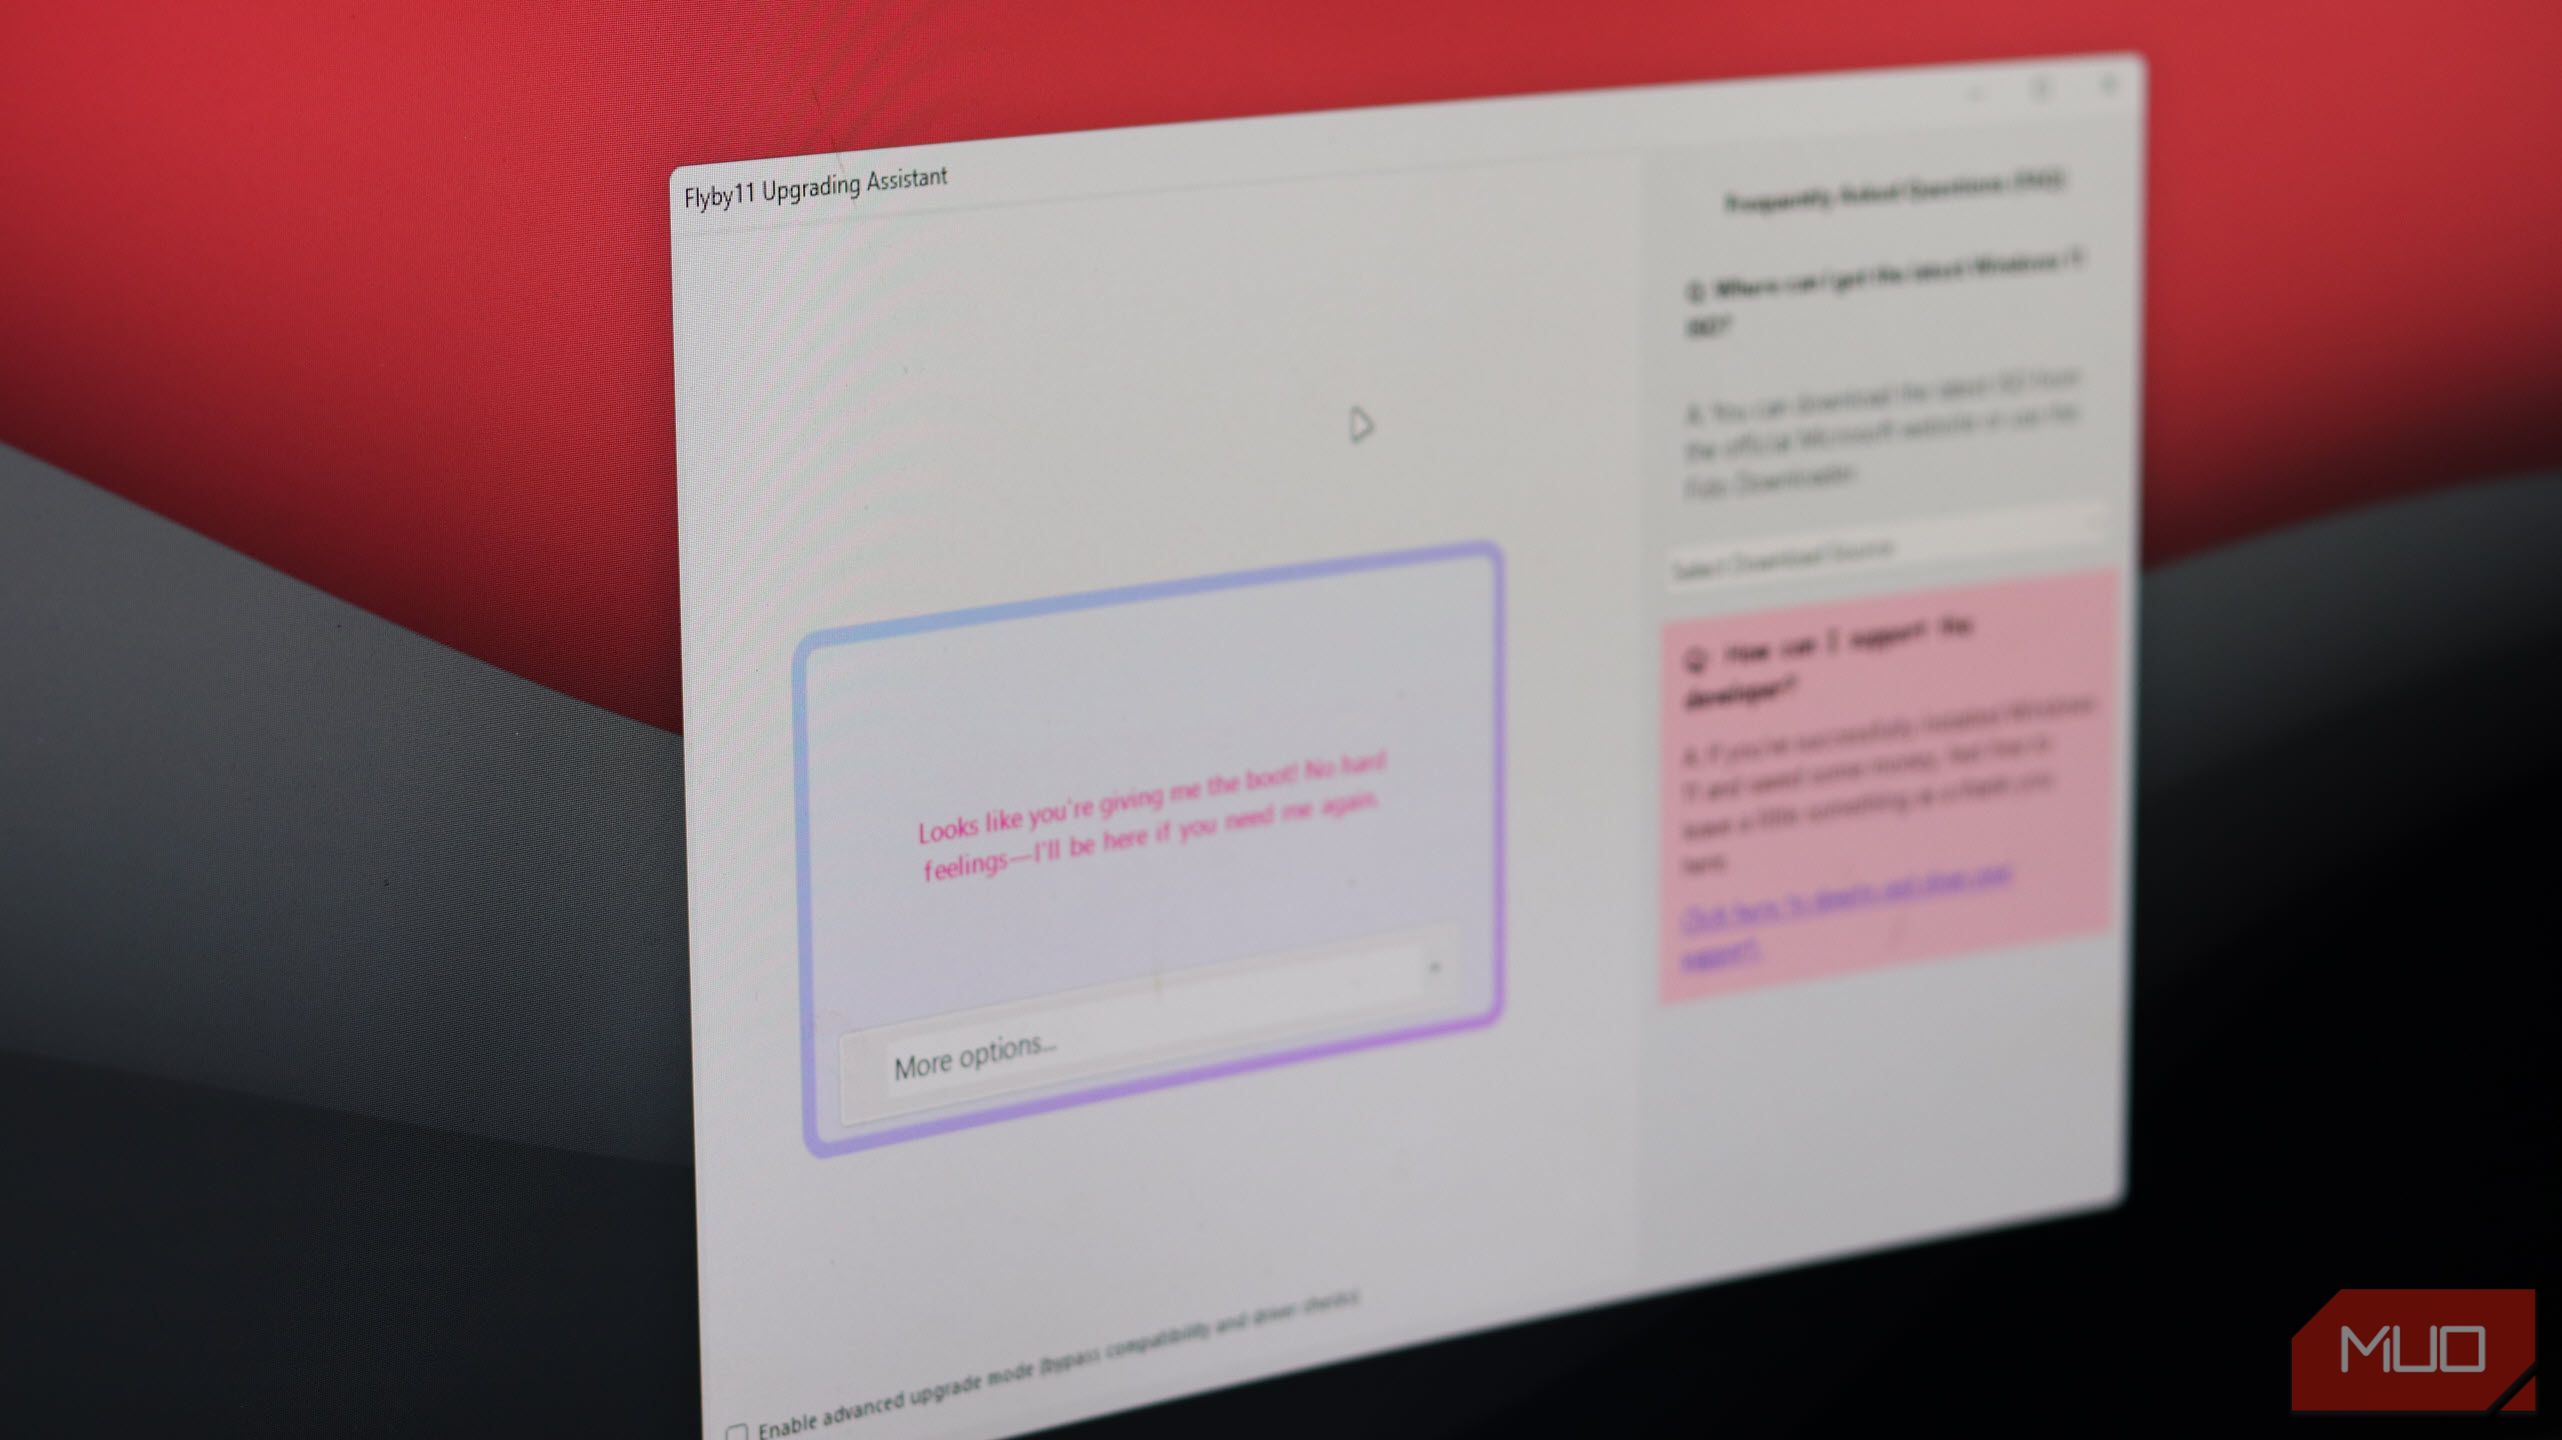
Flyby11 open on Windows 11

Yadullah Abidi / MakeUseOf

Even though the setup runs in server mode, it still installs regular Windows 11, meaning the final result and your experience are no different. It’s surprisingly easy to use since it automates the downloading and mounting of a Windows 11 ISO file automatically, so you don’t need to tweak anything. The latest version (3.0 at the time of writing) even supports the Windows Media Creation Tool as a download source.

Related

It’s Finally Time to Upgrade to Windows 11

Upgrade before Windows 10 support ends.

This method is the same as described in the official Windows documentation for upgrading unsupported systems. This means it’ll likely continue to work, unlike other methods that are often loopholes Microsoft closes sooner or later. It’s completely free to download, and the source code is available on the official GitHub repository.

Updating to Windows 11 Using Flyby11

Compared to other ways of bypassing Windows 11’s hardware requirements, Flyby11 is the easiest to use and requires little to no technical expertise. All you have to do is follow these simple steps:

You might see a Windows SmartScreen filter when you first run Flyby11. This is completely normal; you can proceed with the installation by clicking the More info button and then Run anyway.

  1. Download the ZIP archive containing the latest version of Flyby11 from the GitHub repository’s release page. Extract the archive and run Flyby11.exe.
  2. Once the Flyby11 Upgrading Assistant opens up, it’ll check for CPU POPCNT and SSE4.2 support. If both are supported, your upgrade probability is very high; click the Start Upgrade Now button to get started.
  3. Next, you’ll have to select a download source for downloading the Windows 11 ISO using a dropdown on the right. It’s recommended that you use the Download via Fido option, but you can also use the Windows Media Creation Tool or a local ISO file you may already have.
  4. Once you select the Download via Fido option in the dropdown, a PowerShell command will run. You’ll see a window asking what version, release, edition, language, and architecture of Windows you’d like to download. The default options work without any changes, so keep clicking Continue until you see the Download button, then click that to start the ISO download.
  5. Once the ISO is downloaded, Flyby11 should automatically start the installation process. If it doesn’t, drag and drop the downloaded ISO file into the Flyby11 window to mount it, and a Windows Server setup window will appear.
  6. From this point, it’s a standard Windows install, so click the Next button on the Windows Server install window and proceed as instructed. You can even choose to keep your files, apps, and settings intact.

Once the installation is complete, Windows 11 should boot up on your PC. If you chose to keep your files, apps, and settings, they should be exactly as they were on your Windows 10 installation.

There Are Still Upgrade Limitations

Flyby11 makes installing Windows 11 on an older system as painless as it can be, but it can’t do everything. Microsoft’s hardware requirements aside, there are still some requirements you need to meet before Windows 11 can run on your system. These include:

  • CPU POPCNT: One of Windows 11’s restrictions is a requirement for the CPU POPCNT instruction. Most CPUs made after 2010 should support this, so unless you’re installing Windows 11 on a really old system, you’re good to go.
  • SSE4.2: This is another CPU instruction introduced by Intel in 2008. Almost every Intel Core i3, i5, i7, or AMD FX/Ryzen CPU supports it.

So unless you’re trying to install Windows 11 on a PC that’s over a decade old, you’re good to go. And if you are, I’d recommend upgrading your hardware before your OS, as Windows 11 isn’t going to run well on such old hardware.

Related

Don’t Let Microsoft Kill Your Windows 10 PC—Do This Instead

You may have to part ways with Windows 10, but don’t surrender your PC just yet.

While the hardware requirements are easy to pass, Microsoft claims unsupported PCs running Windows 11 aren’t guaranteed to receive Windows updates. You’ll likely still receive monthly security and quality updates, but there’s no telling how long they’ll be provided.

That said, you likely won’t get major version or feature updates like 25H2 unless you install them manually. This should be a simple matter of repeating the steps mentioned above to install the latest update as a fresh Windows install. However, there’s always a risk of updates being blocked in the future.

When Windows 10 support ends, I’m leaving Windows for good. But if you want to stick around, Flyby11 can get Windows 11 running on just about any PC—for now.
Inventor builds mechanical computer with thousands of Knex pieces

Inventor builds mechanical computer with thousands of Knex pieces

Today’s world runs on digital computers, but there was a time when people relied on their analog siblings. Instead of electrical signals, mechanical computers utilize complex systems of gears, weights, and other physical implements to perform tasks. As recently as the 1960s, accounting devices like the Soviet Union’s Ascota 170 could even perform square roots, but some of the earliest mechanical computers may even trace all the way back to the famous Antikythera mechanism. Discovered in an ancient shipwreck near Crete in 1901, experts now believe ancient Greeks built the device around 100 BCE to calculate astronomical positions.

Mechanical computers may not oversee today’s automated tasks, but it’s still possible to build your own using literal children’s toys. That said, one YouTuber’s ongoing DIY mechanical computer project looks so dizzyingly complex that—for the time being—most people will likely stick with their smartphone’s calculator app.

The inventor who goes by Shadowman39 on YouTube is a longtime Knex aficionado. His previous projects built from the connectible, plastic building pieces include everything from coin sorters, to gigantic motion machines, to even a functioning Skee Ball cabinet. More recently, he opted to design and construct a device capable of performing basic calculations like addition and subtraction. Although he’s planning on expanding its abilities, the YouTuber recently uploaded the first look at his Knex 8-bit mechanical computer—specifically its “very simple” arithmetic logic unit, or ALU.

“Very simple,” in this case, refers to a roughly 3.5-foot-tall contraption built using thousands of Knex pieces, wheels, and conveyor belts. All those parts are divided up into eight columns, each one responsible for a single bit of binary data represented as a 0 or 1. The 8-bit system is capable of handling operations using the numbers 0-255, although Shadowman39 notes (using some rather dense mathematical reasoning) that it can also work with the number range of -128 to 127.

While there is an electrical line to power initial movement, the actual calculations themselves take place through mechanical means. Depending on the user’s input, the Knex computer will use its rack and pinions to initiate cranks capable of rotating 360 degrees while anchored by a pair of weights and counterweights. These actions compound across the eight columns until a calculation is completed.

“It looks like a mess but I promise it’s just organized chaos,” the inventor says at one point.

You might just need to take his word for it on that front. In any case, the YouTuber promises additional videos are coming that will delve into how data and program storage will work in its RAM and ROM. It may not find its way onto desktops, but the Knex project highlights the uniquely tactile and ingenious designs required to construct even the most rudimentary of mechanical computers.


More deals, reviews, and buying guides


Andrew Paul is a staff writer for Popular Science.


How to Back Up a Computer to an External Hard Drive

How to Back Up a Computer to an External Hard Drive

The Download

  • Back up your files to an external hard drive using File History or Backup settings on Windows.
  • Make a full backup of your system to save everything, including Windows and your settings.

This article explains how to back up your Windows PC, partially or completely, and is applicable to both Windows 11 and 10.

How to Make a Partial Backup of Your Computer

A partial backup of your Windows computer won’t save your operating system settings, but it will keep your important files if you ever need to reinstall Windows.

If you’re focused on backing up specific files and folders, you can automatically save them to an external hard drive at regular intervals you select.

  1. Connect the external drive to your computer, then select the Start menu. In Windows 11, type file history and select File History. In Windows 10, type backup and select Backup settings.

  2. Select Add a drive to choose the external hard drive you want to use for your file history backups.

  3. Doing this opens a Select a drive popup listing all external drives connected to your computer. Select the external drive where you want to back up your important files and folders.

  4. You’ll see Automatically back up my files enabled. This uses a default list of files and folders that most users prefer to back up. To add more files and folders, select More options below the toggle.

  5. Review the folders under Back up these folders. If any are missing from the list, select Add a folder and then browse and choose the additional folders you want to include.

    If there are any folders listed that you don’t want to include, select it and then select Remove to remove that folder from the list.

How to Make a System Backup of Your Computer

A full system backup requires significantly more space than a partial backup, which only covers files and folders. The space needed depends on your system files; therefore, clear out the cache and log files to lessen space requirements. Expect to use over 200 GB for this backup, necessitating an external hard drive with at least 250 GB of free space.

A complete backup of your Windows 10 system is known as a “system image.” You can save this to an external hard drive for safekeeping away from your computer’s internal drive. If recovery is needed, use this system image to restore your operating system and settings.

  1. In the search bar, type control panel and select the Control Panel app.

  2. Select Backup and Restore (Windows 7).

  3. From the left pane, select Create a system image.

  4. In the Create a system image pop-up window, select your attached external hard drive in the On a hard disk drop-down list.

  5. In the next window, you’ll see a list of system partitions that will be backed up as part of the system backup on the external hard drive. Select Start backup to begin the backup process.

  6. Depending on the size of your system, the entire backup process may take a while. Give it time and check back later. Once the backup is complete, you can disconnect the external drive and store it in a safe location.

Types of Computer Backups

Depending on your needs, there are two types of backups you can perform.

  • Partial Backup: This is where you only back up important files and folders and nothing else.
  • Full Backup: Take a complete “clone” of your entire system, including the OS settings, essential files, and everything else on your hard drive.

FAQ

  • How can I use an external hard drive for backup and storage?

    If you have enough space on your external drive, it’s possible to use the same device for full computer backups and storing specific files. Otherwise, you may want to consider separate hard drives: one drive for moving files to save space on your computer and the other for backups. On Macs using Time Machine, you’ll need to create a new APFS volume on the external hard drive to use part of it for backups and another portion for other file storage. 

  • How do I back up my Mac to an external hard drive?

    Use Time Machine to back up your Mac to an external drive. Connect the drive and set it as your preferred backup drive from System Preferences > Time Machine > Select Backup Disk. From there, you can choose manual or automated backups that start at a specific interval when you connect the external drive to your Mac. To back up essential files, manually move them to your external drive or use iCloud.

Back to Top
Product has been added to your cart