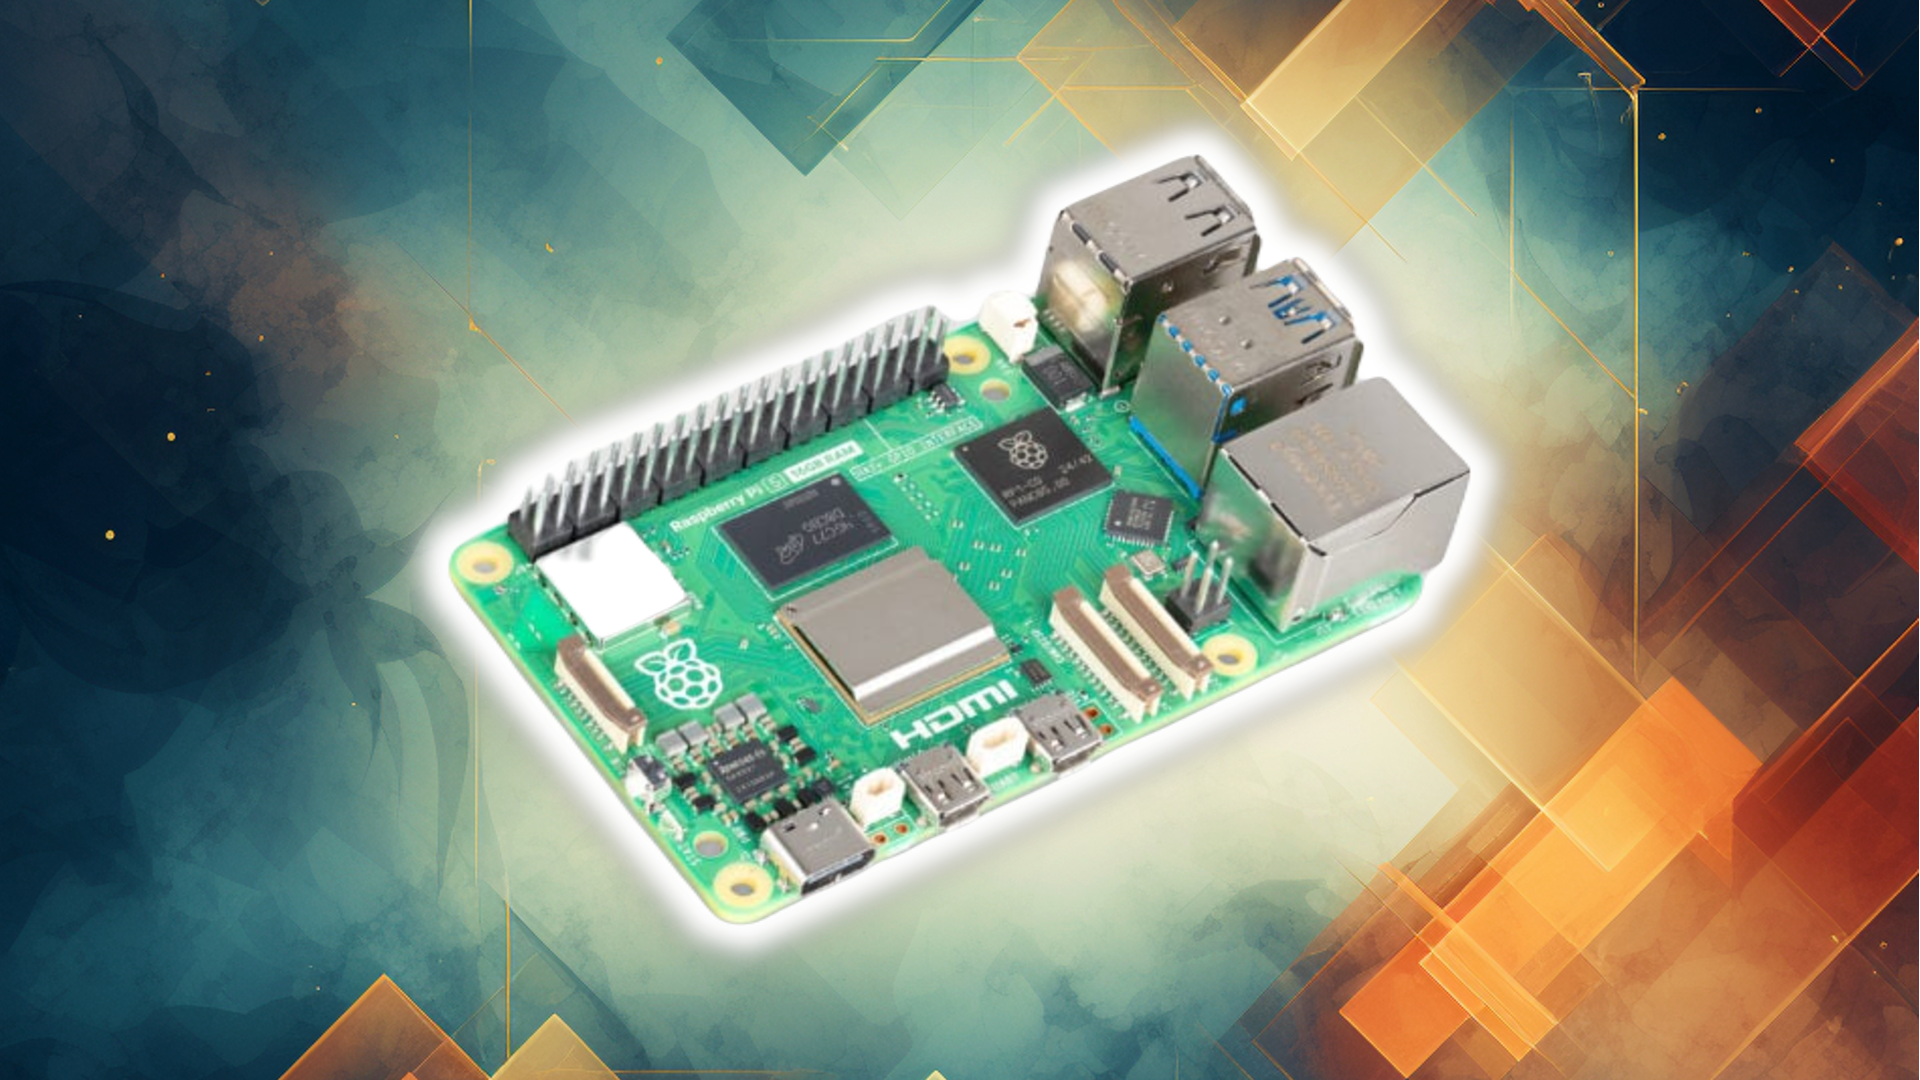
You probably know the Raspberry Pi for its space-efficiency and (at times) affordability. To pull off a Pi project, though, sometimes you need to squeeze every bit of power out of it you can. That’s where an alternative to Raspberry Pi OS comes in: DietPi.
What Is DietPi?
DietPi is a Linux distribution you can install on the Raspberry Pi and other SPCs (Single-Board Computers). It’s meant as an alternative to the standard Raspberry Pi OS (formerly called Raspbian), the conventional distribution to install when you get a Raspberry Pi.
Like Raspberry Pi OS, DietPi free and uses Debian Linux as its base. The official tagline “Lightweight justice for your SBC” is a reference to the project’s dedication to being as lightweight as possible in terms of resource usage, while still providing the same platform for running servers that Raspberry Pi OS does.
DietPi also comes with a lot of tools for semi-automating common but complex tasks for SBCs. For example, it has a wizard for building a VPN or for backing up your files. It can also walk you through the LetsEncrypt process for your server. If you’ve ever attempted those tasks manually, you know how valuable some assistance can be.

Related
9 Popular Raspberry Pi Operating Systems That Aren’t Raspbian
Looking for something a little less ordinary to spice up your Pi? You’ve got options.
DietPi Variations Explained
DietPi has a few different versions you can choose from when you download it. The “regular” DietPi download is just a headless operating system, meaning when you boot it up you’ll be brought to a simple command prompt. There’s no desktop, at least not to begin with.
If you’re new to the command line, or just prefer not to fuss with it, then you might choose an “Allo GUI” image. Allo is a web interface, something like a desktop environment that you access it through your web browser. If you’ve ever remotely logged into a NAS through your web browser, this will be familiar to you. This image comes with several audio tools, so as best I could tell, the Allo GUI is inteded for audiophiles doing music projects with their Pi.
Alternatively, you can choose an Amiberry image of DietPi. Amiberry is an Amiga emulator for ARM devices like the Raspberry Pi. It’s for Amiga enthusiasts, so if you aren’t sure what the appeal is, then don’t worry about it and stick to one of the above choices.
What Makes DietPi Different From RPi OS?
DietPi says it doesn’t claim to be better than Raspberry Pi OS or any other “competitor” distros. It just claims to be different, and to emphasize optimization and overhead reduction. DietPi has a page dedicated to direct stats comparisons with other distros, highlighting where DietPi exceeds and by how much.
DietPi is also different in that there’s no default desktop environment. You can install one if you want, assuming you don’t mind the resource overhead. You can also use the aforementioned Allo web interface to avoid the command line. The difference is mainly that you can’t get an preconfigured desktop image like you can when you download Raspberry Pi OS.
One more difference worth noting is that DietPi automatically configures and enables an SSH server with Dropbear. That means you don’t need a monitor and keyboard connected to your Raspberry Pi if you don’t want them. You can simply SSH into the device with another computer on the network, without any setup.
Installing DietPi
To install DietPi, you need a few things.
Of course, you’ll also need a monitor and keyboard to connect to your SBC, unless you plan to use SSH from another computer.

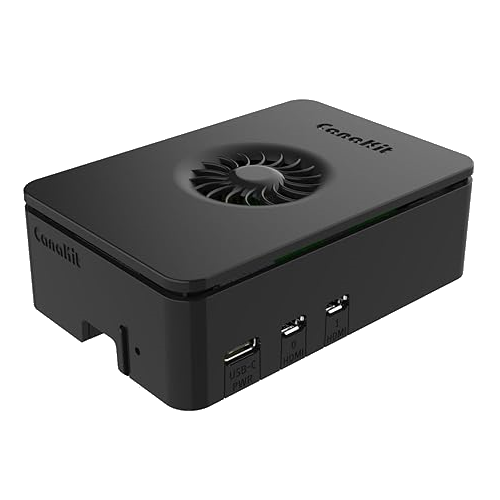
CanaKit Raspberry Pi 5 Starter Kit Pro
Kickstart your projects with the CanaKit Raspberry Pi 5 Starter Kit PRO. Complete with the powerful Raspberry Pi 5, power supply, case, and essential accessories, this kit is perfect for beginners and pros ready to dive into coding, DIY electronics, and creative computing.
When you get a compressed IMG file from the DietPi download page, you’ll need to extract it and then flash it to your card using balenaEtcher. Once it’s flashed, you put the SD card in your Pi and boot it up. The first boot will take some time as it downloads needed libraries and configures itself.
It may need to reboot or update itself to finish configuration. It’ll also ask if you want to opt in to sharing data about how you use DietPi for the developers’ benefit, which they say will be anonymous.
You’ll be prompted to set your language and keyboard. The default language was UK English, and I had to go out of my way bring up the US English.
Importantly, you’ll be asked at the start to set two passwords. The first is a “software password” which is a key concept to grasp. When you install software on a DietPi that requires a password for configuration, DietPi will configure it with the software password. The second one is the root password, which you’ll use any time you need to do maintenance to your DietPi instance itself.
What It’s Like Using DietPi
After the initial configuration, you’re presented with a menu of actions. They include searching, browsing, and installing and removing software. It does give you some desktop environments to install if you want them, including XFCE, LXQt, MATE, and more. Once you install them, you’ll need to type the startx command to launch them.
If you’re comfortable with TUIs (Text User Interfaces) then you can probably skip a desktop environment. DietPi has several Whiptail-based TUI tools for you to use to easily perform tasks like locate software, monitor services, update the system, and more.
When I installed DietPi on a Raspberry Pi 4 B, my first move was to attempt setting up FreshRSS, a service I’d wanted to try for a while. All I had to do was enter dietpi-software in the command line, locate FreshRSS in its list of installable software, and start the installation. Once that was done, all that was left to do was start using FreshRSS.
While the initial DietPi setup was self-explanatory, I made a mistake in not looking at the DietPi documentation. I didn’t understand the “software password” concept at first. I was confused why FreshRSS web interface was asking me to log in with a username and password even though I hadn’t created one yet. It wasn’t until I looked at DietPi’s software documentation that I understood the software password function I explained earlier.
It’s a valuable lesson for all software: don’t sleep on the documentation. DietPi has dedicated guides and info for all its available software, and there can be notes crucial to your success with the operating system.

Related
6 Awesome Ways to Upcycle an Old Raspberry Pi
This Pi will never go bad.
Trying the DietPi Dashboard
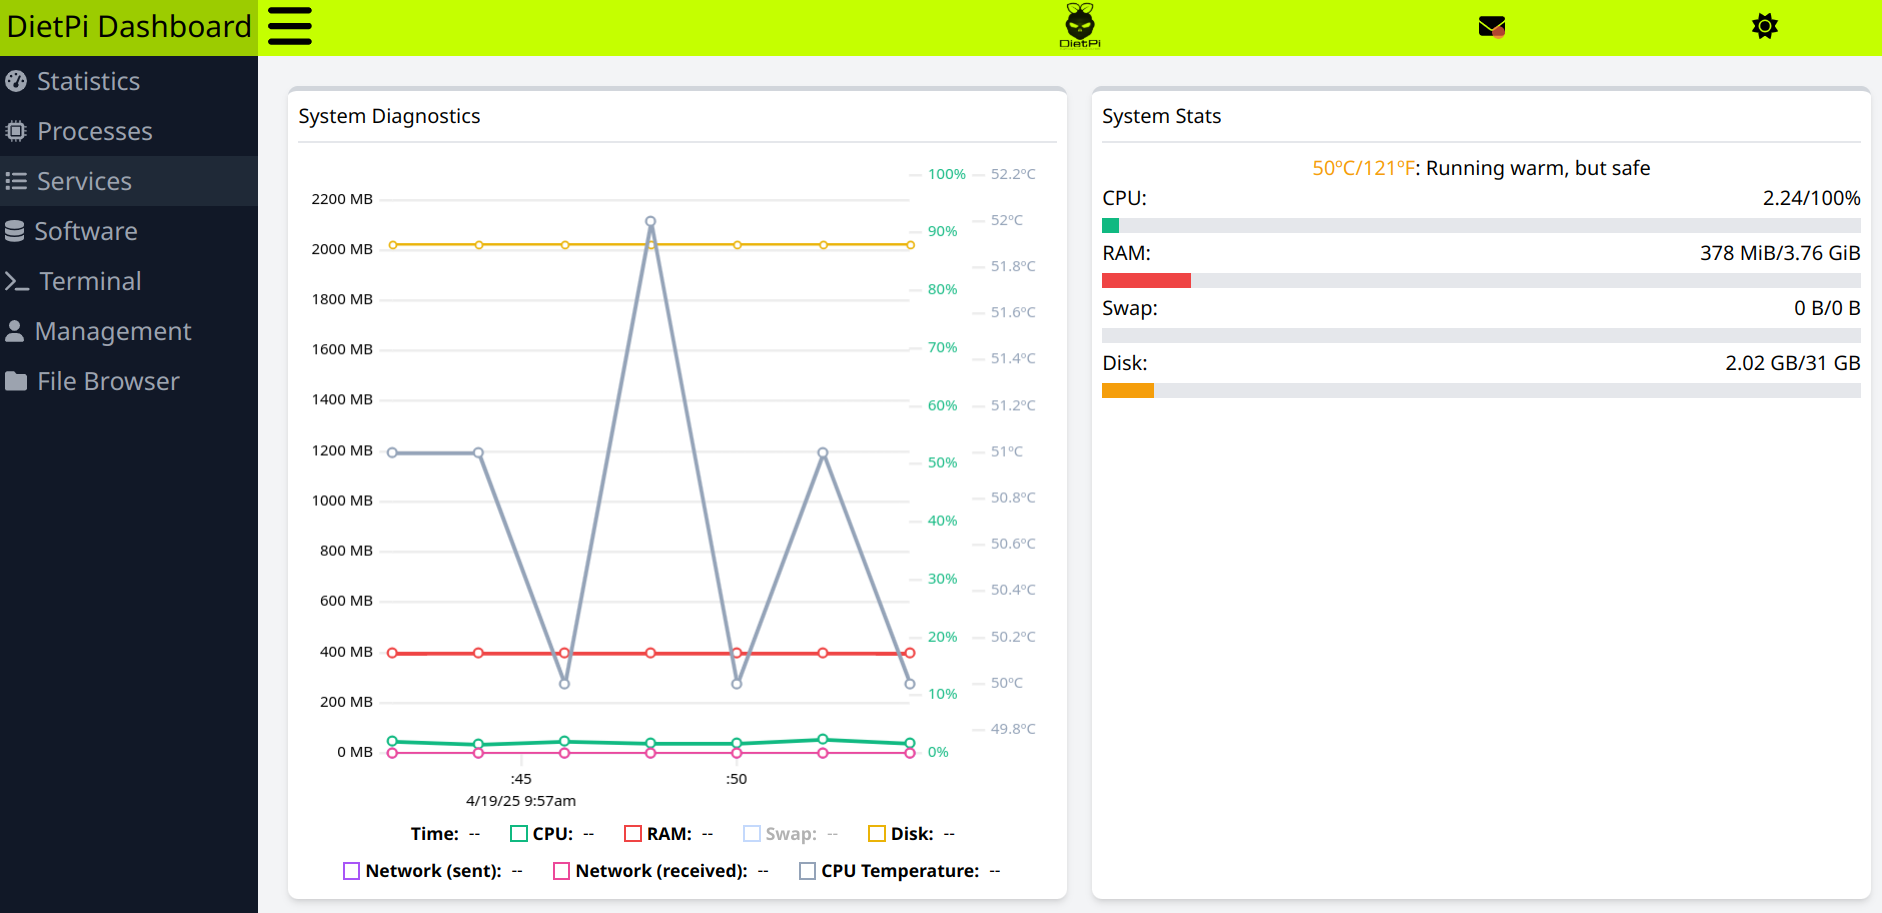
If you install the dietpi-dashboard package, you can access and manage your DietPi instance from a web browser. It’s more robust and useful than the “Allo GUI” DietPi experience. You can browse and install or remove software, monitor stats, browse files, and more.
While I found it useful, the DietPi dashboard is still in beta at the time of writing. That means the development team is still working on the finished product, and they don’t recommend any mission-critical work on it. So while this ought to make DietPi more accesible to those who don’t feel comfortable in the command line in the future, it isn’t quite there yet.
Should You Install DietPi?
You should install DietPi if you’re looking to optimize your SPC as much as possible. If you’re using Raspberry Pi OS or another Linux distribution on your SBC and are happy with the experience, there’s no reason to switch. Still, as you use other distributions, you might find yourself hitting a wall in terms of performance. When that happens, give DietPi a try.
If you just bought a Raspberry Pi and aren’t sure yet what you want to do with it, you may not want to immediately jump on the DietPi train. DietPi assumes to some extent you know what you want, and that you’re relatively comfortable with at least some basic Linux terminal usage, including basic server tools like SSH. If none of that sounds familiar to you, I’d recommend spending some time tinkering with Raspberry Pi OS first.
When you are ready, go to the DietPi download page and find the image file for the device you have. DietPi also provides images dedicated to specific virtual machine software, so go over to the PC/VM tab if you want to download a compatible image file. This can be helpful if you just want to test it out before committing it to your Raspberry Pi. In any case, good luck keeping your SBC resources optimized.


Leave a Comment
Your email address will not be published. Required fields are marked *