Solid-state drives (SSDs) are significantly more reliable than traditional hard drives, but they still have a finite lifespan that many people don’t consider. They’re worn out daily, often because of settings you never knew existed. However, a few simple tweaks can add years to its life.
SSDs Die Faster Than You Think
When I bought my first SSD, I raved about how it would outlast any traditional hard drive. But the hard truth is that while SSDs are self-sufficient and don’t have moving parts like hard disk drives (HDDs), they’re still ticking time bombs with a predetermined lifespan.
Unlike mechanical drives that wear out due to physical motion, SSDs fail from something far less obvious—write cycles. Every time you save a file, move data, or even browse the web, you’re using up tiny portions of your SSD’s life expectancy.
The average consumer-grade SSD is rated for 500-3000 program or erase cycles per cell. What does that actually mean for you? Most drives can handle between 150 and 600 terabytes of writes before cells start failing. Sounds like a lot, but Windows itself can write gigabytes of data daily through background processes you’ve never even noticed.
Even worse, when an SSD fails, it rarely gives warning signs, such as the clicking or grinding noises of a failing HDD. One moment, everything’s fine; the next, you’re looking at a completely unresponsive drive with no realistic way to recover your data.

Related
How Long Do SSDs Last Compared With an HDD?
Should you swap your HDD for an SSD?
Modern drives have improved at distributing writes through wear-leveling algorithms, but this doesn’t eliminate the problem; it merely postpones the inevitable.
Turn Off Automatic Defragmentation Right Now
It was useful to defrag your old Windows XP machine, watching those little colored blocks reorganize while the hard drive churned away. Old habits die hard, and Windows still carries this legacy feature—even for SSDs, where it does more harm than good.
Here’s the problem: Defragmentation was designed for mechanical hard drives with spinning platters. When files become fragmented, the read head must jump between different physical locations, slowing down the process. But SSDs? They don’t care if your files are scattered across the drive. They can access any block of data just as quickly as any other.
When Windows defrags an SSD, it’s essentially moving massive amounts of data around for absolutely zero performance benefit. Each of these unnecessary write operations burns through your SSD’s limited write cycles. Surprisingly, Windows still has defragmentation enabled by default for many SSDs. In most cases, Windows will detect you’re using an SSD and only running TRIM commands, but don’t take the chance.
TRIM tells your SSD which data blocks are no longer in use, preventing unnecessary write amplification that would otherwise silently kill your drive.
Here’s how to turn off Automatic Defragmentation:
- Press Win + S and search for Defragment and Optimize Drives.
- Select your SSD, and click the Change settings button.
- Uncheck the box next to Run on a schedule.
- Click OK to save your changes.
While you’re there, make sure it actually recognizes your drive as an SSD—if it doesn’t, you definitely need to turn off this feature immediately.
If you’re worried about file system maintenance, don’t be. Modern Windows versions automatically run the TRIM command (what SSDs actually need) through other means. Defragmentation is an obsolete process that shortens your drive’s lifespan every time it runs.
Related
Why You Should Disable the TRIM Command and How to Do So
Do you want to keep your data recoverable even if you accidentally delete them? Then you should run this procedure.
Adjust Windows Write-Caching for Longer SSD Life
Windows has a sneaky write-caching setting that directly impacts how often data gets written to your SSD. By default, Windows prioritizes performance over drive longevity, but we can easily flip that script.
Write-caching works by temporarily holding data in RAM before committing it to your SSD in efficient batches. Without it, Windows writes every tiny change immediately, creating thousands of unnecessary write operations. It is basically death for your drive.
The “write-cache buffer flushing” option is important, but most people never touch it. When enabled, Windows frequently flushes its cache to prevent data loss in the event of a power failure. Noble goal, sure, but if you’re using a desktop with an uninterruptible power supply (UPS) or a laptop with a battery, this constant flushing is just wasting write cycles.
However, the tradeoff is a minimal risk of data loss if your system loses power abruptly. Here’s how to adjust write-caching for maximum SSD longevity:
- Right-click the Start button and select Disk Management.
- Right-click your SSD and select Properties. Then click the Policies tab.
- Check the box for “Enable write caching on the device”.
- For desktop computers with battery backup, also check “Turn off Windows write-cache buffer flushing”.
- Click OK to apply the changes.
If you’re using a laptop, think twice before enabling that last option. Without a UPS, a sudden power loss could result in data corruption. For most desktop users, though, it’s a safe bet that reduces unnecessary writes.
Relocate These High-Write Windows Features
Windows loves to write data constantly, and not just the occasional document you save. There are several built-in features silently hammering your SSD with writes all day long. After monitoring my system with disk activity tools, I discovered just how much unnecessary traffic was hitting my primary drive.
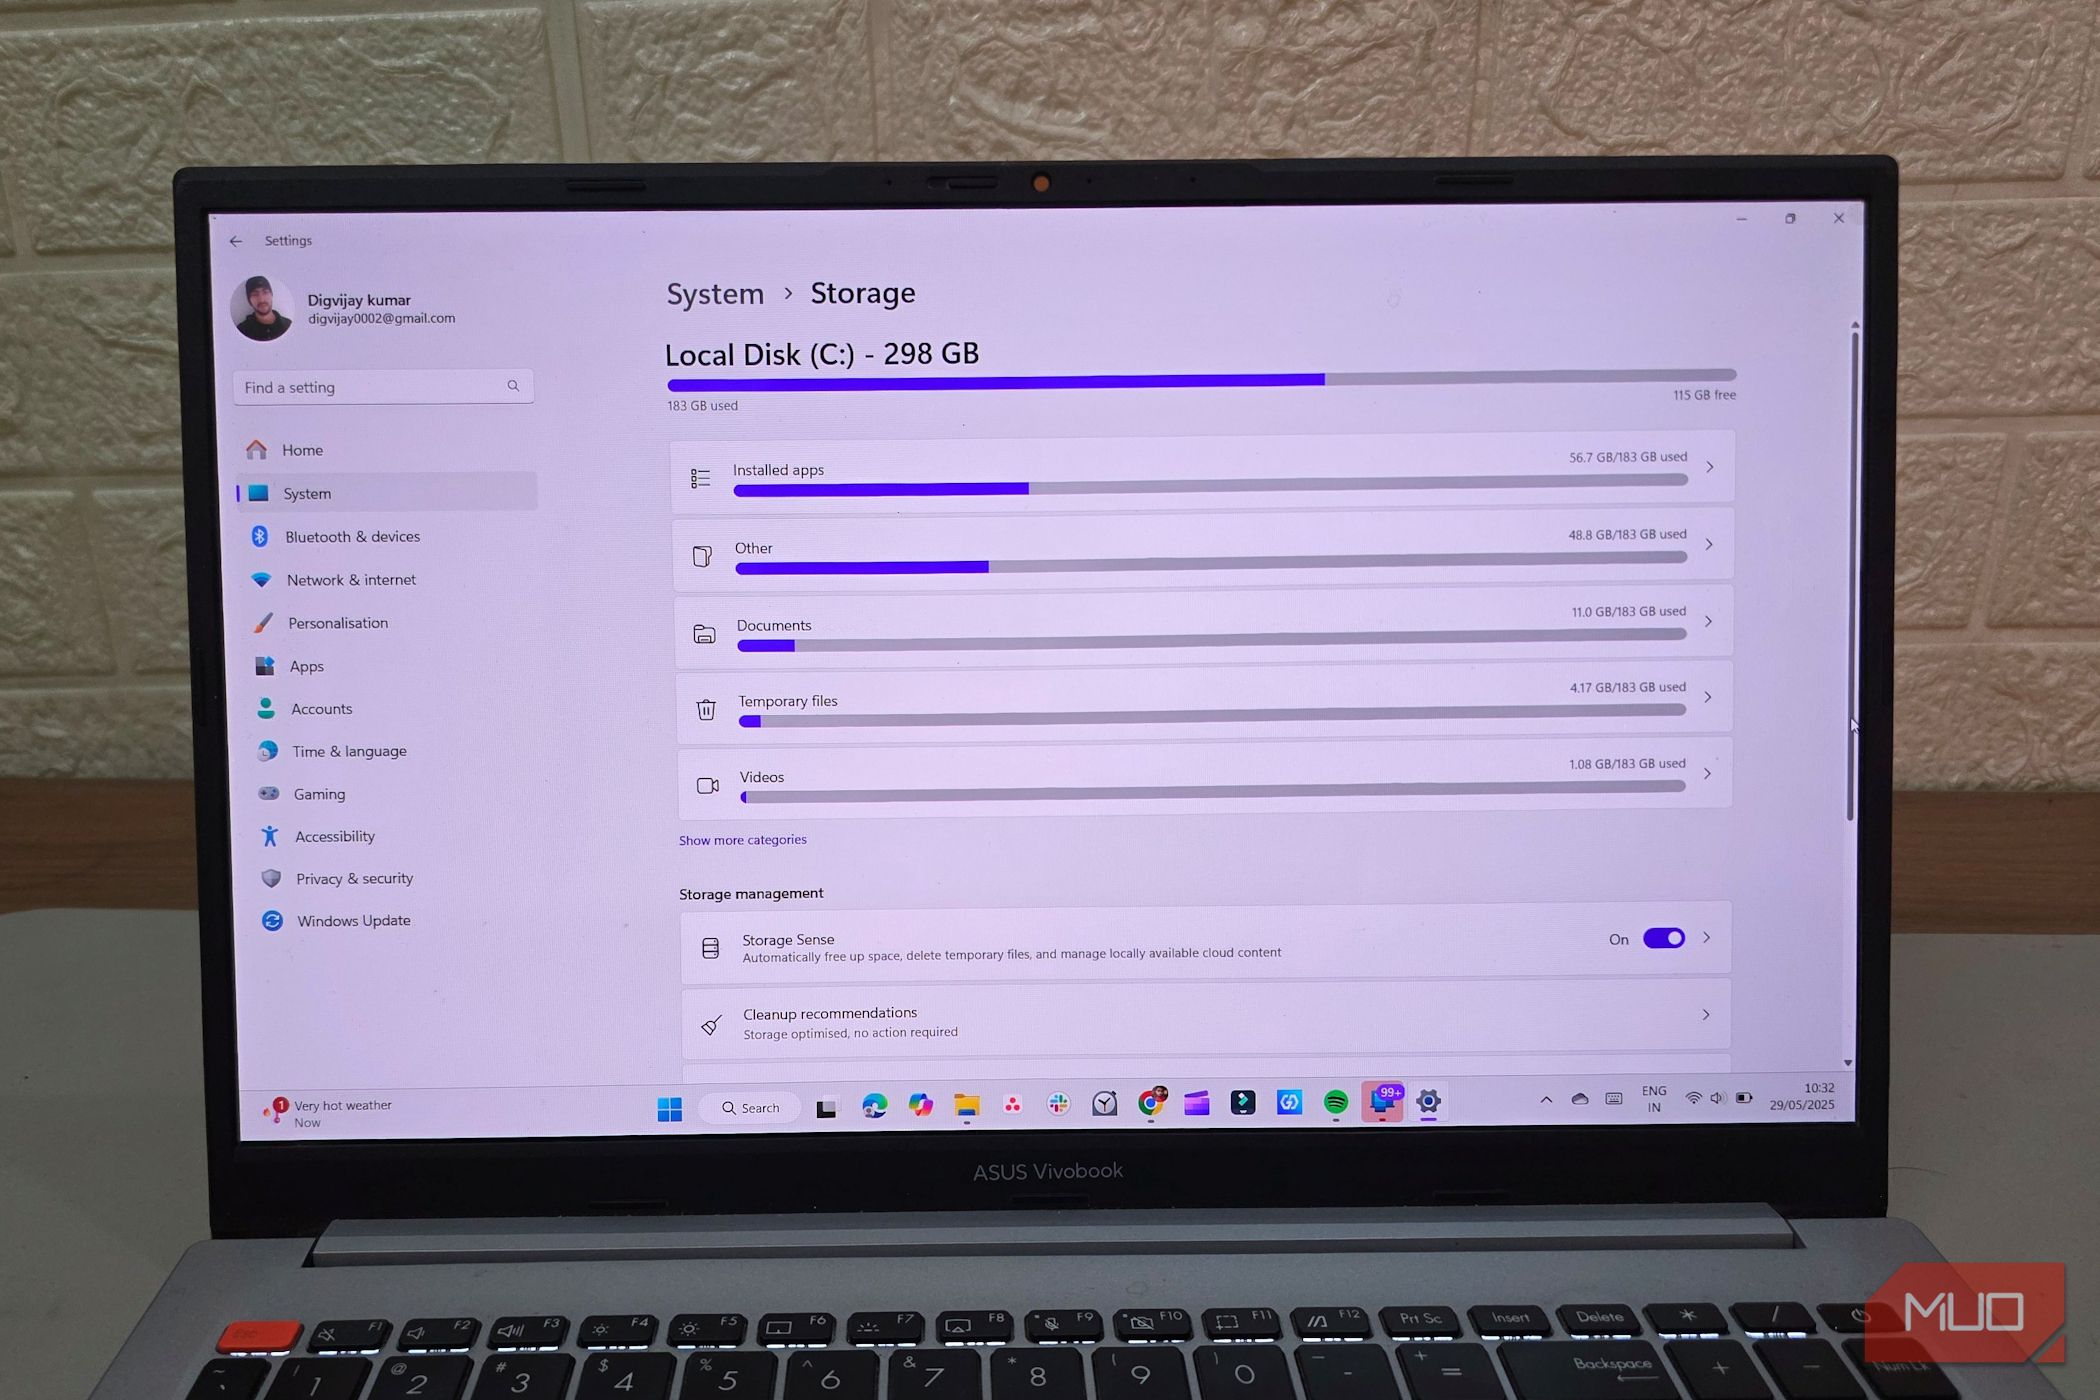
The biggest culprit is the Windows page file (also known as virtual memory), which can write gigabytes daily as programs shuffle data between RAM and storage. Then there’s the temp folder—a dumping ground for installer files, browser downloads, and various application leftovers that are constantly written to.
Related
Clean Out These Temporary Windows Folders Today to Reclaim Gigabytes
Stop giving up valuable storage space.
If you have a secondary HDD in your system, moving these high-write features is a no-brainer. Here’s how to move the worst offenders:
- Press Win + R to open the Run dialog.
- Type sysdm.cpl and press Enter.
- In the System Properties window, click the Advanced tab.
- Under Performance, click Settings.
- In the Performance Options window, click the Advanced tab.
- Under Virtual memory, click Change.
- Uncheck Automatically manage and set your SSD to No paging file.
- Select your mechanical hard drive and set a custom size or let it be system-managed.
Browser caches are another silent killer. Chrome alone can write several gigabytes daily. Consider limiting the cache size in your browser settings.
Don’t forget about Windows Search indexing—while convenient, it constantly updates index files as you create and modify documents. Limiting indexed locations to only essential folders can significantly reduce unnecessary writes.
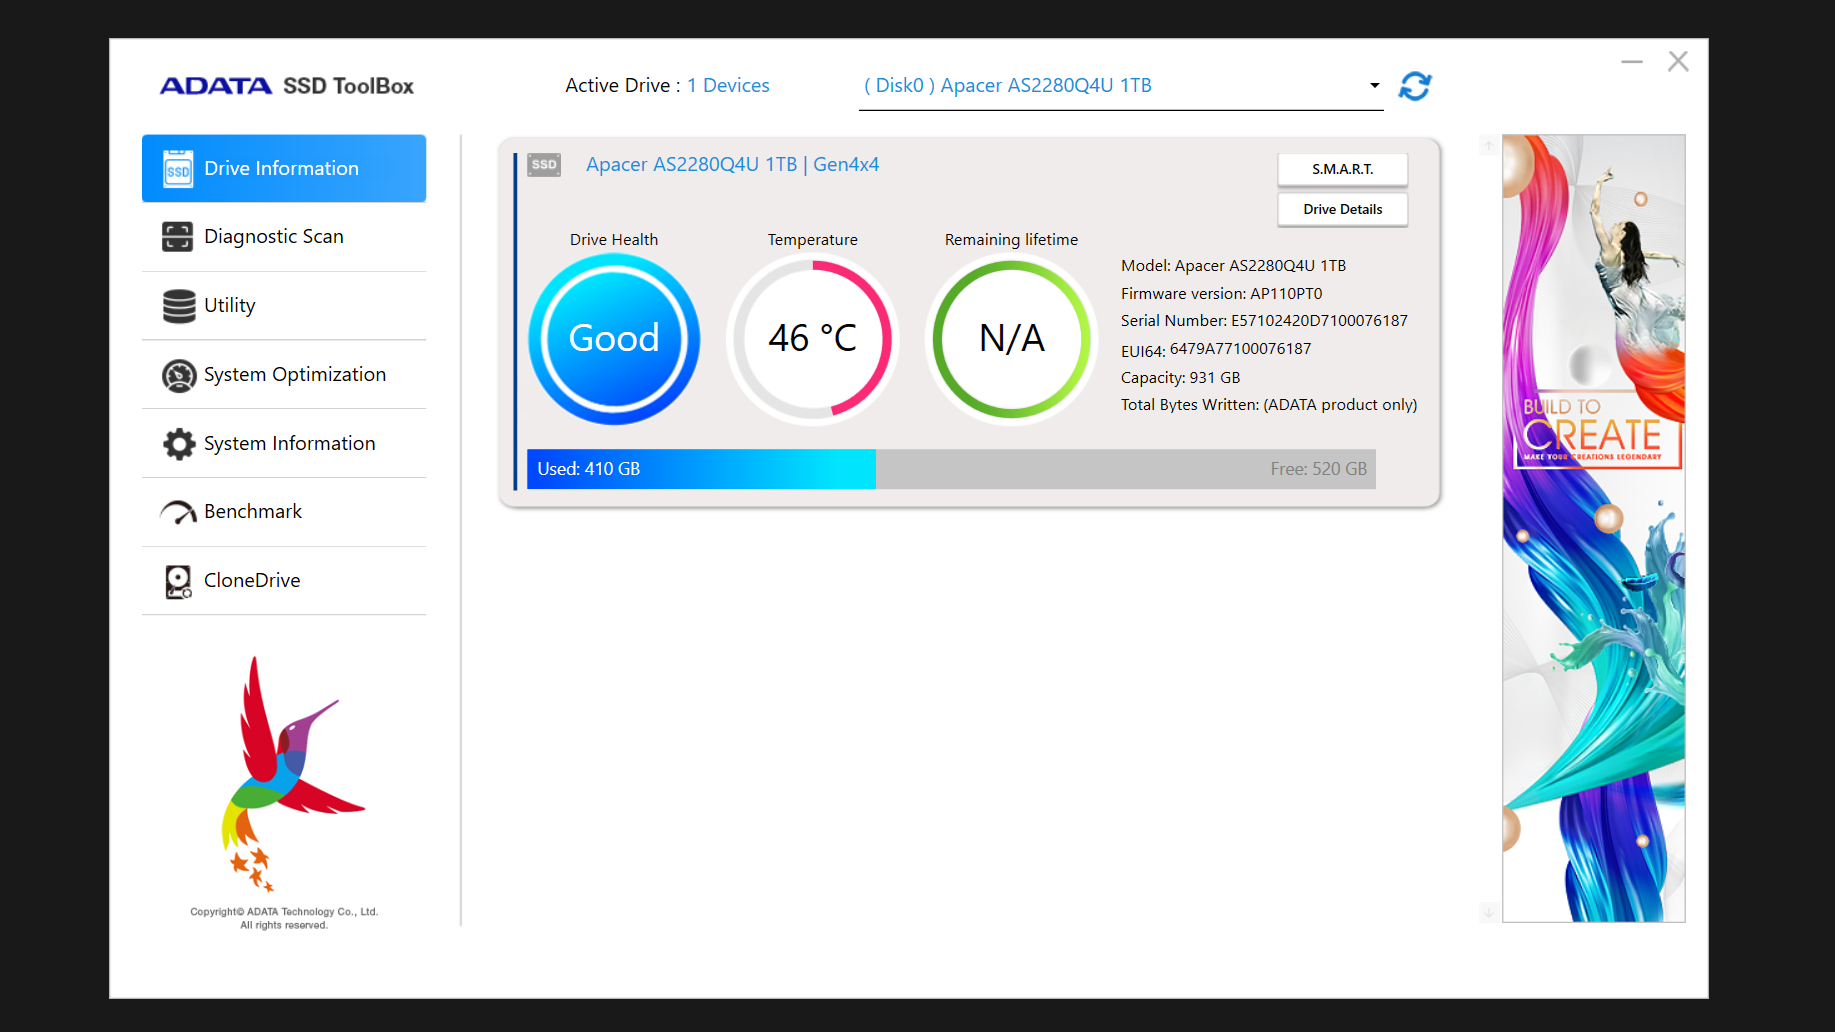
The right monitoring tools can be the difference between a timely backup and catastrophic data loss, as SSDs often fail with zero warning.
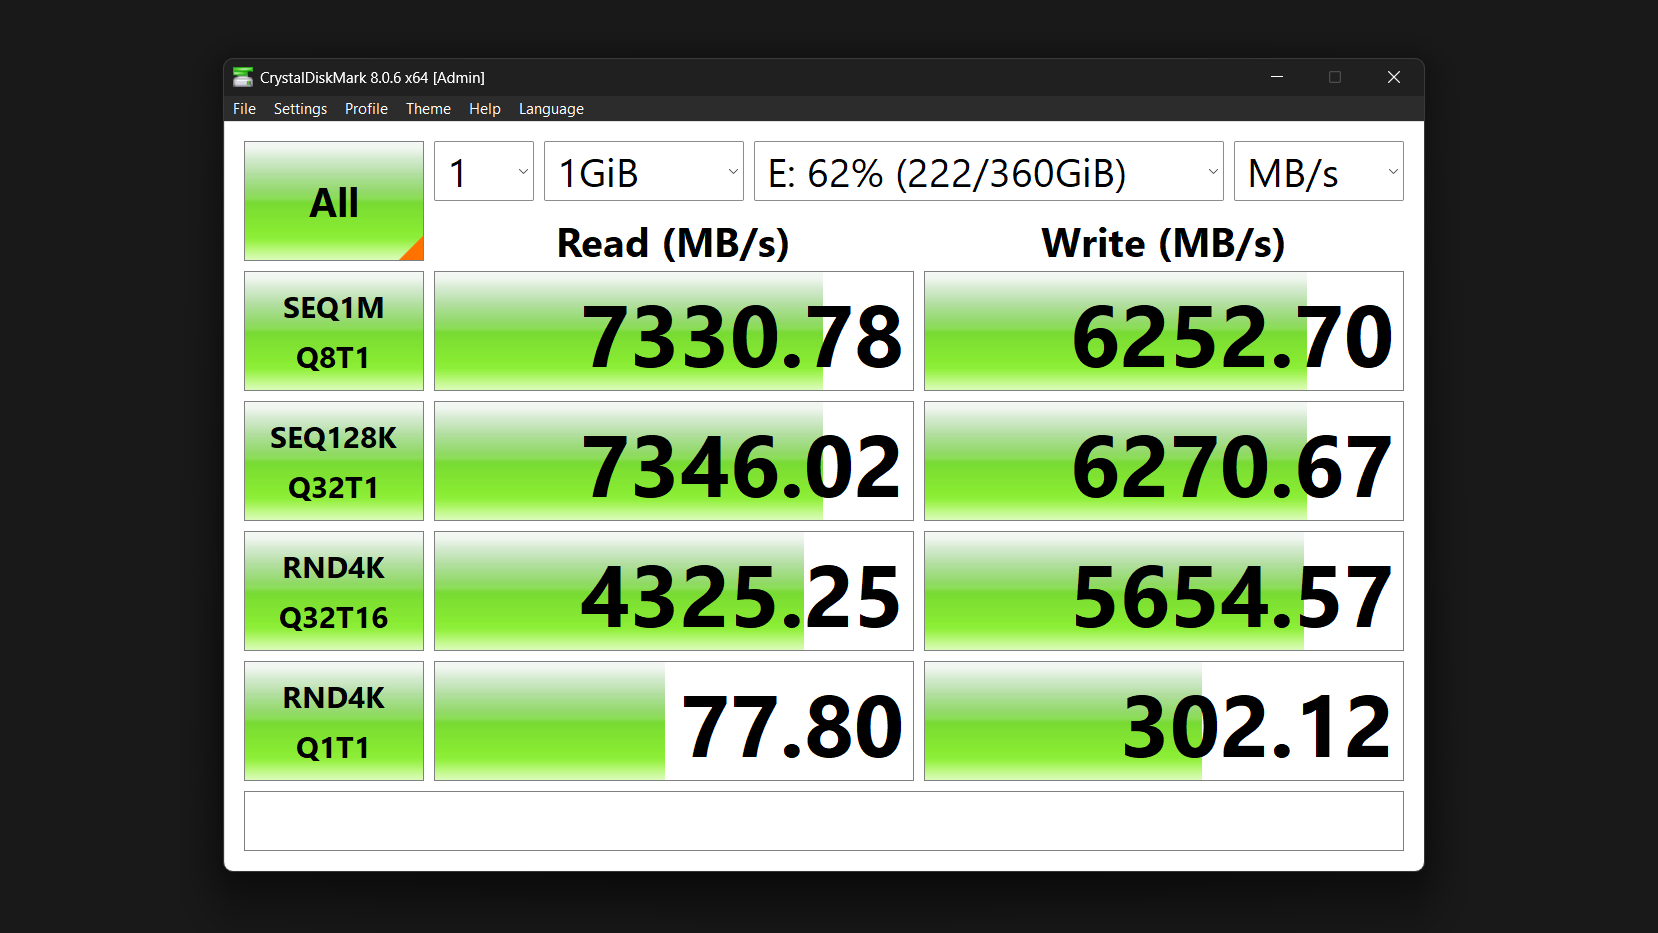
You can use CrystalDiskMark because it’s free, lightweight, and provides a straightforward health status, along with all the technical details if you want to dig deeper. It displays your drive’s temperature, power-on hours, and most importantly, the Total Bytes Written (TBW) counter that reveals how much of your SSD’s life you’ve used up.
For brand-specific insights, manufacturer utilities like the following offer more tailored monitoring:
But what should you be looking for? Pay close attention to three critical metrics: health percentage (anything below 90% indicates the need to start planning for replacement), temperature (a consistently high reading above 70°C is concerning), and reallocated sector count (which should ideally remain at zero).
The TBW metric tells you how much data has been written to your drive compared to its rated lifespan. As a typical 1TB consumer SSD might be rated for 600 TBW, if you’re approaching that number, it’s time to shop for a replacement.
Don’t wait for warning signs to appear. By the time most monitoring tools throw up a red flag, your SSD is already circling the drain. You should establish a quarterly check-up routine and start planning for replacement when your drive hits 80-85% of its rated write limit, not when it’s gasping its last electronic breath.
The tech industry doesn’t want you thinking about SSD mortality—they’d rather you replace drives every few years. But your SSD could outlast its rated lifespan by substantial margins, with the tweaks outlined.




Leave a Comment
Your email address will not be published. Required fields are marked *